首先简单介绍ansible
ansible是新出现的自动化运维工具,基于Python开发,集合了众多运维工具(puppet、cfengine、chef、func、fabric)的优点,实现了批量系统配置、批量程序部署、批量运行命令等功能。ansible是基于模块工作的,本身没有批量部署的能力。真正具有批量部署的是ansible所运行的模块,ansible只是提供一种框架。主要包括:
- 连接插件connection plugins:负责和被监控端实现通信;
- host inventory:指定操作的主机,是一个配置文件里面定义监控的主机;
- 各种模块核心模块、command模块、自定义模块;
- 借助于插件完成记录日志邮件等功能;
- playbook:剧本执行多个任务时,非必需可以让节点一次性运行多个任务。
ansible优势
- 简单易学,上手容易
- 功能强大,复杂部署也能实现自动化
- 节省时间,提高工作效率
- 消除了重复性的手工操作
ansible的自动化安装部署apache服务
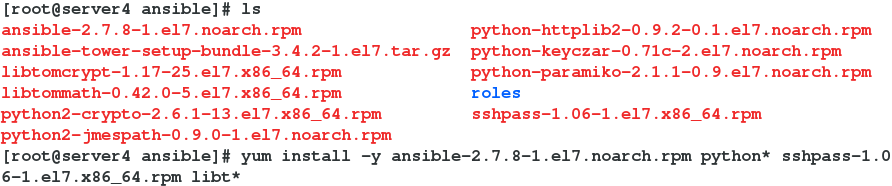
1.在server4上下载相应的安装包并安装:
yum install -y ansible-2.7.8-1.el7.noarch.rpm python* sshpass-1.06-1.el7.x86_64.rpm libt*
2.在三台虚拟机上分别创建普通用户devops,并设置密码
[root@server4 ansible]# useradd devops
[root@server4 ansible]# id devops
uid=1001(devops) gid=1001(devops) groups=1001(devops)
[root@server4 ansible]# passwd devops
Changing password for user devops.
New password:
BAD PASSWORD: The password is shorter than 8 characters
Retype new password:
passwd: all authentication tokens updated successfully.

[root@server5 ~]# useradd devops
[root@server5 ~]# id devops
uid=1001(devops) gid=1001(devops) groups=1001(devops)
[root@server5 ~]# passwd devops
Changing password for user devops.
New password:
BAD PASSWORD: The password is shorter than 8 characters
Retype new password:
passwd: all authentication tokens updated successfully.

[root@server6 ~]# useradd devops
[root@server6 ~]# id devops
uid=1000(devops) gid=1000(devops) groups=1000(devops)
[root@server6 ~]# passwd devops
Changing password for user devops.
New password:
BAD PASSWORD: The password is shorter than 8 characters
Retype new password:
passwd: all authentication tokens updated successfully.
3.在server1上进入devops用户家目录下创建目录 ansible
[root@server4 ansible]# su - devops
[devops@server4 ~]$ mkdir ansible
4.在该目录下创建ansible的配置文件
[devops@server4 ~]$ cd ansible/
[devops@server4 ansible]$ vim ansible.cfg
[defaults]

inventory      = inventory
5.在该目录下创建inventory
[devops@server4 ansible]$ vim inventory
[test]
server5    ##test组包括server5

[db]
server6

[webservers:children]  ##两个组test和db都属于webservers组
test
db
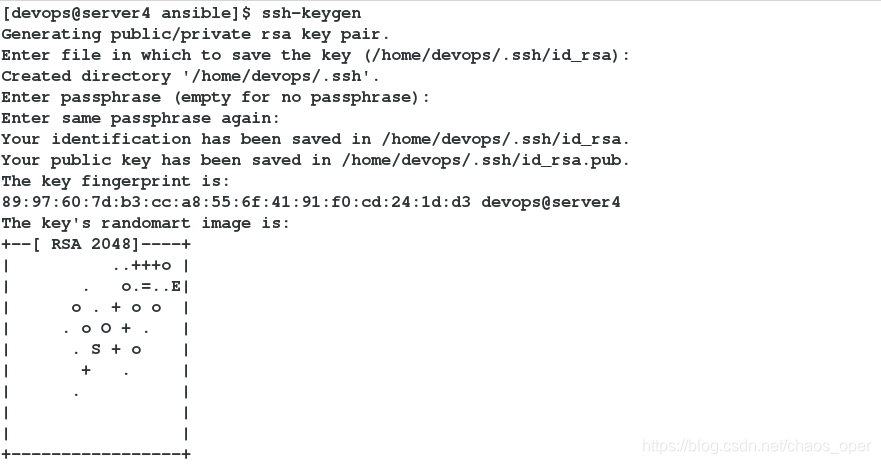
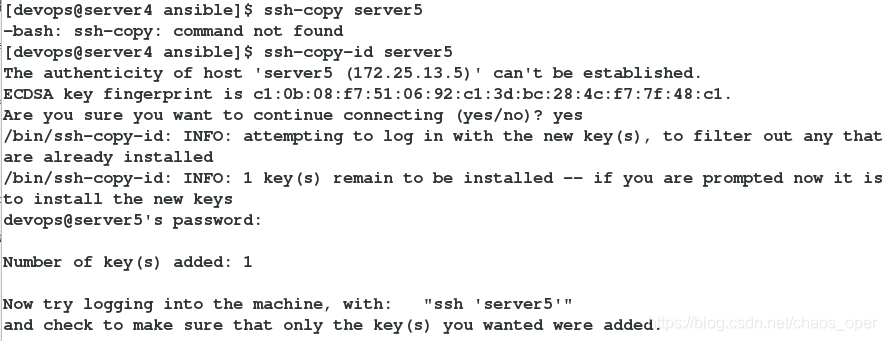
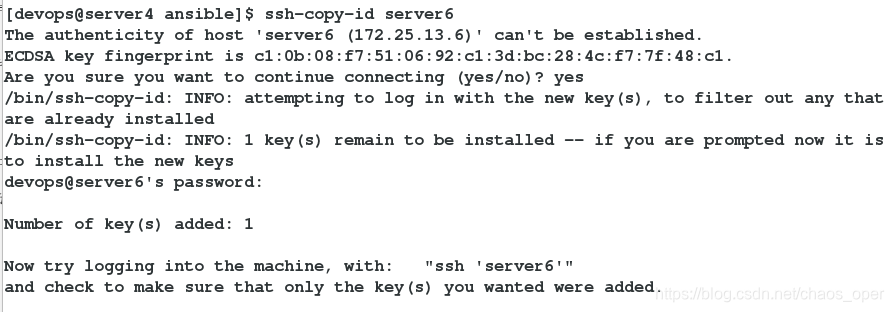
6.实现三台虚拟机免密连接
7.列出所有主机
ansible all --list-hosts

8.Ping所有主机
ansible all -m ping
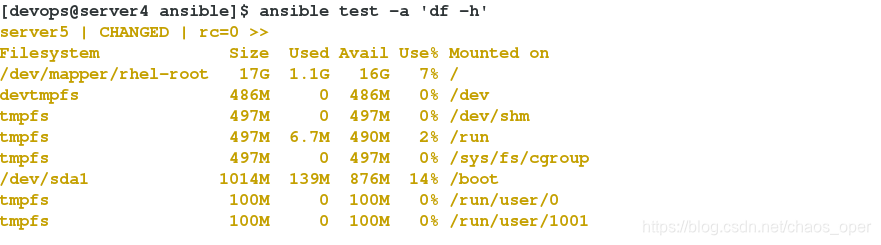
 9.查看test组内虚拟机(server5)的挂载情况
ansible test -a 'df -h'
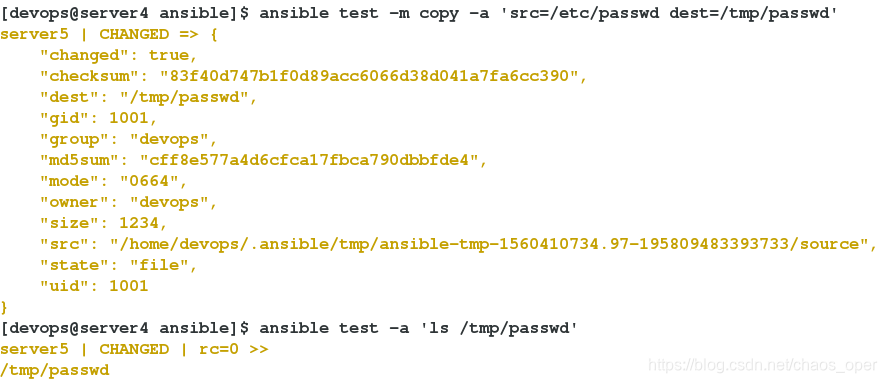
10.将server5的/etc/passwd 复制到文件 /tmp/passwd
ansible test -m copy -a 'src=/etc/passwd dest=/tmp/passwd'
11.查看是否成功
ansible test -a 'ls -l /tmp/passwd'
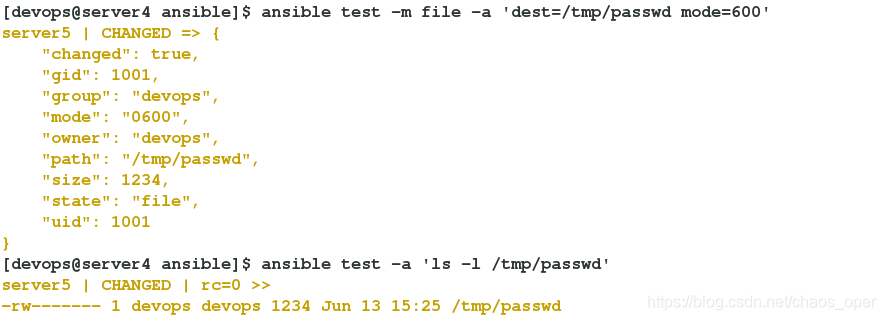
12.更改文件的权限
ansible test -m file -a 'dest=/tmp/passwd mode=600'
13.查看权限是否修改成功
ansible test -a 'ls -l /tmp/passwd'
 14.在server5和server6上配置
vim /etc/sudoers
devops  ALL=(ALL)       NOPASSWD: ALL
15.server5安装httpd
ansible test -m yum -a 'name=httpd state=present' -b
16.测试server2上是否安装成功
ansible test -a 'rpm -q httpd'

17.将become写入文件中:
[devops@server4 ansible]$ vim ansible.cfg
[privilege_escalation]
become=True
become_method=sudo
become_user=root
become_ask_pass=False
18.这时安装不需要-b
ansible test -m yum -a 'name=httpd state=present'
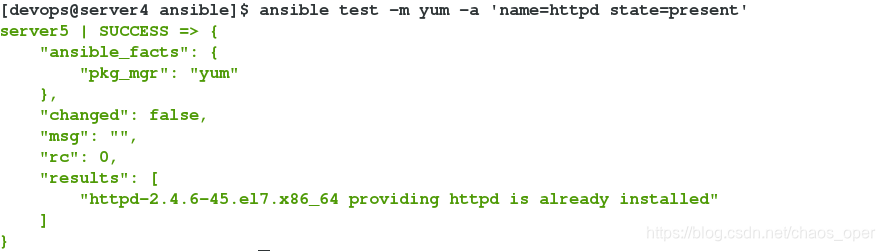 18.给webservers组内的主机安装httpd:
ansible webservers -m yum -a 'name=httpd state=present'
##默认的是一种状态,如果安装过则不会重复安装
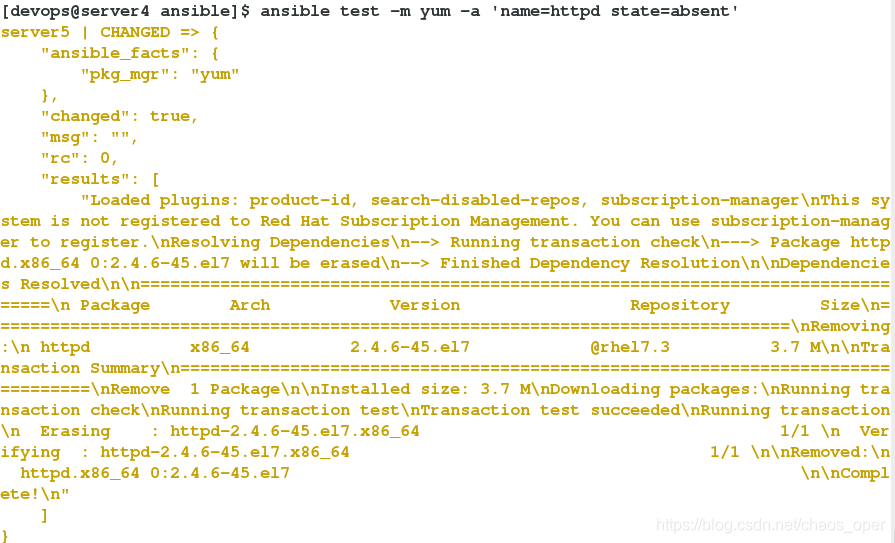
19.给test组的主机将httpd卸载掉:
ansible test -m yum -a 'name=httpd state=absent'
20.将db组的主机开启httpd:
ansible db -m service -a 'name=httpd state=started'
21.测试:
curl server6 ##显示的是测试页
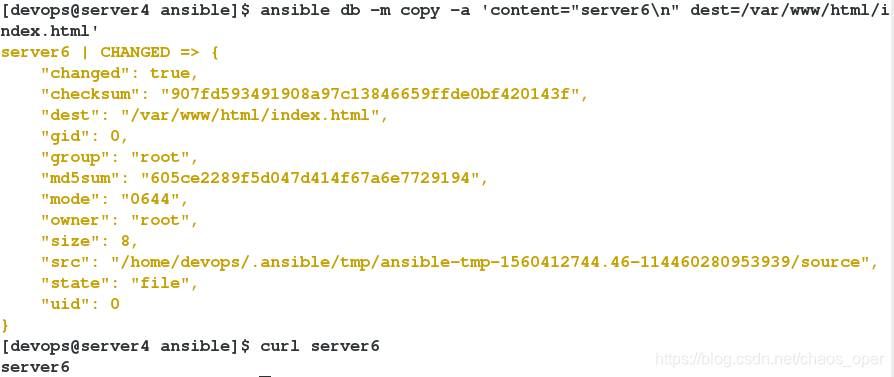
22.修改server6的测试页面
ansible db -m copy -a 'content="server3\n" dest=/var/www/html/index.html'
23.测试
curl server6
24. 开启db组主机的防火墙:
ansible db -m service -a 'name=firewalld state=started'
并设置开机自启:
ansible db -m service -a 'name=firewalld state=started enabled=true'
可以通过在server6上查看端口测试防火墙是否开启
此时测试并不能访问server3的httpd服务,被火墙挡掉
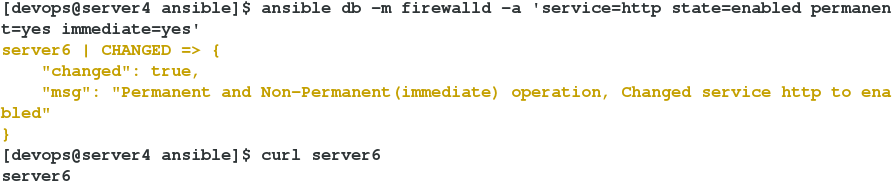
26. 将httpd策略加入:
ansible db -m fierwalld -a 'service=http state=enabled permanent=yes immediate=yes'
26.测试 curl server3可以访问