docker一条命令部署模型
linux下部署命令
docker run -tdi --net mynet10 --ip 10.10.20.4 --name tfmodelcpu --privileged=true registry.cn-hangzhou.aliyuncs.com/mkmk/tfmodels:cpu14 init && docker exec -d tfmodelcpu /bin/bash -c "cd /home && nohup /usr/local/python3/bin/jupyter notebook --allow-root &"
windows下部署命令
docker run -tdi --net mynet10 --ip 10.10.20.4 --name tfmodelcpu --privileged=true registry.cn-hangzhou.aliyuncs.com/mkmk/tfmodels:cpu14 init | docker exec -d tfmodelcpu /bin/bash -c "cd /home && nohup /usr/local/python3/bin/jupyter notebook --allow-root &"
之后可以在 10.10.20.4:8888 查看模型代码以及使用说明
然后可以通过 10.10.20.4:22 ssh连接容器运行模型训练
物体检测模型object_detection是
tensorflow的 github开源项目
模型下载地址
https://github.com/tensorflow/models
下载完成后,
cd home
#不推荐这样下载 会很慢 ,建议开代理自己下载放到 home目录
wget -c https://github.com/tensorflow/models/archive/master.zip
unzip  master.zip
#centos7的主机
如果你是ubuntu 把 第一句话 yum 改成 apt
(ubuntu 用户 apt install Cython)
yum install Cython
pip3 install tensorflow==1.12.0  matplotlib Pillow pandas  pycocotools
cd research
python3 setup.py install
cd research/silm
python3 setup.py
使用说明
//cd training
//生成tfrecord文件
//训练集 ,测试集各执行一次
cd /home/models-master/research/object_detection/training
#先 生成 csv 文件
python3 xml_to_csv.py
python3 product_tfrecord.py --csv_input=data/train_labels.csv --output_path=data/train.record
python3 product_tfrecord.py --csv_input=data/test_labels.csv --output_path=data/test.record
成功提示
#data/test_labels.csv
#Successfully created the TFRecords: /home/models-master/research/object_detection/training/data/test.record
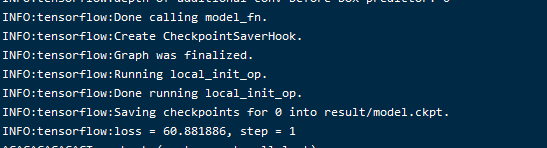
开始训练
python3 model_main.py --pipeline_config_path=ssd_mobilenet_v1_coco.config --model_dir=result --num_train_steps=20000 --num_eval_steps=500 --alsologtostderr
部署成功提示