一、互联网主流web架构的剖析及Apache服务的安装与启用
| web | server |
| taobao | tengine |
| nginx | |
| 163 | nginx |
| sina | nginx |
| youku | Tengine |
| aiqiyi | QWS |
目前主流的server是apache 和nginx
可以使用如下指令进行查看 curl -I www.taobao.com

安装apache
yum install apache -y

systemctl start httpd
systemctl enable httpd
firewall-cmd --list-all #列出火墙信息
firewall-cmd --permanent --add-service=http #永久允许http
firewall-cmd --reload #火墙从新加载策略
/var/www/html ##apache的/目录,默认发布目录
/var/www/html/index.html ##apache的默认发布文件
vim /var/www/html/indel.html
<h1> hello world </h1>
:wq
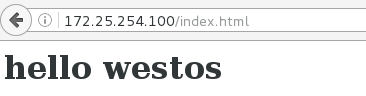
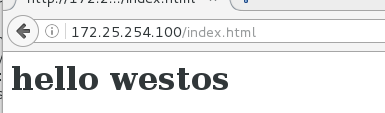
#测试 http://172.25.254.100
http://172.25.254.100/index.html


修改大小
二、apache的基本配置信息及部署优化方案
apache的基础信息
#主配置目录: /etc/httpd/conf
#主配置文件: /etc/httpd/conf/httpd.conf
#子配置目录: /etc/httpd/conf.d/
#子配置文件: /etc/hppd/conf.d/*.conf
#默认发布目录: /var/www/html
#默认发布文件: /index.html
#默认端口: /80
#默认安全上下文: httpd_sys_content_t
#程序开启默认用户:apache
#apache日志: /etc/httpd/logs/*
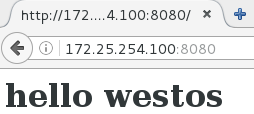
修改默认端口:
vim /etc/httpd/conf/httpd/conf
listen 8080 ##修改默认端口为8080
firewall-cmd --permanent --add-port=8080/tcp
firewall -cmd --reload
![]()


当getenforce 为enforcing时默认不让随意重启httpd
设置为setforce 0才可以重启httpd
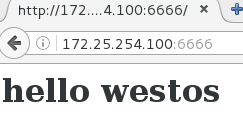
添加6666端口

![]()

设置火墙
firewall-cmd --permanent --add-port=6666/tcp

修改默认发布目录:
DocumentRoot "/www/html"
<Directiry "/www">
Require all granted
</Directory>
segmenage fcontext -a -t httpd_sys_content '/www(/.*)?'修改安全上下文
rstorecon -RvvF /www/


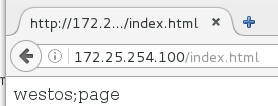
修改默认发布文件:
默认发布文件就是访问apache时没有指定文件名称时默认访问的文件
这个文件可以指定多个,有访问顺序
vim /etc/httpd/conf/httpd/conf
DirectoryIndex index.html test.html ##当index.html不存在时访问test.html


三、apache的虚拟主机
apache 的虚拟主机设置多个站点
vim /etc/httpd/conf.adefault.conf
<VirtualHost _default_:80>
Documentroot /var/www/html
CustomLog logs/default.log combined
</VirtualHost>
<VirtualHost *:80>
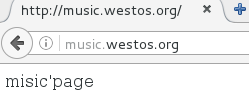
ServerName music.westos.org
Documentroot /var/www/virtual/westos.org/music
CustomLog logs/music.log combined
</VirtualHost>
<VirtualHost *:80>
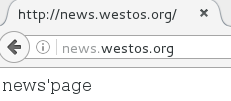
ServerName news.westos.org
Documentroot /var/www/virtual/westos.org/news
CustomLog logs/news.log combined
</VirtualHost>


真机里面作解析

四、apache基于ip的安全优化控制

先读allow 再读deny上面相当于黑名单

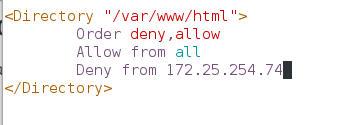
先读deny,然后在allow all
五、apace基于认证的访问控制
htpasswd -cm .htpassfile admine
htpasswd -m .htpassfile admine1
cat .htpassfile
admine:$apr1$U8.z6xPw$YTfJTQSeO7jR.KdKAFoqv0
admine1:$apr1$oBvj.MWz$412Vt0vhgR0hAaqbpksuN1
vim /etc/httpd/conf.d/vhost.conf
<Directory "var/www/html">
# Order allow,deny
# Allow from all
# Deny from 172.25.254.250
AuthUserFile /etc/httpd/.htpassfile
Authtype basic
AuthName "please input username and passwd"
Require user admine
</Directory>
建立认证文件


六、apache对peri&ptython如何执行
建立一个php文件
![]()
安装php
yum install php -y

将index.php移动到/var/www/html/中

perl语言
安装apache的配置手册


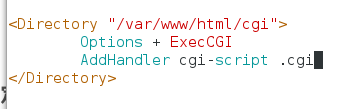 \
\

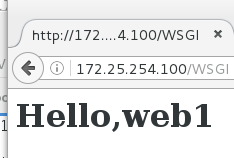
python语言wsgi
安装wsgi
yum install mod_wsgi.x86_64 -y


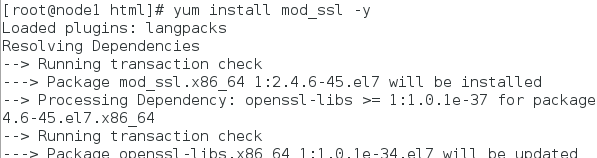
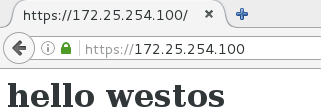
七、https的证书设定
安装插件mod_ssl -y
设置火墙端口


下载证书


生成自己的认证信息
安装crypto-utils.x86_64 -y

genkey www.westos.org


将证书指定给apache

删除之前添加的帐号


八、利用网页重写规则优化https的访问
设定https虚拟之际并设定网页重写
<VirtualHost *:443>
ServerName login.westos.com
DocumentRoot /var/www/html/virtual/login.westos.com.html
CustomLog "logs/login/logs" combined
SSLEngine on
SSLCertificateFile /etc/pki/tls/certs/www/westos.com.crt
SSLCertificateKeyFile /etc/pki/tls/private/www/westos/com.key
<\VirtualHost>

走加密:
(/.*)$ ##客户在浏览器地址栏输入所有字符
https:// ##强制客户加密访问
%{HTTP_HOST} ##客户请求主机
$1 ##'$1'表示^(/.*)$的值
【redirect = 301 】##永久重写 302临时
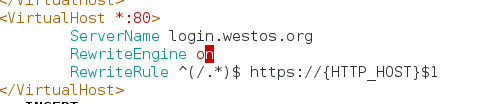
输入login.westos.org自动转换为https://login.westos.org
九、cdn加速机制的剖析及翻墙原理和squid正向代理的部署
设置网关让其能上网:

node1可以上网
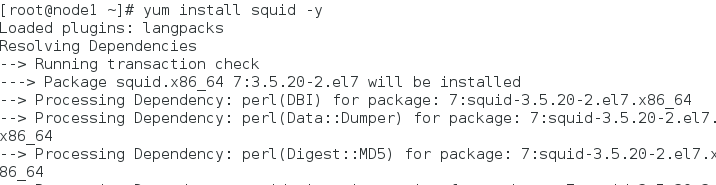
安装squid
Node1开启

设置火墙

200主机ping不通baidu


十、squid反向加速代理
node1安装squid
vim /etc/squid/squid.conf

100主机安装squid
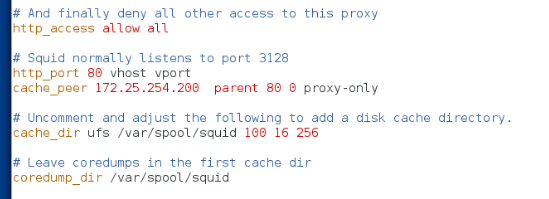
200主机安装httpd


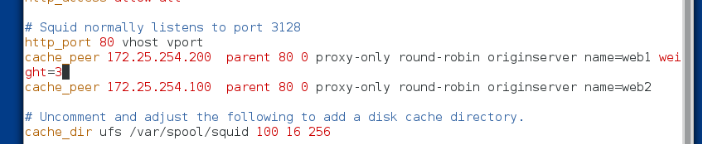
十一、两台主机实现轮循
ifconfig
vim /etc/sysconfig/network-scripts/ifcfg-eth0
systemctl restart network
hostnamectl set-hostname node1
ifconfig
hostnamectl set-hostname node217
clear
cd /etc/yum.repos.d/
ls
vim rhel_dvd.repo
yum clean all
yum install httpd -y
systemctl start httpd #打开httpd软件
systemctl enable httpd #设置开机启动
systemctl stop firewalld.service #关闭火墙
cd /var/www/html/
vim index.html
117主机操作
yum install squid -y #安装squid
184 vim /etc/squid/squid.conf
http_access allow all
http_port 80 vhost vport
cache_peer 172.25.254.217 parent 80 0 proxy-only
cache_dir ufs /var/spool/squid 100 16 256
systemctl restart squid
netstat -antlupe | grep squid
firewall-cmd --list-all
systemctl stop firewalld.service
history
设置跳转
http_port 80 vhost vport
cache_peer 172.25.254.217 parent 80 0 proxy-only round-robin originserver name=web1 weight=3 #设置跳转次数为3
cache_peer 172.25.254.216 parent 80 0 proxy-only round-robin originserver name=web2
cache_peer_domain www.westos.org web1 web2


设置权重
systemctl restart squid
