前排提示
1.在配置过程中,软件提示缺什么的话,点击Download就可以了,如果嫌下载速度慢的话,百度“IDEA怎么更改镜像地址”即可把下载资源的地址从国外改为国内(例如阿里云),这样速度会快一些。
2.说实话,IDEA自动下载的功能并不好用,经常发生下载失败或者“缺斤少两”的情况,建议大家还是去官网下载Hibernate的Final压缩包,在IDEA里面选择手动导入,找到下载解压后的文件夹,点击lib->required,按住shift键选中所有的jar包。
流程
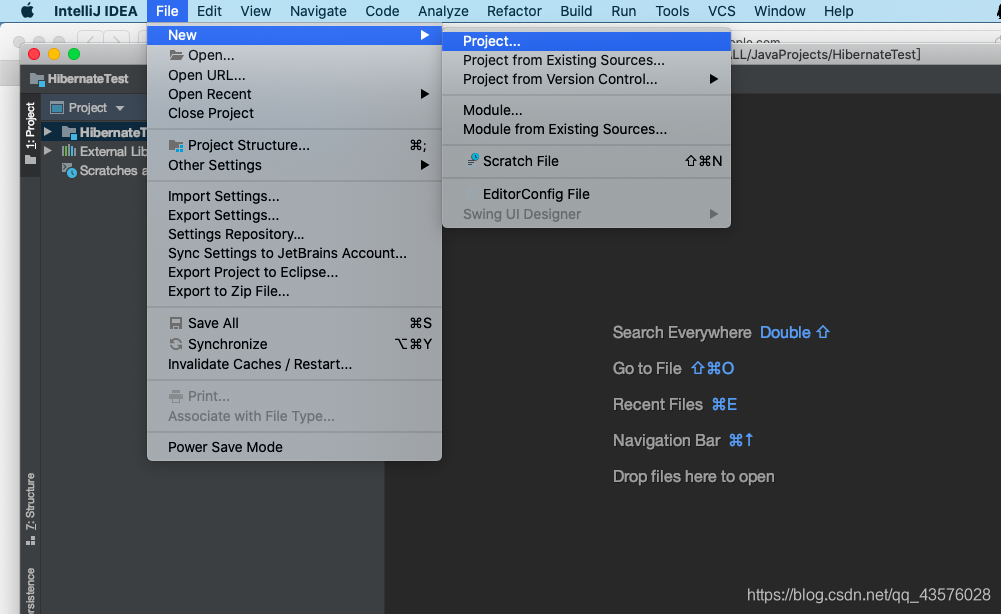
1.新建一个项目
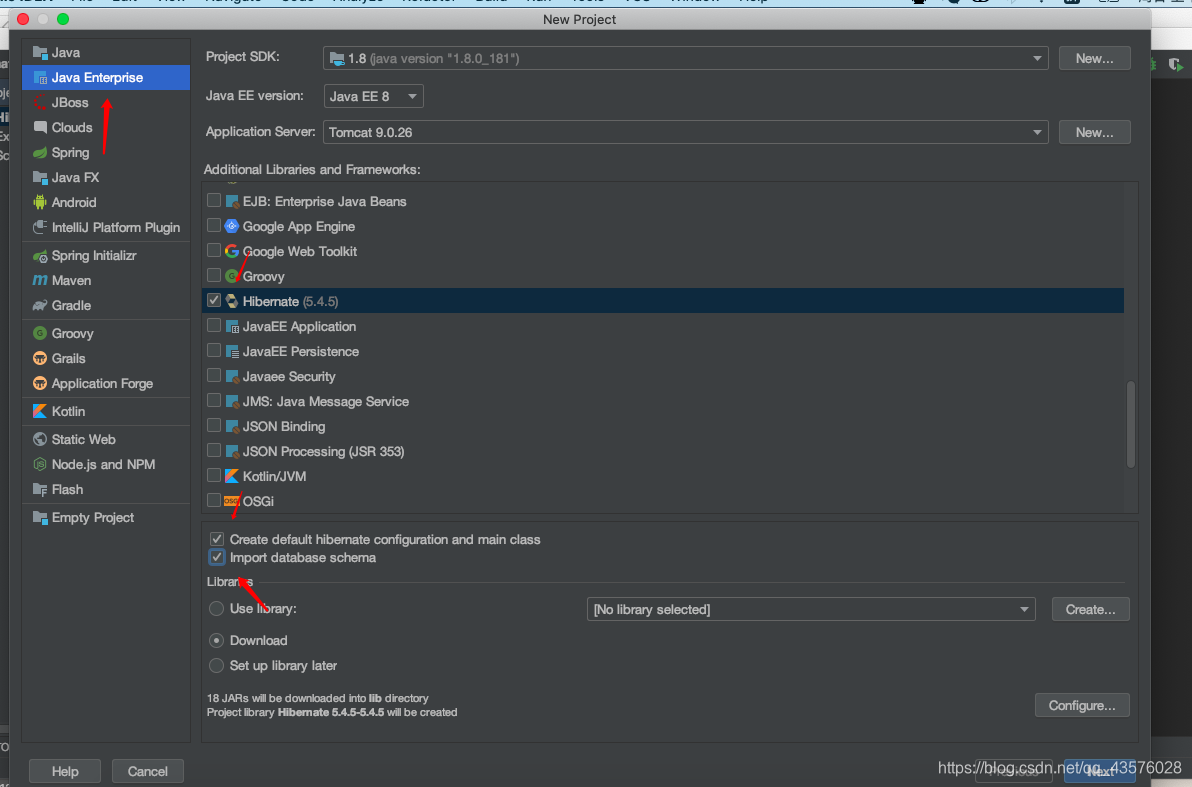
2.选择Hibernate,记得勾选两个选项
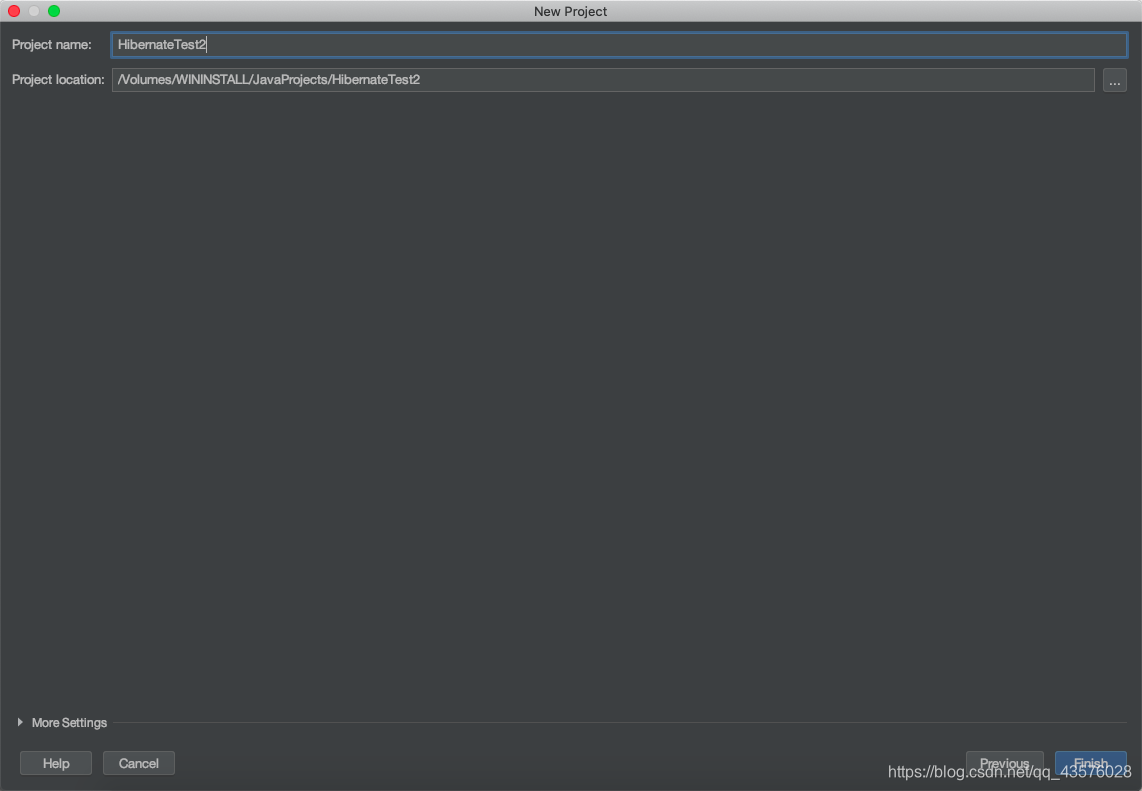
随便取个名字,然后点击Next
4.自动弹出来数据库的配置,开始配置。
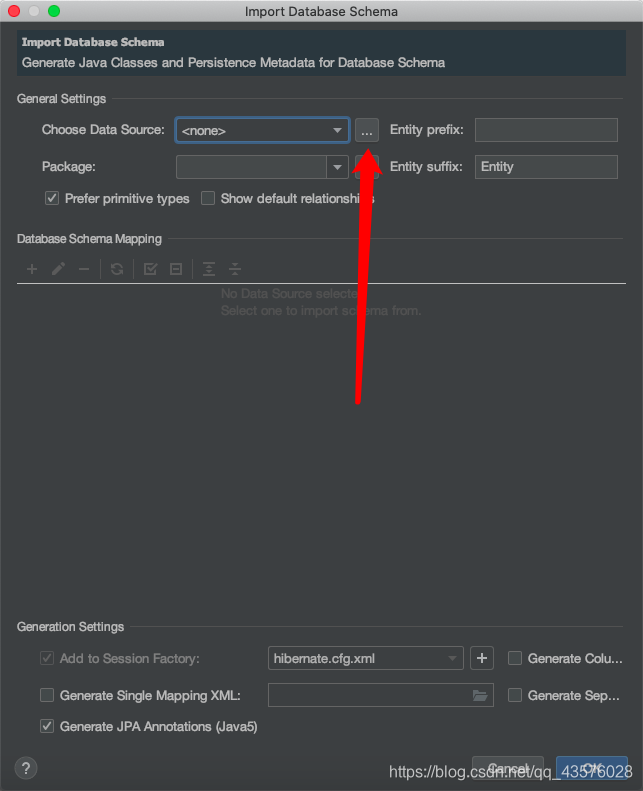
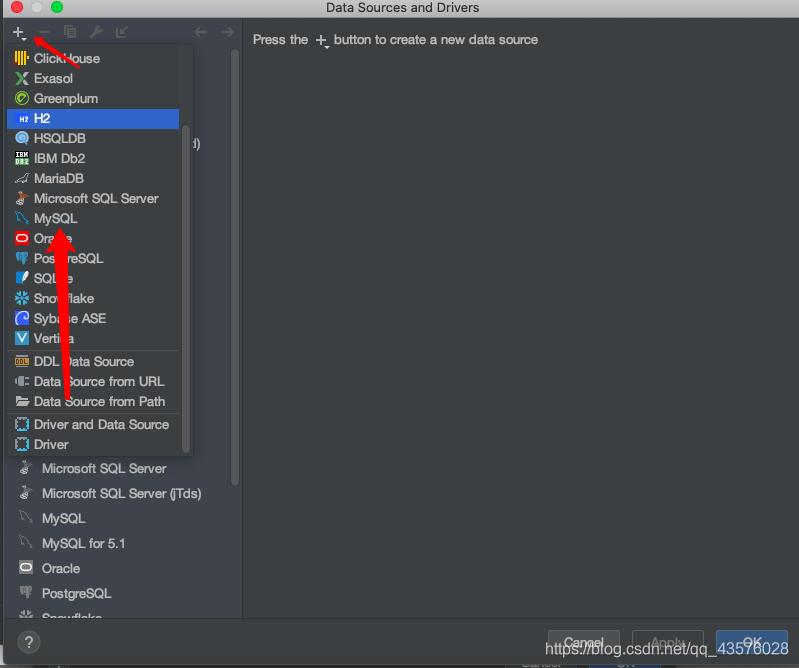
5.开始配置数据库
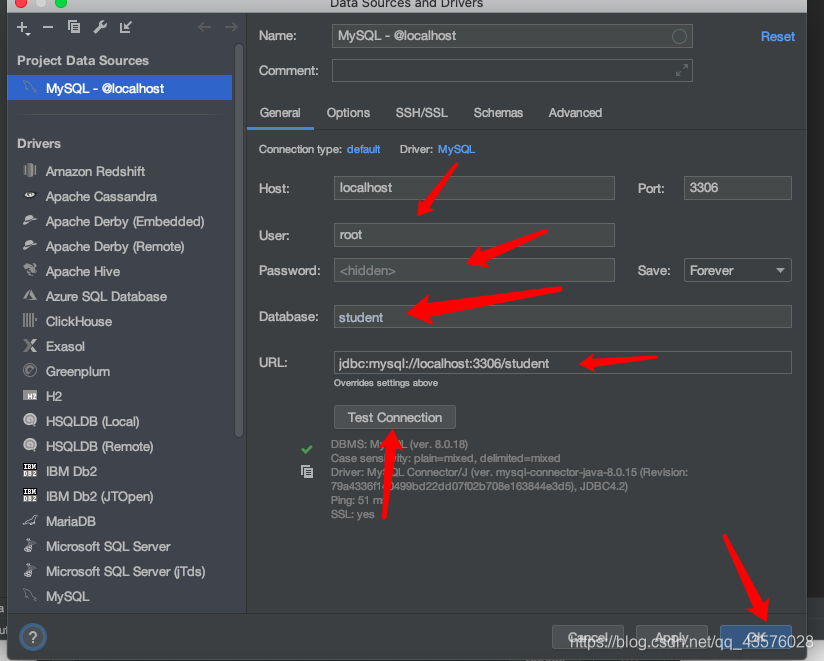
6.输入你数据库的账号和密码,,选择需要的数据库,点击测试,测试通过后点击OK
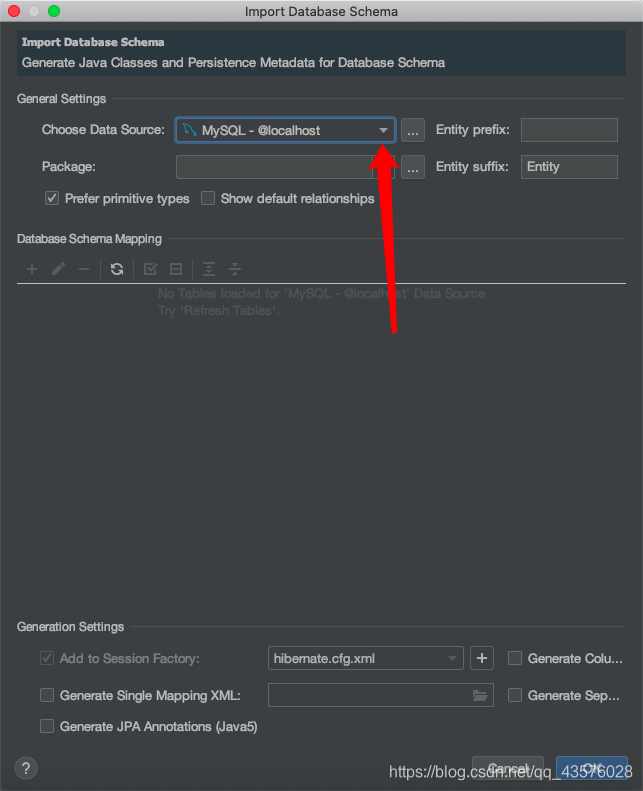
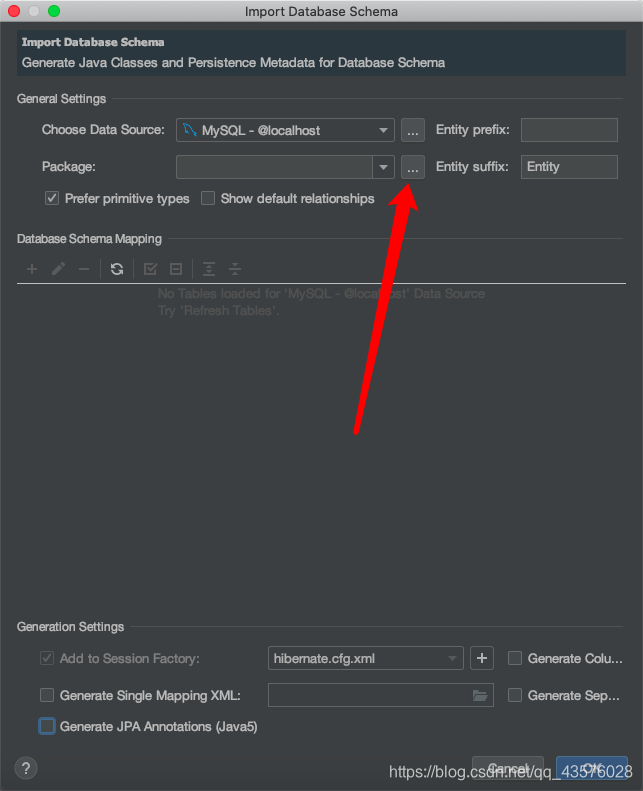
7.回到配置界面,选择刚才配置的数据库
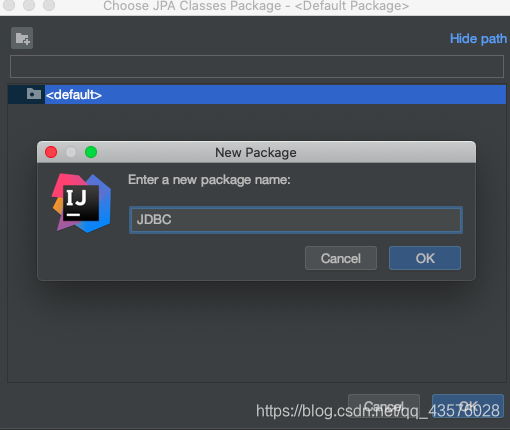
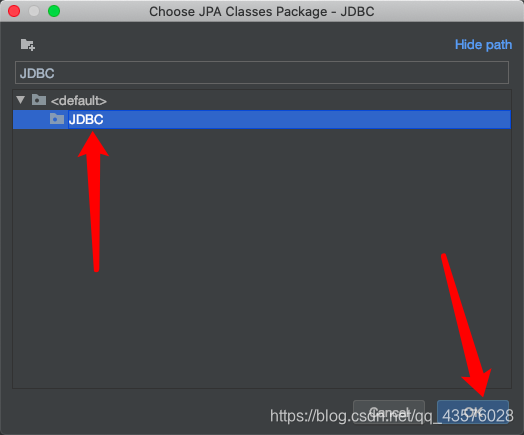
8.选择数据库类存放的包

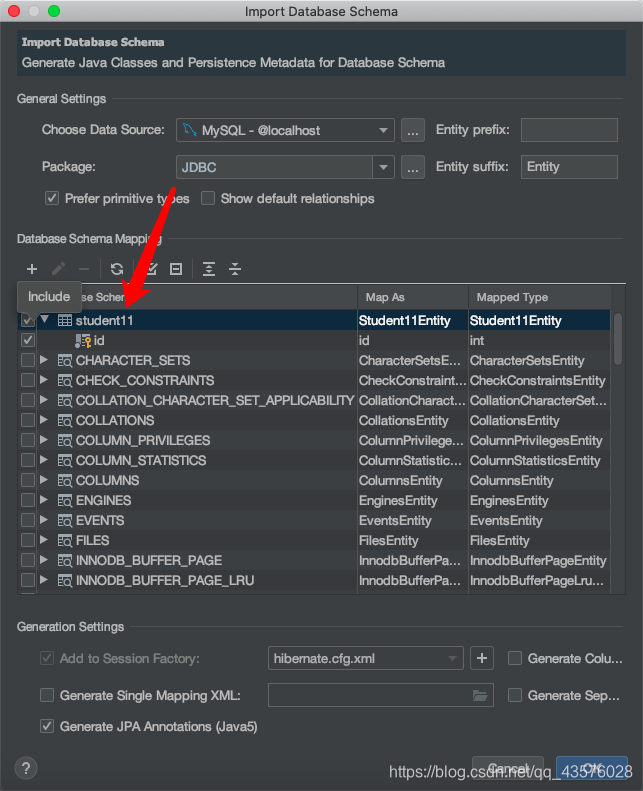
9.选择刚才需要的表,选择OK
10.先配置hibernate.cfg.xml
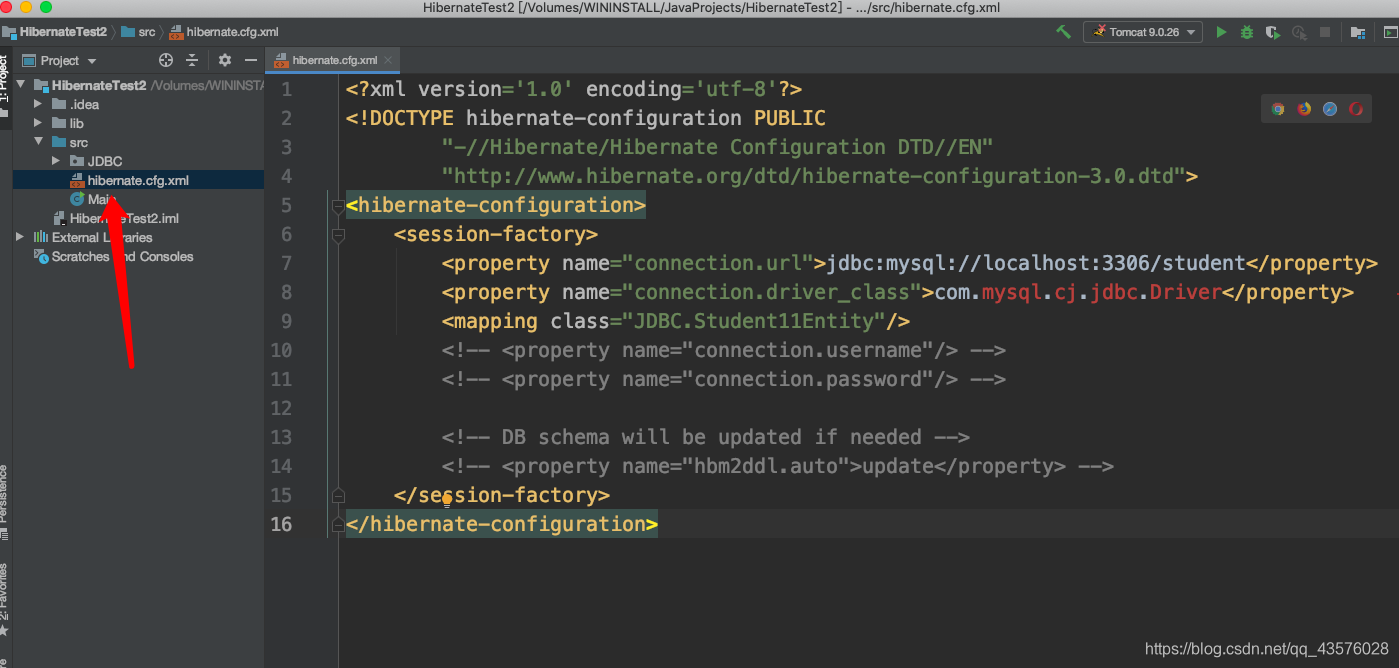
11.在这里可以看到jdbc的驱动有问题,所以我们先导入jdbc的jar包,如果没有的话可以去网上下载。
注意,根据你的MySQL版本下载对应的jar包,如果是MySQL8.0,就要搭配8.0版本的jar包,不然数据库连接不上。
5.0
没有的话大家可以从我的网盘下载:https://pan.baidu.com/s/1U3Xjh3OR1Ql7jdDLtpR9Kw
8.0
没有的话大家可以从我的网盘下载:
https://pan.baidu.com/s/1dWZ84KvOz9V3whzY_kcUYg
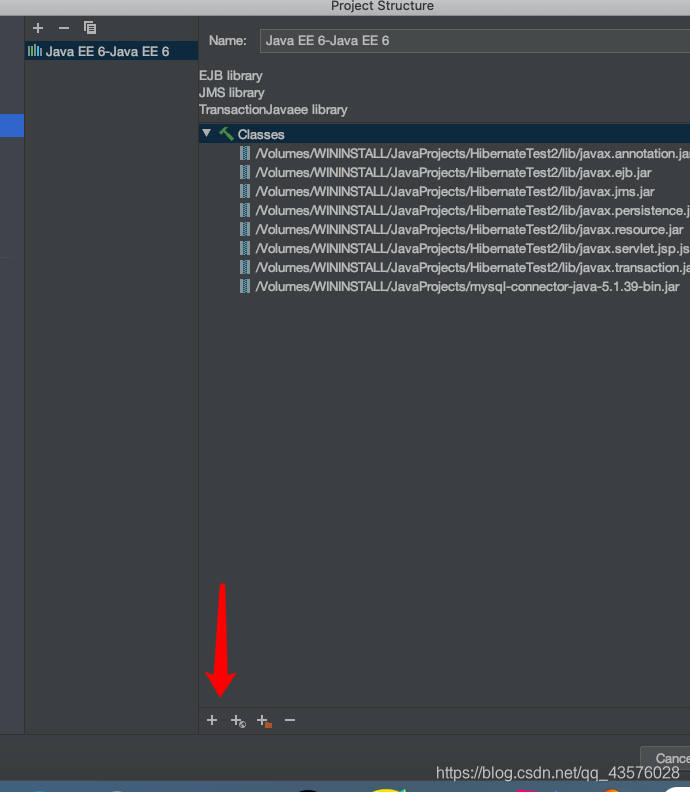

完成后点击OK即可。
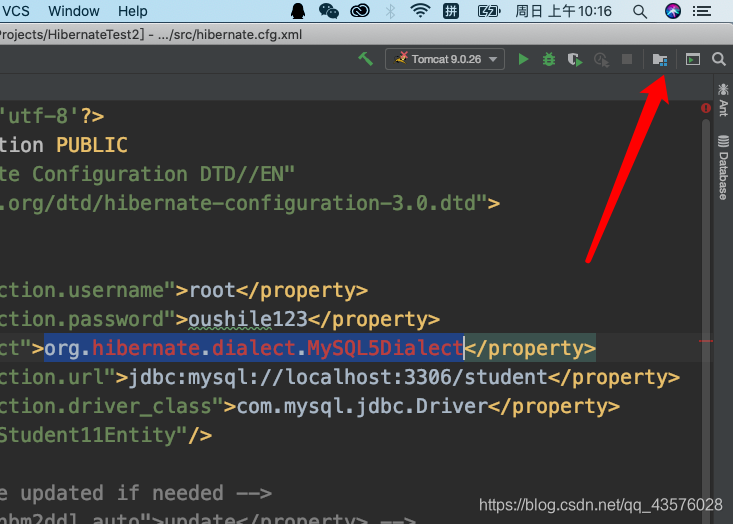
12.配置如下,账号和密码选择自己的数据库的账号和密码,驱动路径也选择自己的数据库的名字(我的账号是root,密码是oushile123,数据库名字叫做student)
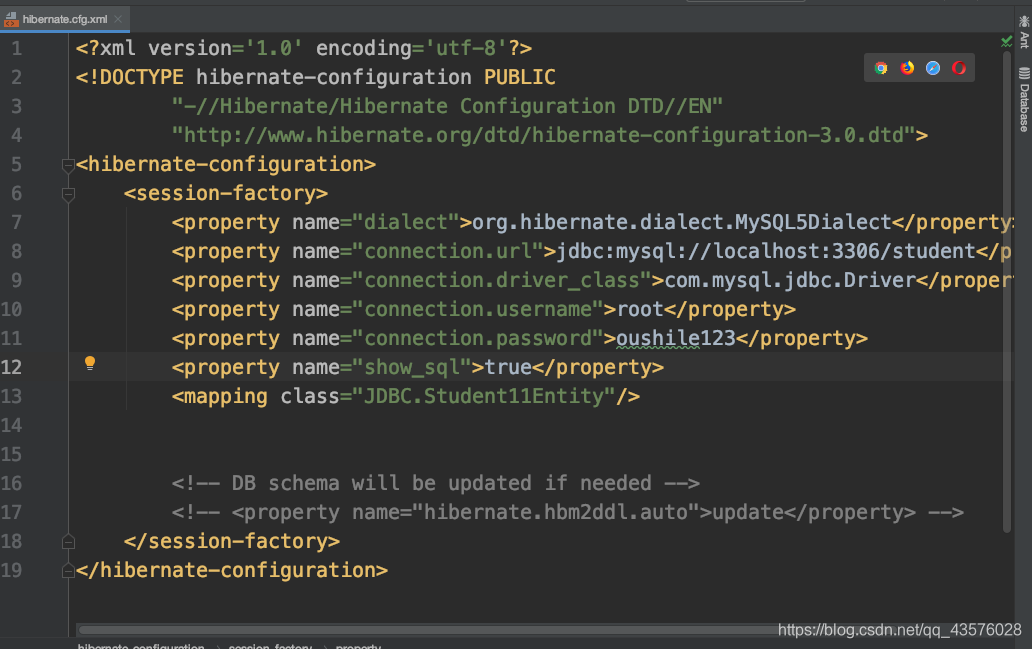
<?xml version='1.0' encoding='utf-8'?>
<!DOCTYPE hibernate-configuration PUBLIC
        "-//Hibernate/Hibernate Configuration DTD//EN"
        "http://www.hibernate.org/dtd/hibernate-configuration-3.0.dtd">
<hibernate-configuration>
    <session-factory>
        <property name="dialect">org.hibernate.dialect.MySQL5Dialect</property>
        <property name="connection.url">jdbc:mysql://localhost:3306/student</property>
        <property name="connection.driver_class">com.mysql.jdbc.Driver</property>
        <property name="connection.username">root</property>
        <property name="connection.password">oushile123</property>
        <property name="show_sql">true</property>
        <mapping class="JDBC.Student11Entity"/>


        <!-- DB schema will be updated if needed -->
        <!-- <property name="hibernate.hbm2ddl.auto">update</property> -->
    </session-factory>
</hibernate-configuration>
13.编写一个实体类:student.java,采用javaBean风格的写法
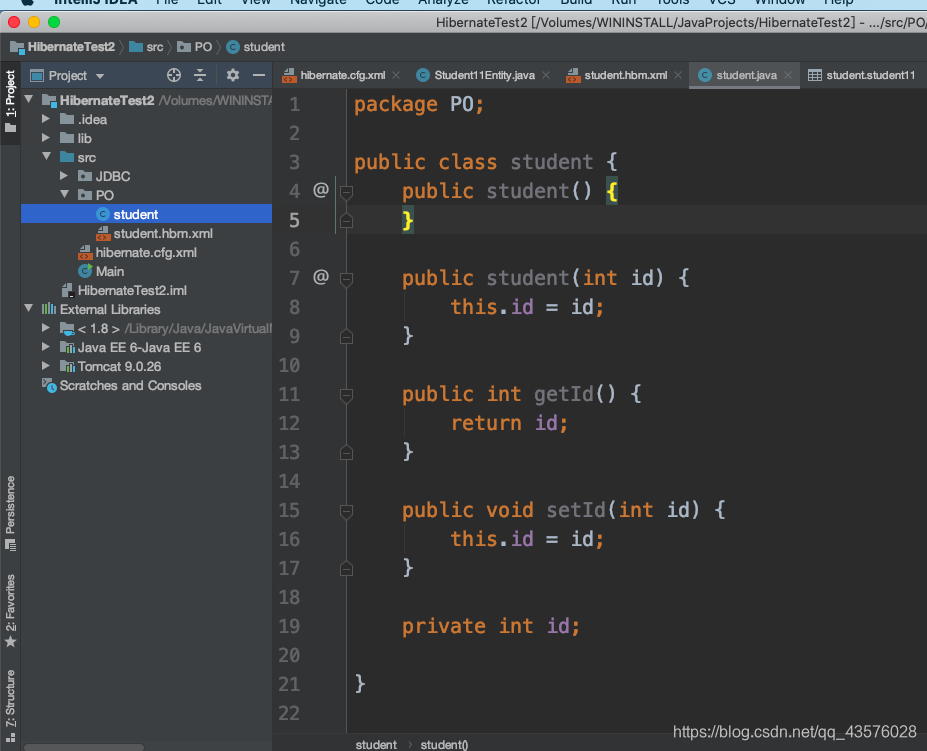
将表内所有字段作为实体类的私有成员,提供getter和setter方法,无参和含参的构造器。
实体类写完了,可是系统却不会认识它,所以依然需要在配置文件里面对其进行配置,这里就是前面提到的第二个配置文件,负责对象和关系的映射。
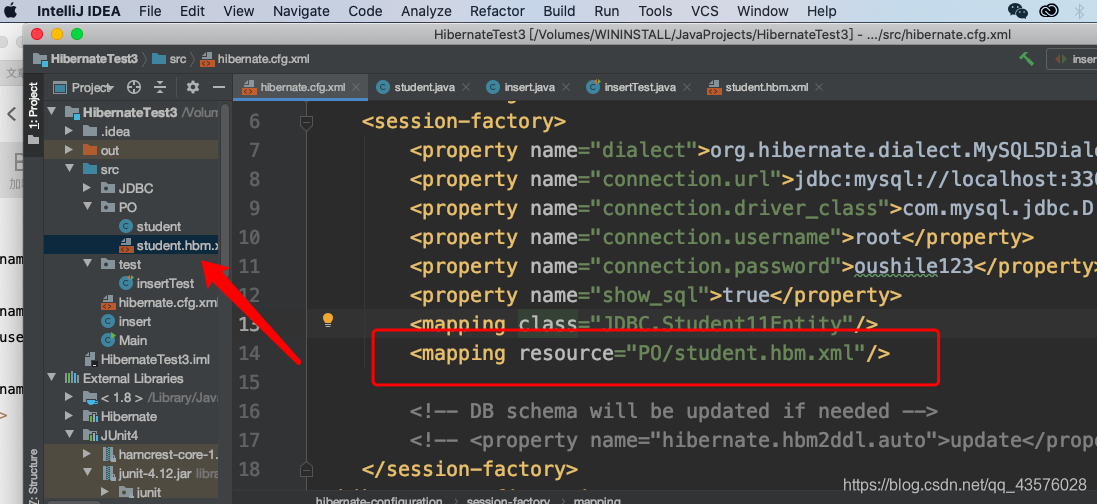
写完后配置到hibernate.cfg.xml里面
<?xml version='1.0' encoding='utf-8'?>
<!DOCTYPE hibernate-configuration PUBLIC
        "-//Hibernate/Hibernate Configuration DTD//EN"
        "http://www.hibernate.org/dtd/hibernate-configuration-3.0.dtd">
<hibernate-configuration>
    <session-factory>
        <property name="dialect">org.hibernate.dialect.MySQL5Dialect</property>
        <property name="connection.url">jdbc:mysql://localhost:3306/student</property>
        <property name="connection.driver_class">com.mysql.jdbc.Driver</property>
        <property name="connection.username">root</property>
        <property name="connection.password">oushile123</property>
        <property name="show_sql">true</property>
        <mapping class="JDBC.Student11Entity"/>
        <mapping resource="PO/student.hbm.xml"/>

        <!-- DB schema will be updated if needed -->
        <!-- <property name="hibernate.hbm2ddl.auto">update</property> -->
    </session-factory>
</hibernate-configuration>
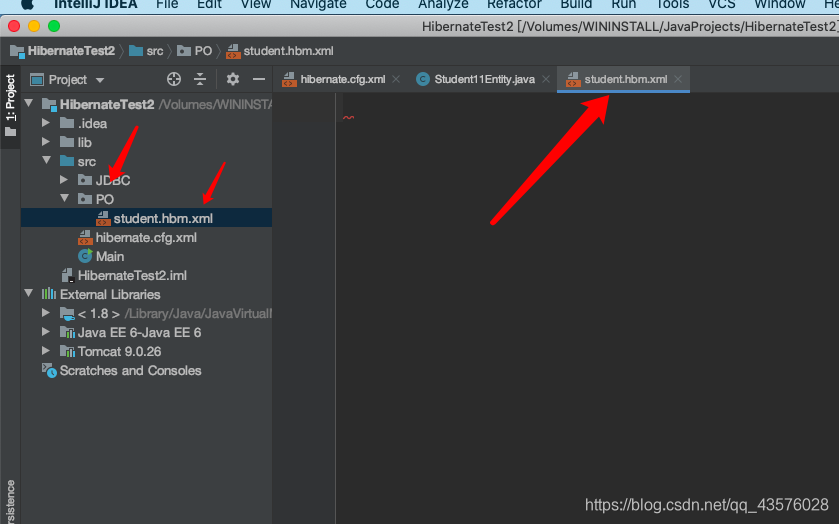
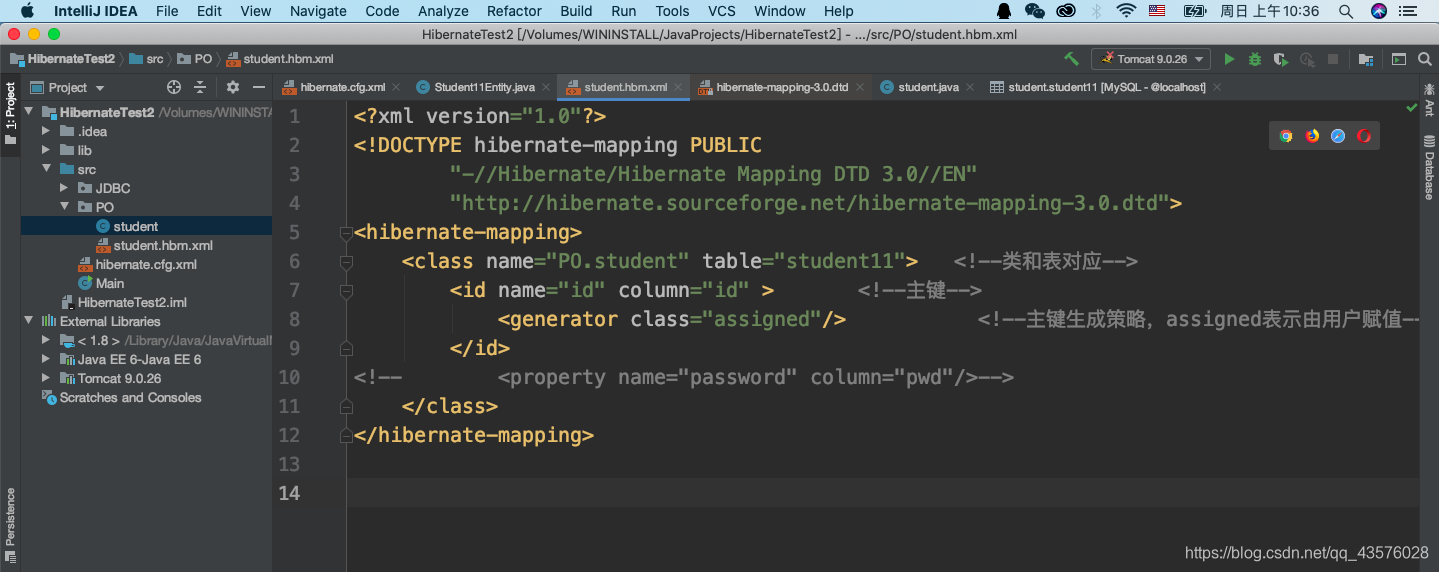
14.新建配置文件student.hbm.xml
<?xml version="1.0"?>
<!DOCTYPE hibernate-mapping PUBLIC
        "-//Hibernate/Hibernate Mapping DTD 3.0//EN"
        "http://hibernate.sourceforge.net/hibernate-mapping-3.0.dtd">
<hibernate-mapping>
    <class name="PO.student" table="student11">   <!--类和表对应-->
        <id name="id" column="id" >       <!--主键-->
            <generator class="assigned"/>           <!--主键生成策略,assigned表示由用户赋值-->
        </id>
<!--        <property name="password" column="pwd"/>-->
    </class>
</hibernate-mapping>
注意:如果除了主键还有别的字段,添加在property里面,因为我这里只有一个字段id,且是主键,所以把property注释掉了。
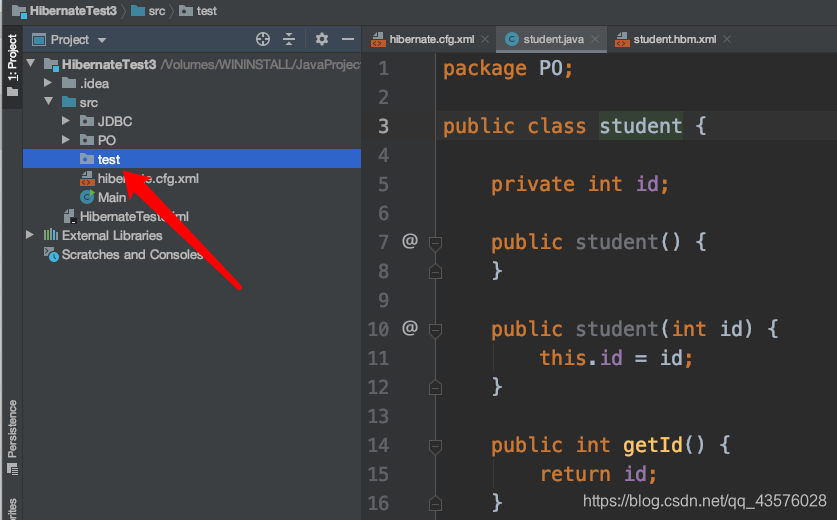
15.开始测试,新建一个文件夹test,等下准备接受Junit测试的结果
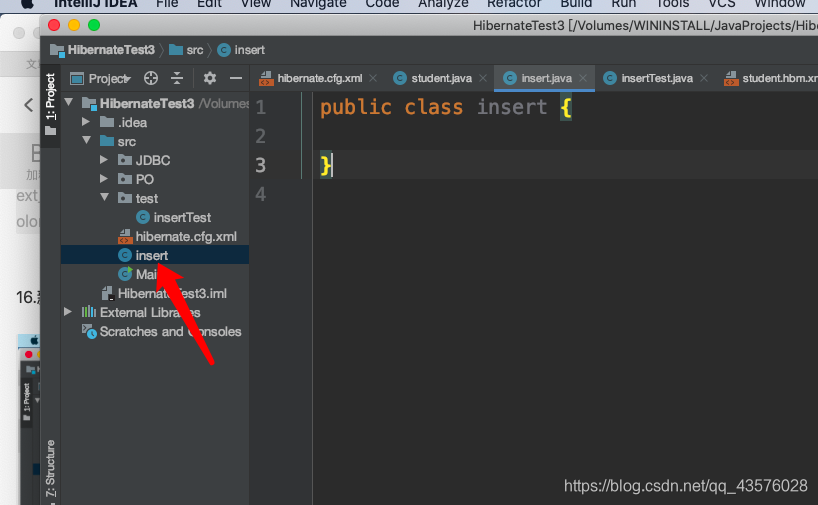
16.新建一个类,这里以插入为例
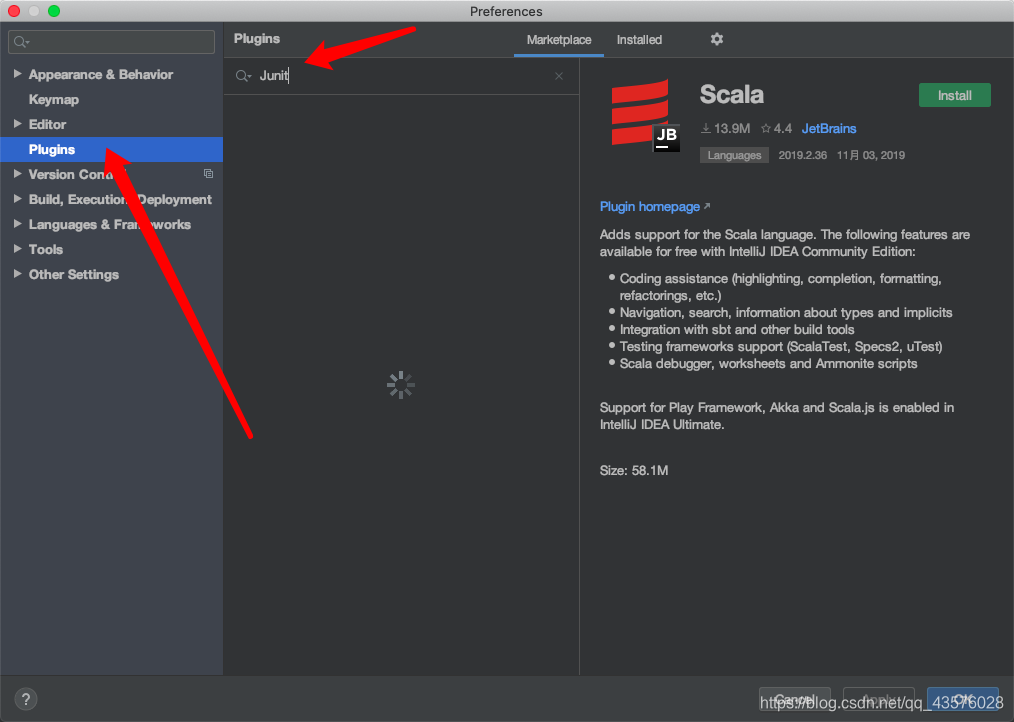
17.下载Junit进行测试
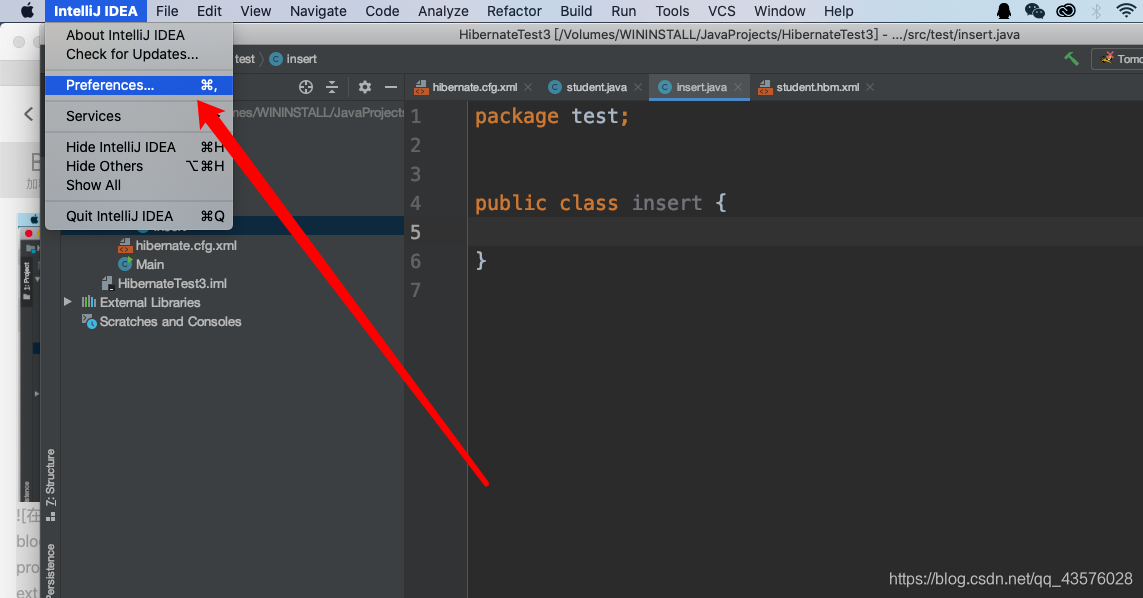
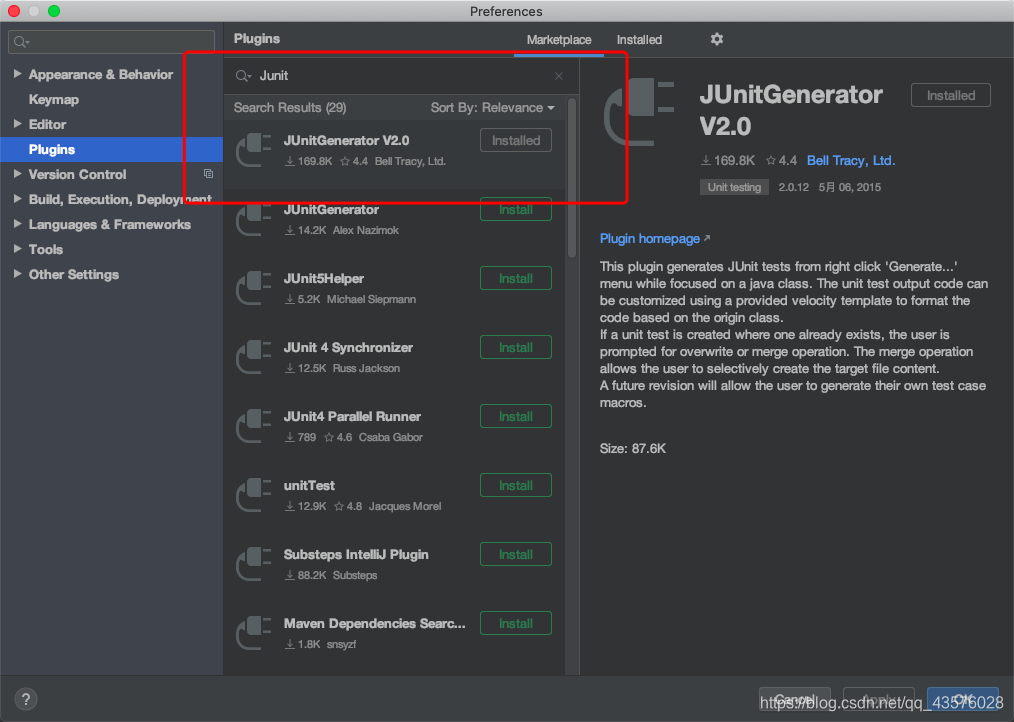
安装完成后重启IDE,回到测试类
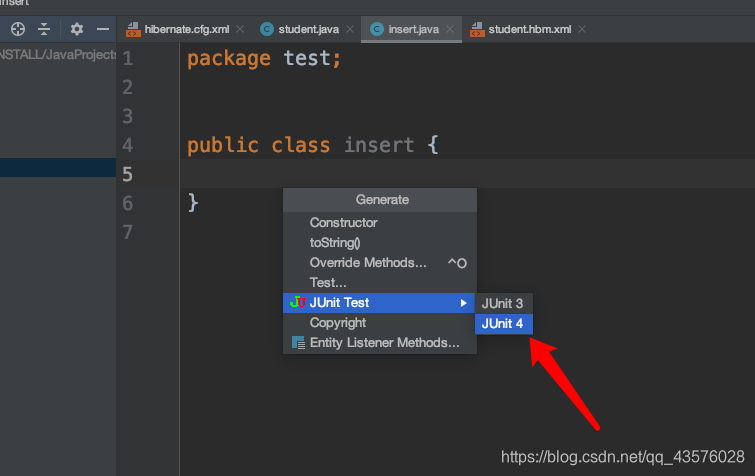
18.配置Junit4
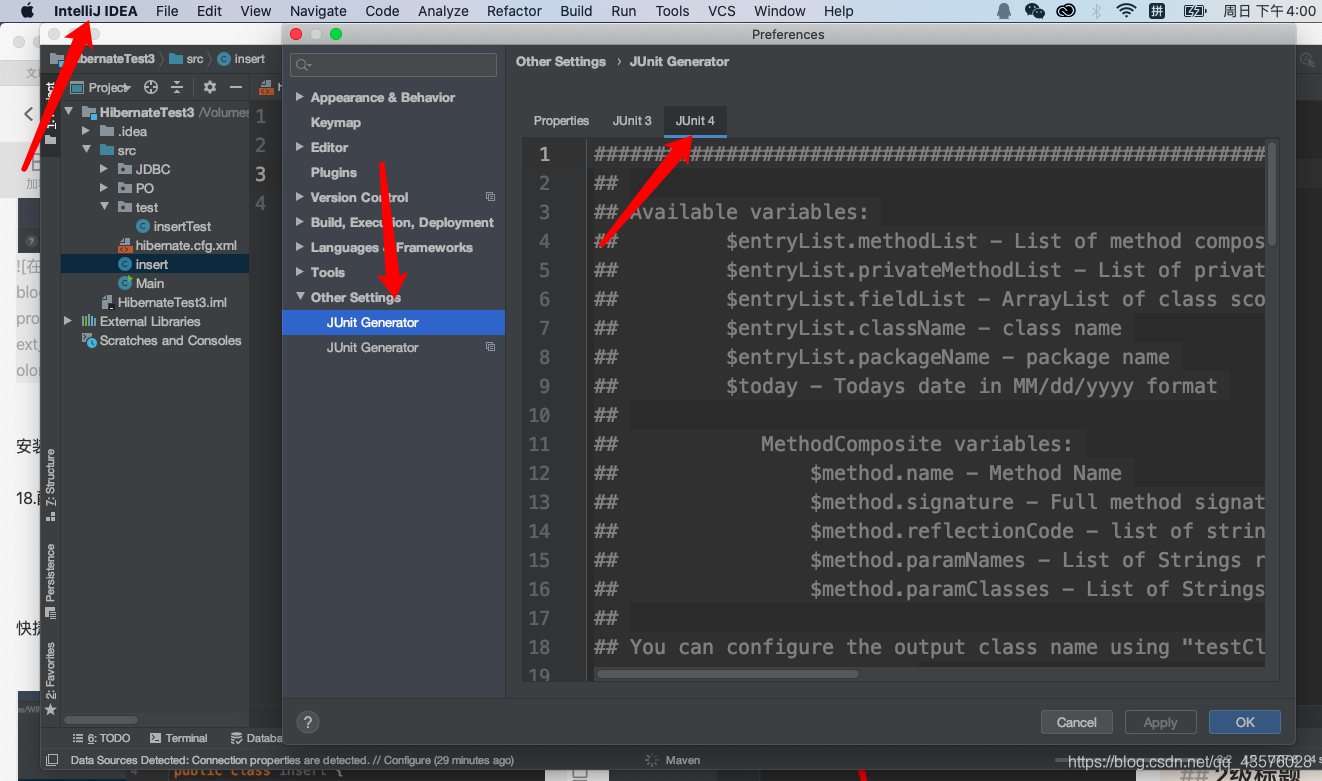
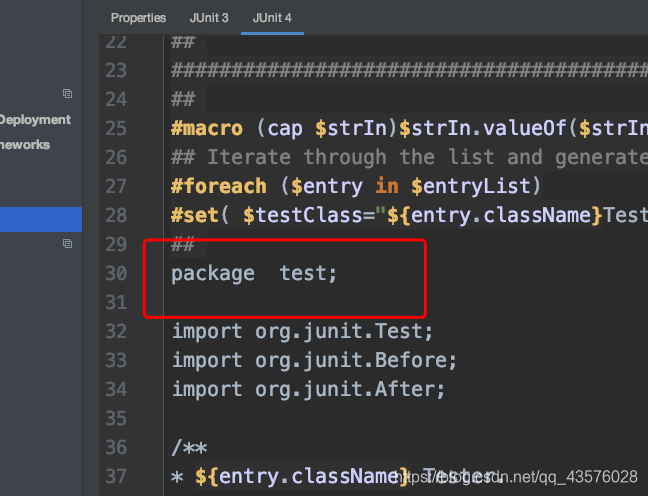
修改为我们预先定义好的test文件夹,这样Junit测试类就会自动生成在test文件夹里面了,是不是很方便。
19.开始测试
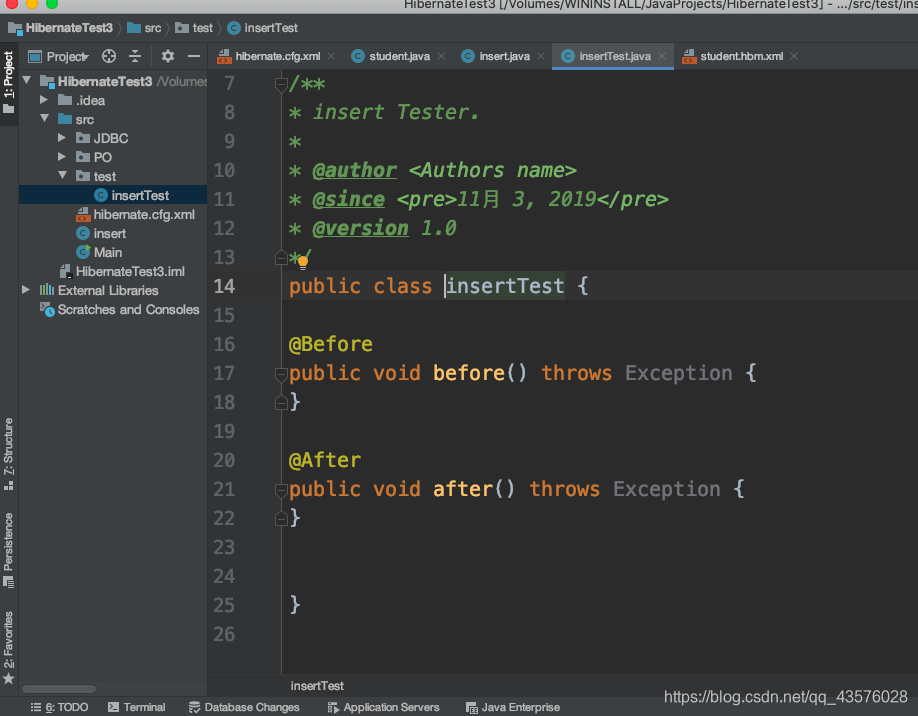
快捷键Alt+Insert,就会出现自动生成测试文件的选项:
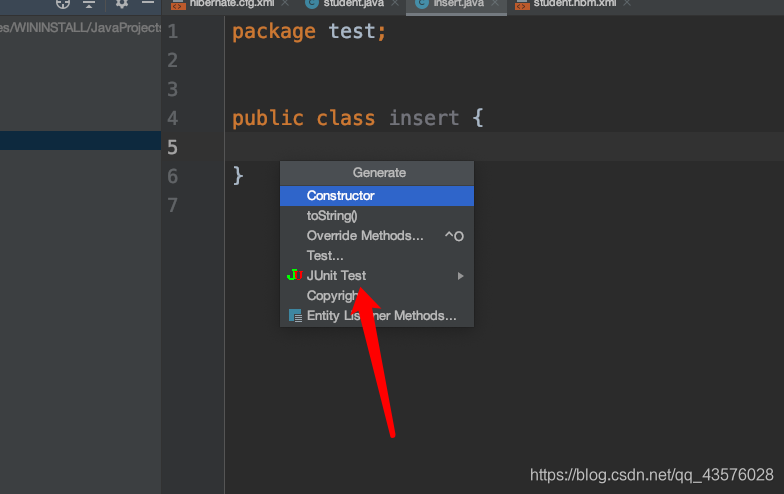
然后会自动在test文件夹里面生成测试类
20.编写测试代码
package test;
import org.junit.Before;
import org.junit.After;
import org.junit.Test;
import PO.student;
import org.hibernate.Session;
import org.hibernate.SessionFactory;
import org.hibernate.Transaction;
import org.hibernate.boot.MetadataSources;
import org.hibernate.boot.registry.StandardServiceRegistry;
import org.hibernate.boot.registry.StandardServiceRegistryBuilder;
/**
* insert Tester.
*
* @author <Authors name>
* @since <pre>11月 3, 2019</pre>
* @version 1.0
*/
public class insertTest {
private SessionFactory sessionFactory;
private Session session;
private Transaction transaction;
@Before
public void before() throws Exception {
final StandardServiceRegistry registry=new StandardServiceRegistryBuilder().configure().build();
try {
sessionFactory=new MetadataSources(registry).buildMetadata().buildSessionFactory();
session=sessionFactory.openSession();
transaction=session.beginTransaction();
}catch(Exception e){
StandardServiceRegistryBuilder.destroy(registry);
}
}
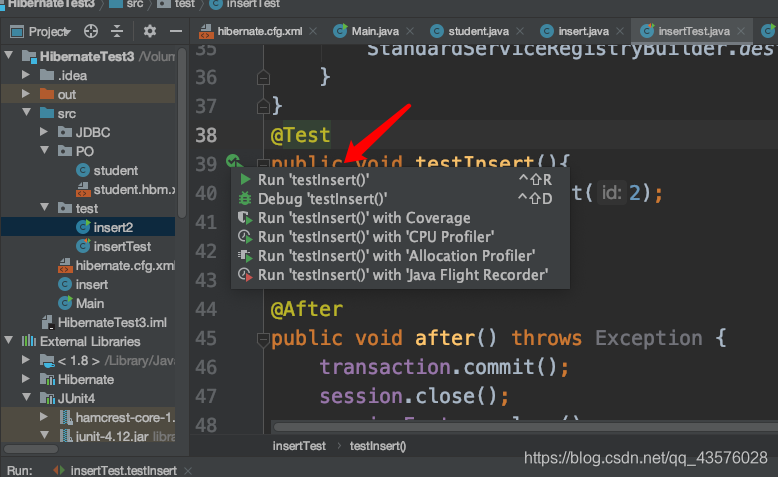
@Test
public void testInsert(){
student st=new student(2);
session.save(st);
}
@After
public void after() throws Exception {
transaction.commit();
session.close();
sessionFactory.close();
}
}
开始运行
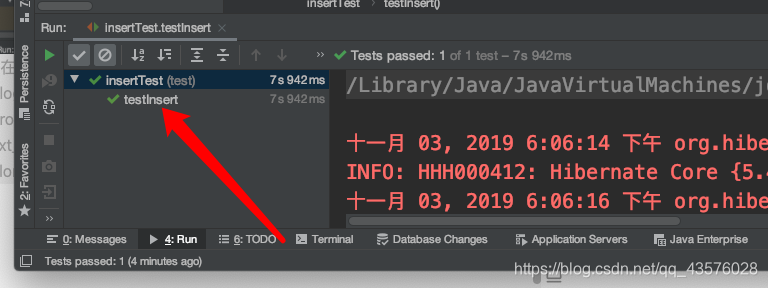
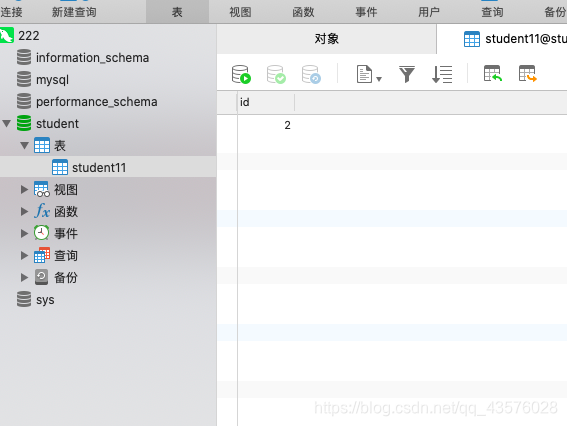
成功插入