前言
本文的原文连接是:
https://blog.csdn.net/freewebsys/article/details/103968186
未经博主允许不得转载。
博主地址是:http://blog.csdn.net/freewebsys
1,关于tinygo
基于LLVM,针对小型设备的Go编译器,可以支持很多开源硬件设备。
比如 arduino BBC micro:bit ,我就研究过 arduino ,需要写一个类似c的代码。
然后用一个ide 工具进行烧录。在 linux 上面也不算复杂。
然后 tinygo 用起来就超级简单了,可以直接一行命令就编译使用。
我购买了 esp8266 设备,但是目前看好像不支持,不过估计很快就可以支持了。
2,安装环境
直接找了台电脑安装成 xubuntu 系统,再上面折腾。
https://tinygo.org/getting-started/linux/
安装最新的软件:
wget https://github.com/tinygo-org/tinygo/releases/download/v0.11.0/tinygo_0.11.0_amd64.deb
sudo dpkg -i tinygo_0.11.0_amd64.deb
sudo apt-get install -y gcc-avr avr-libc avrdude
输入 tinygo 然后可以看到版本信息了。
代码样例:
https://github.com/tinygo-org/tinygo/tree/master/src/examples
3,编译并烧录到设备
可以控制的函数
https://tinygo.org/microcontrollers/arduino-uno/
https://tinygo.org/usage/basic/

tinygo flash -target=arduino -port=/dev/ttyACM0 ./demo01.go
然后嗖的一下子,就执行成功了。可以看到把 hex 直接拷贝过去了,490 bytes
符合golang 的特性,就是快。
avrdude: AVR device initialized and ready to accept instructions

Reading | ################################################## | 100% 0.00s

avrdude: Device signature = 0x1e950f (probably m328p)
avrdude: NOTE: "flash" memory has been specified, an erase cycle will be performed
         To disable this feature, specify the -D option.
avrdude: erasing chip
avrdude: reading input file "/tmp/tinygo247074216/main.hex"
avrdude: input file /tmp/tinygo247074216/main.hex auto detected as Intel Hex
avrdude: writing flash (490 bytes):

Writing | ################################################## | 100% 0.09s

avrdude: 490 bytes of flash written
avrdude: verifying flash memory against /tmp/tinygo247074216/main.hex:
avrdude: load data flash data from input file /tmp/tinygo247074216/main.hex:
avrdude: input file /tmp/tinygo247074216/main.hex auto detected as Intel Hex
avrdude: input file /tmp/tinygo247074216/main.hex contains 490 bytes
avrdude: reading on-chip flash data:

Reading | ################################################## | 100% 0.07s

avrdude: verifying ...
avrdude: 490 bytes of flash verified

avrdude done.  Thank you.
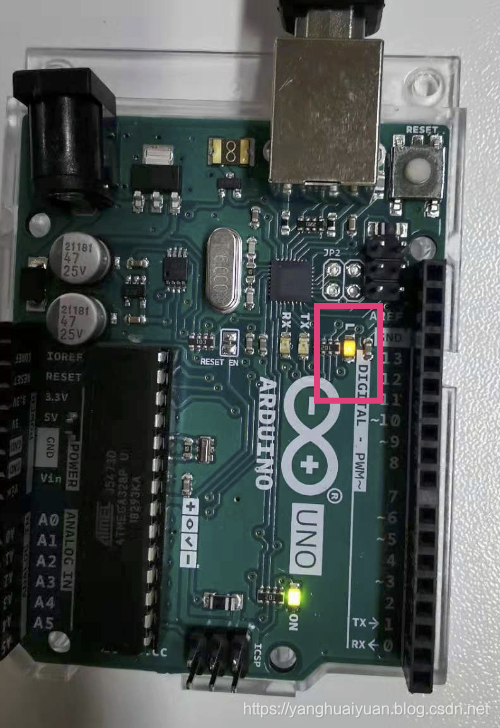
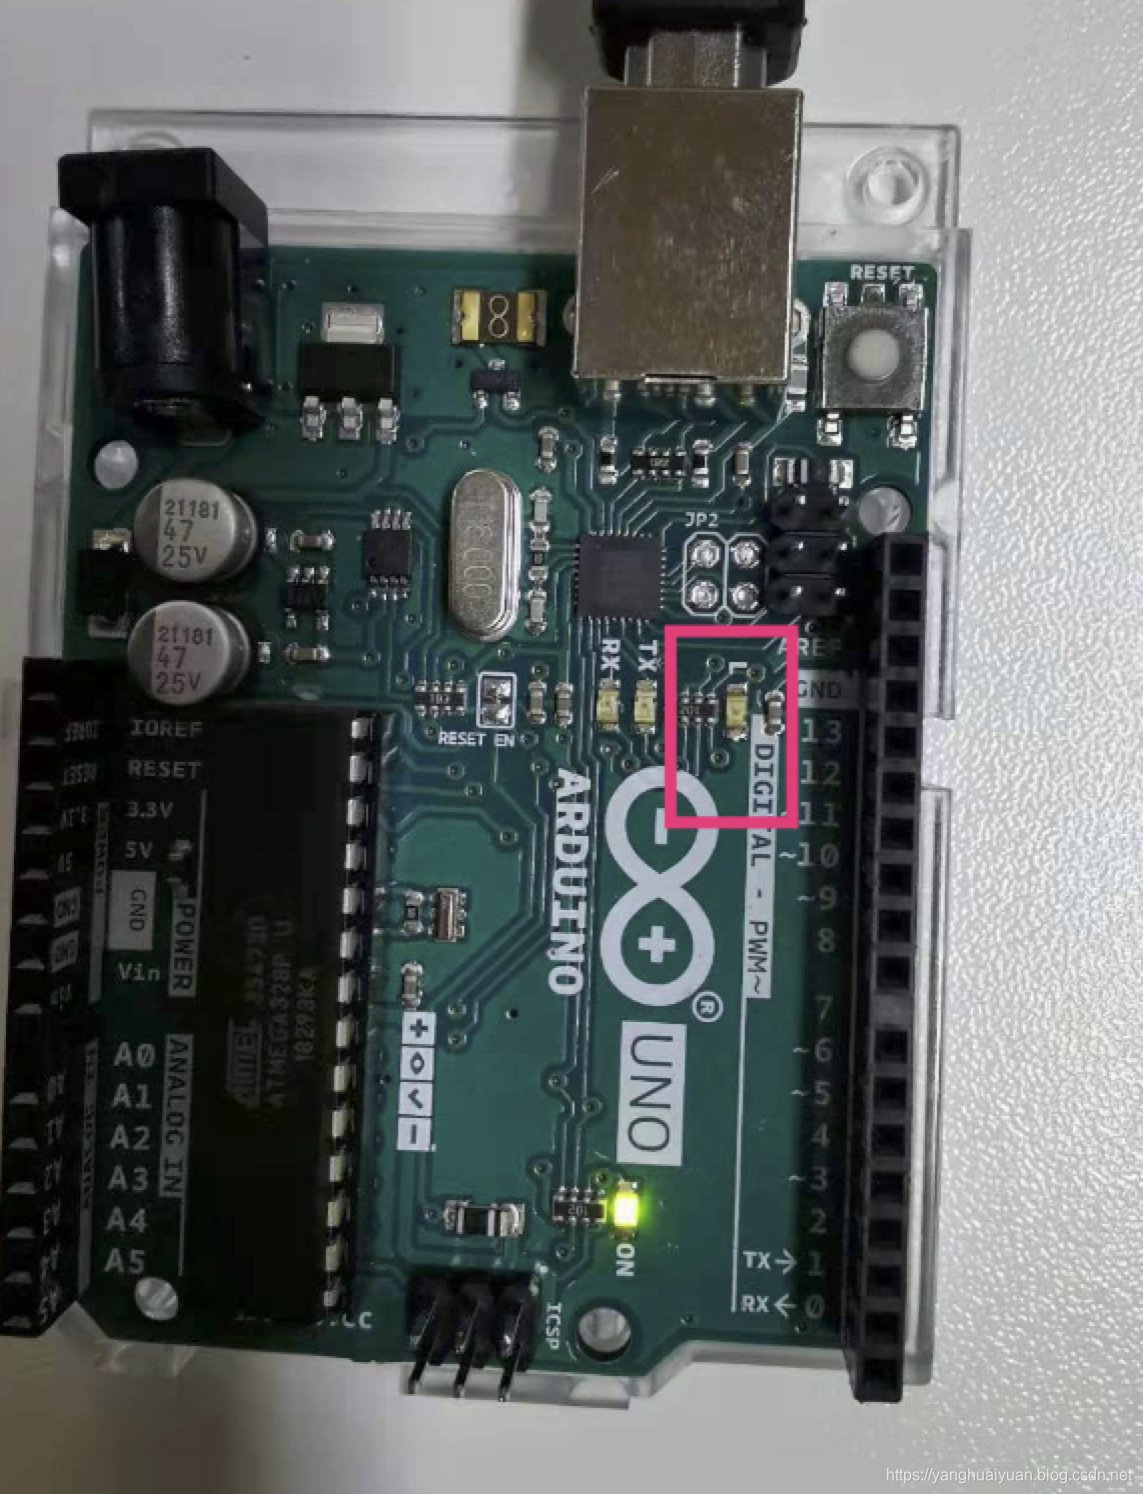
来一个 hello world ,led 开关灯。
package main

// This is the most minimal blinky example and should run almost everywhere.

import (
	"machine"
	"time"
)

func main() {
	led := machine.LED
	led.Configure(machine.PinConfig{Mode: machine.PinOutput})
	for {
		led.Low()
		time.Sleep(time.Millisecond * 500)

		led.High()
		time.Sleep(time.Millisecond * 500)
	}
}
可以看到和普通 arduino 设备一样,可以控制 led 闪亮。golang 开发起来就非常方便了。
4,总结
突然一下子明白了,是比较具有颠覆意义的,虽然支持的设备不是很多。
但是后续慢慢会好的,比直接用arduino 开发好,简单,而且感觉上可控制。
毕竟能用golang 写的代码多了,但是还是和普通的golang 有区别的,好多的功能是不能用的,下面是已经实现的lib 库。
https://tinygo.org/lang-support/stdlib/
基于golang 1.13 的但是有些没有实现,已经明白咋回事了。估计很快了。
1-2 个月更新一版,现在 tinygo 的版本是 0.11.0 期待以后更新。
以后做点小程序硬件啥的,就直接用tinygo了。
本文的原文连接是:
https://blog.csdn.net/freewebsys/article/details/103968186
