这两天肺炎传的特别快,搞得人心惶惶的。。。会不会学完后人类都快没了
下文中的keras默认是tf.keras
from tensorflow import keras
import tensorflow as tf
import matplotlib.pyplot as plt
数据集处理
目标分类数据集: cifar10
引用方式: (x_train, y_train), (x_test, y_test) = keras.datasets.cifar10.load_data()
没有下载过的要下载,ide下载慢的可以复制链接迅雷下载,然后复制到用户名/.keras里面。
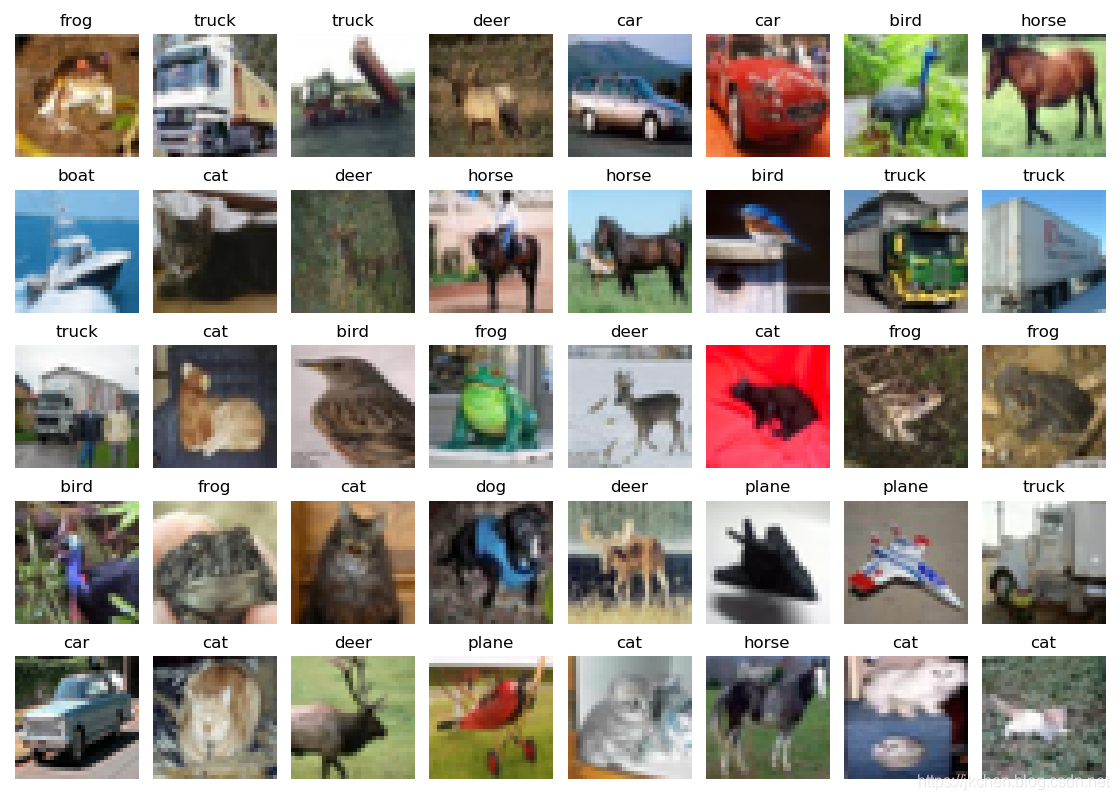
打印一部分数据:
# 展示一些图片
def show_imgs(n_rows, n_cols, x_data, y_data, class_names):
    plt.figure(figsize=(n_cols * 1.4, n_rows * 1.6))
    for row in range(n_rows):
        for col in range(n_cols):
            index = n_cols * row + col
            plt.subplot(n_rows, n_cols, index + 1)
            plt.imshow(x_data[index],
                       interpolation='nearest')  # 缩放图片时的方法
            plt.axis('off')
            plt.title(class_names[int(y_data[index])])
    plt.show()
class_names = ['plane', 'car' ,' bird ', 'cat','deer', 'dog', 'frog',
               'horse', 'boat', 'truck']
show_imgs(5, 8, x_train, y_train, class_names)
特征提取网络的输入为3通道,大小至少71*71,而cifar数据集好想只有28*28,所以要reshape一下:
x_train=tf.image.resize(x_train,[71,71])
x_test=tf.image.resize(x_test,[71,71])
网络结构
官方文档:https://keras.io/zh/applications/
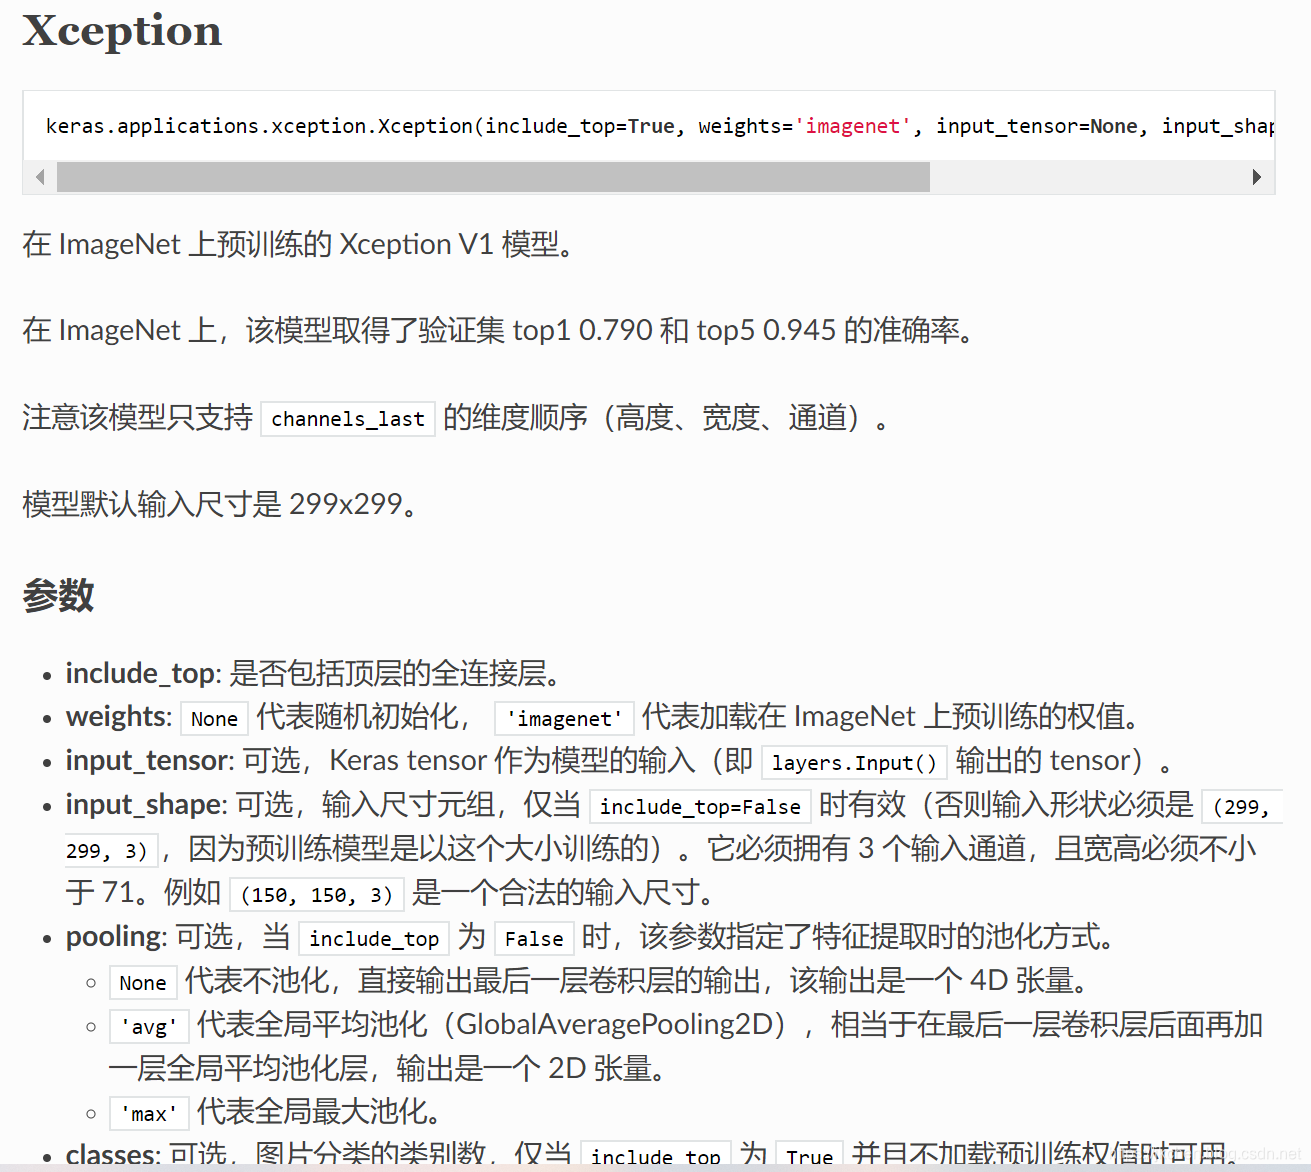
载入Xecption网络:
xception=keras.applications.xception.Xception(
					include_top=False, weights='imagenet',
                   	input_tensor=None, input_shape=[71,71,3],
                  	pooling='avg')
这样的Xception有133层,最后一层的输出为:一维张量,长度2048
我们载入了imagenet的预训练权值,回想起ng的话,冻结前面的层,训练后面的层:
    freeze_layer = 100
    for layer in xception.layers[:freeze_layer]:
        layer.trainable = False
构建自己的网络:
    model = keras.Sequential([
        xception,
        keras.layers.Dropout(0.5),
        keras.layers.Dense(1024, activation='relu'),
        keras.layers.Dropout(0.5),
        keras.layers.Dense(512, activation='relu'),
        keras.layers.Dropout(0.5),
        keras.layers.Dense(10, activation='softmax')
    ])
可以打印model的详细信息:
def print_model_info(model):
    for layer in model.layers:
        print('layer name:',layer.name,'output:',layer.output_shape,'trainable:',layer.trainable)
        if layer.name=='xception':
            for ll in layer.layers:
                print('layer name:',ll.name,'output:',ll.output_shape,'trainable:',ll.trainable)
        else:
            for weight in layer.weights:
                print('--weight name:',weight.name,'shape:',weight.shape)
conpile:
model.compile(optimizer=keras.optimizers.Adam(lr=0.0001),
              loss='sparse_categorical_crossentropy',
              metrics=['accuracy'])
训练过程
发现如果整个数据集跑一个epoch要几十分钟。而且可能不会有进步,例如测试集准确率上不去,学习率较小,学习率较大。
所以把数据集分成多个部分,每次训练后保存到本地。
n = x_train.shape[0]
m = x_test.shape[0]
n = (int)(n / 10)
m = (int)(m / 10)

# 分批训练并及时保存,以实时调整学习速率等其他超参数
for epoch in range(10):
    for i in range(10):
        # 训练
        ns = i * n
        ms = i * m
        history = model.fit(x_train[ns:ns + n], y_train[ns:ns + n],
                      batch_size=64, epochs=1,
                      validation_data=(x_test[ms:ms + m], y_test[ms:ms + m]))
        model.save('my_model.h5')

loss, acc = model.evaluate(x_test, y_test)
print("model loss:{:.2}, acc:{:.2%}".format(loss, acc))
之后可以在之前的训练结果上继续训练
    import os
    if os.path.exists('my_model.h5'):
        return tf.keras.models.load_model('my_model.h5')
调整网络结构
发现这样定结构测试集准确率上不去,然后想了想:
cifar集的大小很小,resize到71*71得到的图片和imagenet上的图片应该差很多,所以Xception的前面几层提取的特征不适用这个训练集。
而网络结构的后面几层可以理解为前面几层特征的一个组织方法,所以这里试着冻结后面100层,训练前面的。
    freeze_layer = 100
    for layer in xception.layers[-freeze_layer:]:
        layer.trainable = False
完整代码
from tensorflow import keras
import tensorflow as tf
import matplotlib.pyplot as plt


# 展示学习曲线
def show_learning_curves(history):
    import pandas as pd
    pd.DataFrame(history.history).plot(figsize=(8, 5))
    plt.grid(True)
    plt.gca().set_ylim(0, 1)
    plt.show()


# 获取模型
def getModel():
    import os
    if os.path.exists('my_model.h5'):
        return tf.keras.models.load_model('my_model.h5')
    # 特征提取网络
    xception = keras.applications.xception.Xception(include_top=False, weights='imagenet',
                                                    input_tensor=None, input_shape=[71, 71, 3],
                                                    pooling='avg')

    # xception.trainable=False
    freeze_layer = 100
    for layer in xception.layers[-freeze_layer:]:
        layer.trainable = False

    # 模型创建和训练
    model = keras.Sequential([
        xception,
        keras.layers.Dropout(0.5),
        keras.layers.Dense(1024, activation='relu'),
        keras.layers.Dropout(0.5),
        keras.layers.Dense(512, activation='relu'),
        keras.layers.Dropout(0.5),
        keras.layers.Dense(10, activation='softmax')
    ])
    return model


def print_model_info(model):
    for layer in model.layers:
        print('layer name:', layer.name, 'output:', layer.output_shape, 'trainable:', layer.trainable)
        if layer.name == 'xception':
            for ll in layer.layers:
                print('layer name:', ll.name, 'output:', ll.output_shape, 'trainable:', ll.trainable)
        else:
            for weight in layer.weights:
                print('--weight name:', weight.name, 'shape:', weight.shape)


model = getModel()
# print_model_info(model)

model.compile(optimizer=keras.optimizers.Adam(lr=0.0005),
              loss='sparse_categorical_crossentropy',
              metrics=['accuracy'])

# 获取数据
(x_train, y_train), (x_test, y_test) = keras.datasets.cifar10.load_data()
print('iamge ori size:',x_train.shape, y_train.shape, x_test.shape, y_test.shape)


# 展示一些图片
def show_imgs(n_rows, n_cols, x_data, y_data, class_names):
    plt.figure(figsize=(n_cols * 1.4, n_rows * 1.6))
    for row in range(n_rows):
        for col in range(n_cols):
            index = n_cols * row + col
            plt.subplot(n_rows, n_cols, index + 1)
            plt.imshow(x_data[index],
                       interpolation='nearest')  # 缩放图片时的方法
            plt.axis('off')
            plt.title(class_names[int(y_data[index])])
    plt.show()


class_names = ['plane', 'car', ' bird ', 'cat', 'deer', 'dog', 'frog',
               'horse', 'boat', 'truck']
# show_imgs(5, 8, x_train, y_train, class_names)

x_train = tf.image.resize(x_train, [71, 71])
x_test = tf.image.resize(x_test, [71, 71])
print('image processed',x_train.shape, y_train.shape, x_test.shape, y_test.shape)

n = x_train.shape[0]
m = x_test.shape[0]
n = (int)(n / 10)
m = (int)(m / 10)

# 分批训练并及时保存,以实时调整学习速率等其他超参数
for epoch in range(10):
    for i in range(10):
        # 训练
        ns = i * n
        ms = i * m
        history = model.fit(x_train[ns:ns + n], y_train[ns:ns + n],
                            batch_size=64, epochs=1, validation_data=(x_test[ms:ms + m], y_test[ms:ms + m]))
        model.save('my_model.h5')
        # show_learning_curves(history)

loss, acc = model.evaluate(x_test, y_test)
print("model loss:{:.2}, acc:{:.2%}".format(loss, acc))
