夜光序言:
有些痛,说不出来,就只能忍着直到慢慢淡忘。

正文:
以道御术 / 以术识道
下面我将精华梳理一下,主要涉及高并发


package 夜光第一部分;

//实现这个接口,并且重写方法
public class NewThread implements Runnable{

    //run方法
    @Override
    public void run() {
        System.out.println("线程启动了~~~");
    }

    public static void main(String[] args) {

        //万物皆为对象
        //new
//        Thread thread = new Thread();  //创建了线程
        Thread thread = new Thread(new NewThread());  //创建了线程,并且指定了线程任务

        //下面启动线程
        thread.start();

    }

}

package 夜光第一部分;

public class NewThread01 implements Runnable{

    //run方法
    @Override
    public void run() {

        while(true){
            System.out.println("自定义的线程执行了~~~");
        }

    }

    public static void main(String[] args) {

        //万物皆为对象
        //new
//        Thread thread = new Thread();  //创建了线程
        Thread thread = new Thread(new NewThread());  //创建了线程,并且指定了线程任务

        //下面启动线程
        thread.start();

        while (true){
            System.out.println("主线程执行了~~");
        }

    }

}


package 夜光第一部分;

public class NewThread01 implements Runnable{

    //run方法
    @Override
    public void run() {

        while(true){
            System.out.println("自定义的线程执行了~~~");
            try {
                Thread.sleep(100); //夜光:抛出异常,我们设置一个等待的
            } catch (InterruptedException e) {
                e.printStackTrace();
            }
        }

    }

    public static void main(String[] args) {

        //万物皆为对象
        //new
//        Thread thread = new Thread();  //创建了线程

        //下面这个就是所谓的初始化状态
        Thread thread = new Thread(new NewThread());  //创建了线程,并且指定了线程任务

        //下面启动线程
        thread.start();

        while (true){
            System.out.println("主线程执行了~~");
            try {
                Thread.sleep(100);  //夜光:抛出异常,我们设置一个等待的
            } catch (InterruptedException e) {
                e.printStackTrace();
            }
        }

    }

}

package 夜光第一部分;

public class NewThread02 implements Runnable {

    //run方法
    @Override
    public void run(){

        while(true){
            try {
                wait();
            } catch (InterruptedException e) {
                e.printStackTrace();
            }
            System.out.println("自定义的线程执行了~~~");
        }

    }

    public static void main(String[] args) {

        NewThread newThread = new NewThread();
        //万物皆为对象
        //new
//        Thread thread = new Thread();  //创建了线程

        //下面这个就是所谓的初始化状态
        Thread thread = new Thread(newThread);  //创建了线程,并且指定了线程任务

        //下面启动线程
        thread.start();

        while (true){
            System.out.println("主线程执行了~~");
            try {
                Thread.sleep(100);  //夜光:抛出异常,我们设置一个等待的
            } catch (InterruptedException e) {
                e.printStackTrace();
            }
            newThread.notify();
        }

    }

}
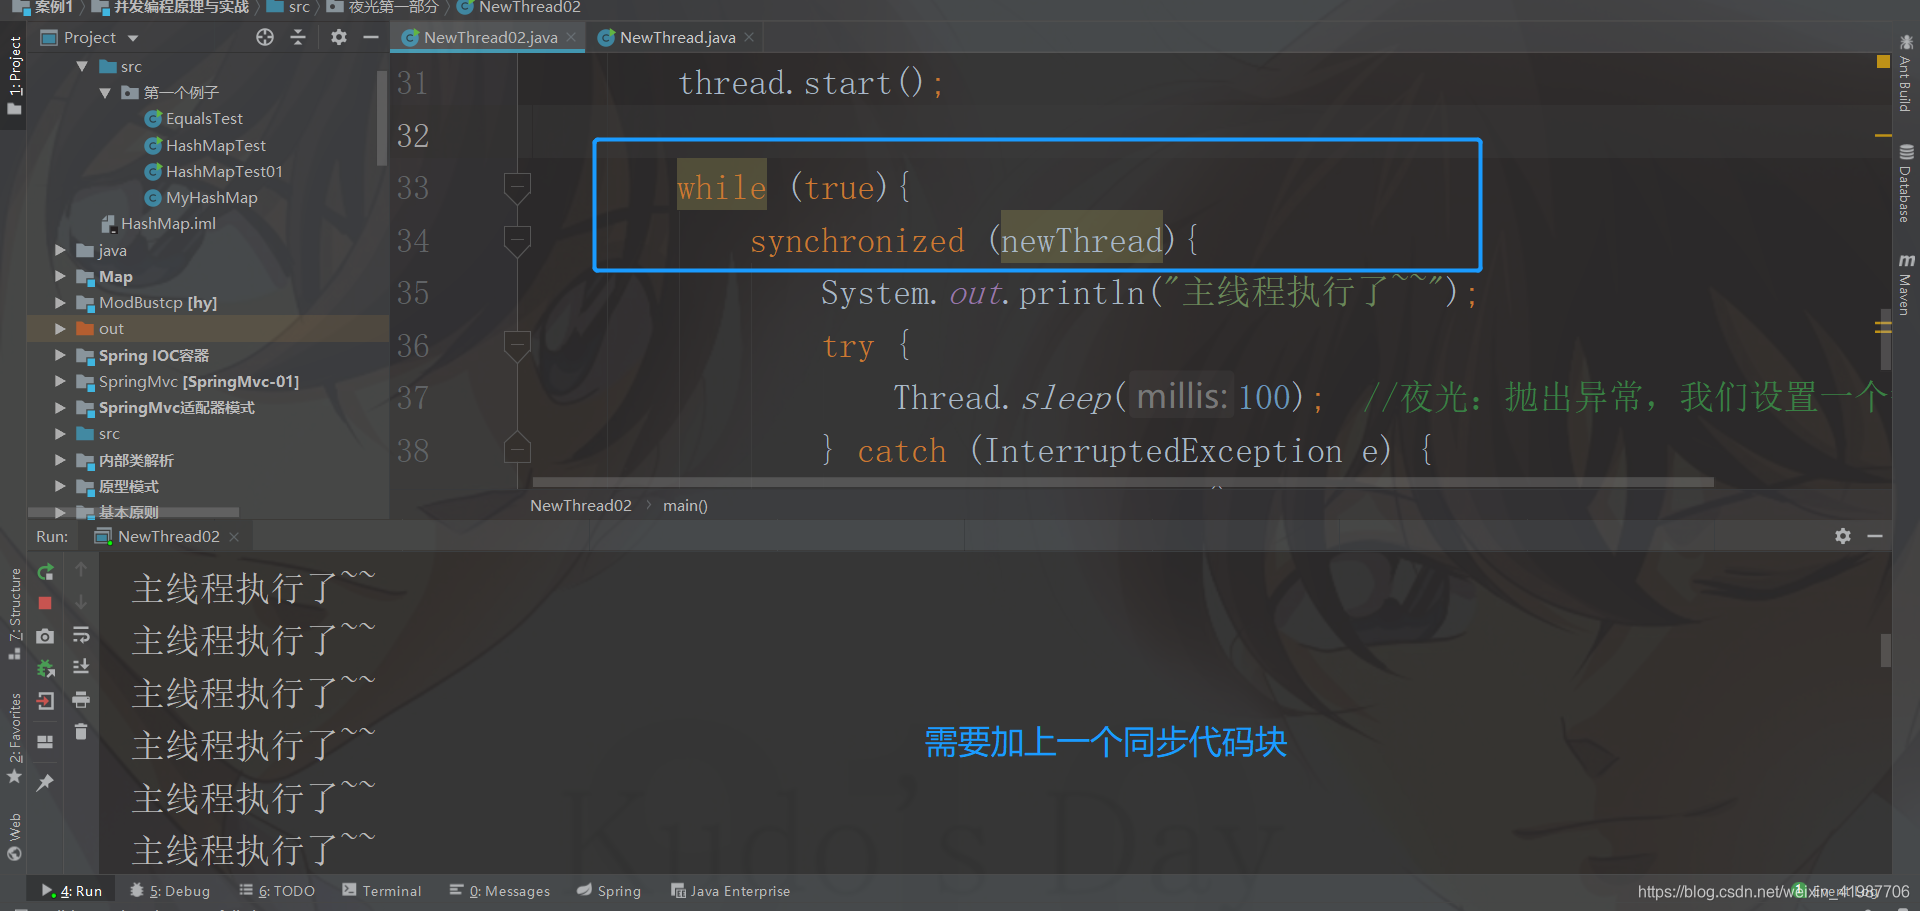
package 夜光第一部分;

public class NewThread02 implements Runnable {

    //run方法
    @Override
    public synchronized void run(){ //这里需要加上一个同步监视器

        while(true){
            try {
                wait();
            } catch (InterruptedException e) {
                e.printStackTrace();
            }
            System.out.println("自定义的线程执行了~~~");
        }

    }

    public static void main(String[] args) {

        NewThread02 newThread = new NewThread02();
        //万物皆为对象
        //new
//        Thread thread = new Thread();  //创建了线程

        //下面这个就是所谓的初始化状态
        Thread thread = new Thread(newThread);  //创建了线程,并且指定了线程任务

        //下面启动线程
        thread.start();

        while (true){
            synchronized (newThread){
                System.out.println("主线程执行了~~");
                try {
                    Thread.sleep(100);  //夜光:抛出异常,我们设置一个等待的
                } catch (InterruptedException e) {
                    e.printStackTrace();
                }
                newThread.notifyAll();
            }
        }

    }

}


package 夜光第二部分.案例1;

//首先继承一下
public class Demo1 extends Thread {

    public Demo1(String name) {
        super(name);
    }

    //我们来重写一下run方法,夜光
    @Override
    public void run() {
        System.out.println(getName() + "线程执行了~~");
    }

    public static void main(String[] args) {

        Demo1 d1 = new Demo1("炎帝");
        Demo1 d2 = new Demo1("雷帝");

        d1.start();
        d2.start();

    }


}

