【OpenCV(C++)】查找并绘制图像轮廓
一个轮廓一般对应一系列点,也就是图像中的一条曲线。其表示方法可能根据不同的情况而有所不同。
寻找轮廓:findContours()函数
findContours()函数用于在二值函数中寻找轮廓。
void findContours(
InputOutputArray image,
OutputArrayOfArrarys contours,
OutputArray hierarchy,
int mode,
int method,
Point offset=Point() );
绘制轮廓:drawContours()函数
drawContours()函数用于在图像中绘制外部或内部轮廓。
void drawContours(
InputOutputArray image,
InputArrayOfArrays contours,
int contourIdx,
const Scalar& color,
int thickness=1,
int lineType=8,
InputArray hierarchy = noArray(),
int maxLevel = INT_MAX,
Point offset = Point() );
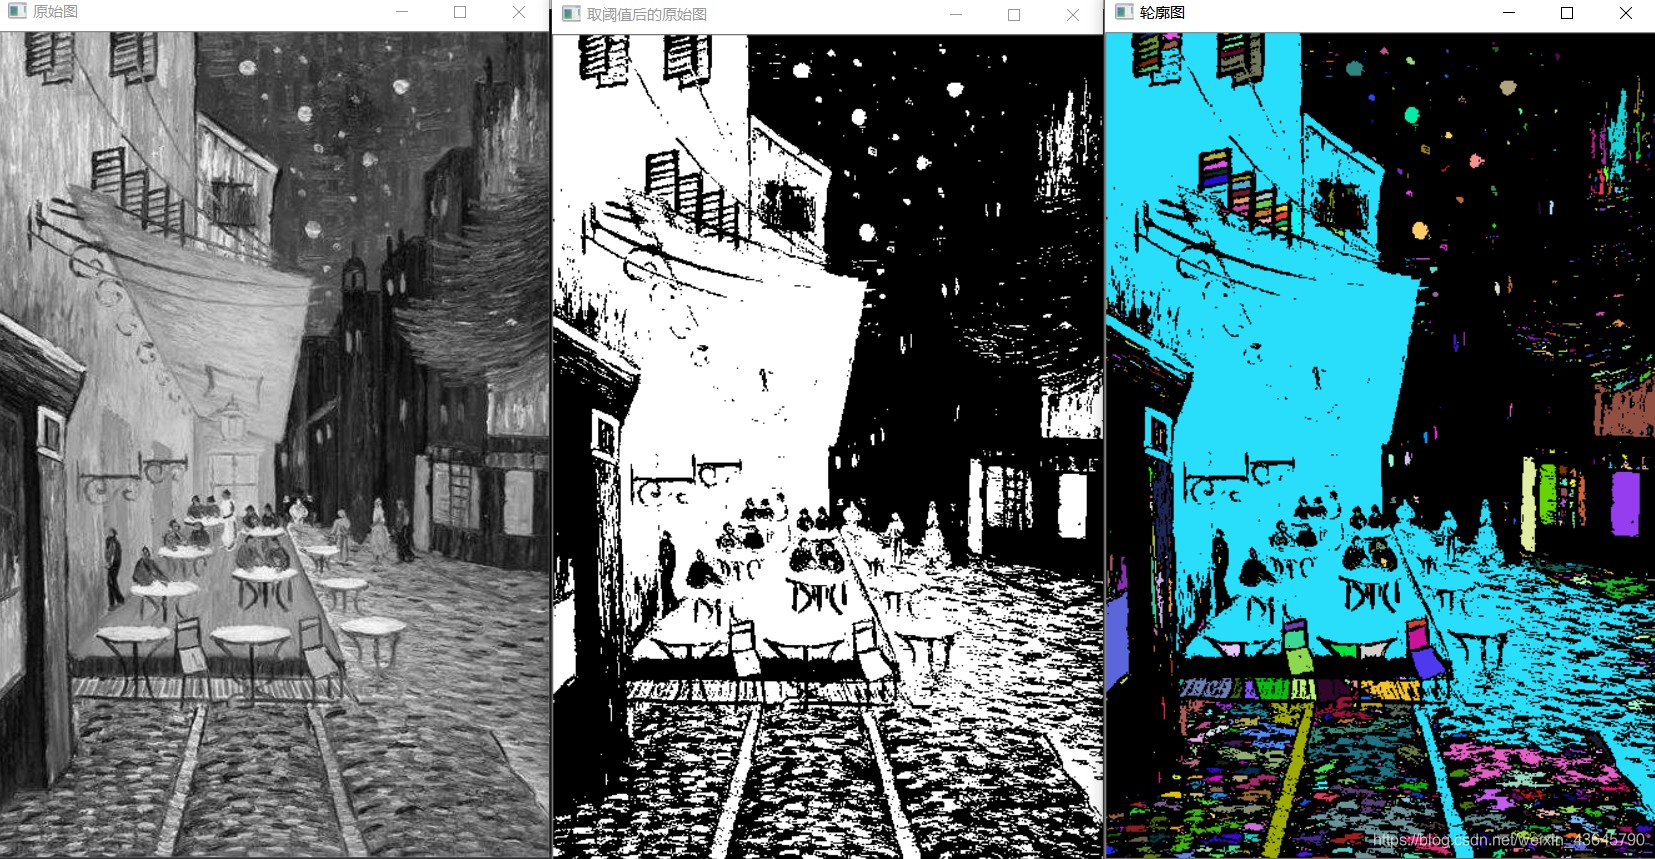
基础轮廓查找
#include <opencv2/opencv.hpp>
#include <opencv2/highgui/highgui.hpp>
#include <opencv2/imgproc/imgproc.hpp>
using namespace cv;
using namespace std;

int main(int argc, char** argv)
{
	Mat srcImage = imread("fg.jpg", 0);
	imshow("原始图", srcImage);

	Mat dstImage = Mat::zeros(srcImage.rows, srcImage.cols, CV_8UC3);

	srcImage = srcImage > 119;
	imshow("取阈值后的原始图", srcImage);

	vector<vector<Point> > contours;
	vector<Vec4i> hierarchy;

	findContours(srcImage, contours, hierarchy,
		CV_RETR_CCOMP, CV_CHAIN_APPROX_SIMPLE);

	int index = 0;
	for (; index >= 0; index = hierarchy[index][0])
	{
		Scalar color(rand() & 255, rand() & 255, rand() & 255);
		drawContours(dstImage, contours, index, color, CV_FILLED, 8, hierarchy);
	}

	imshow("轮廓图", dstImage);

	waitKey(0);

}
运行效果如下:
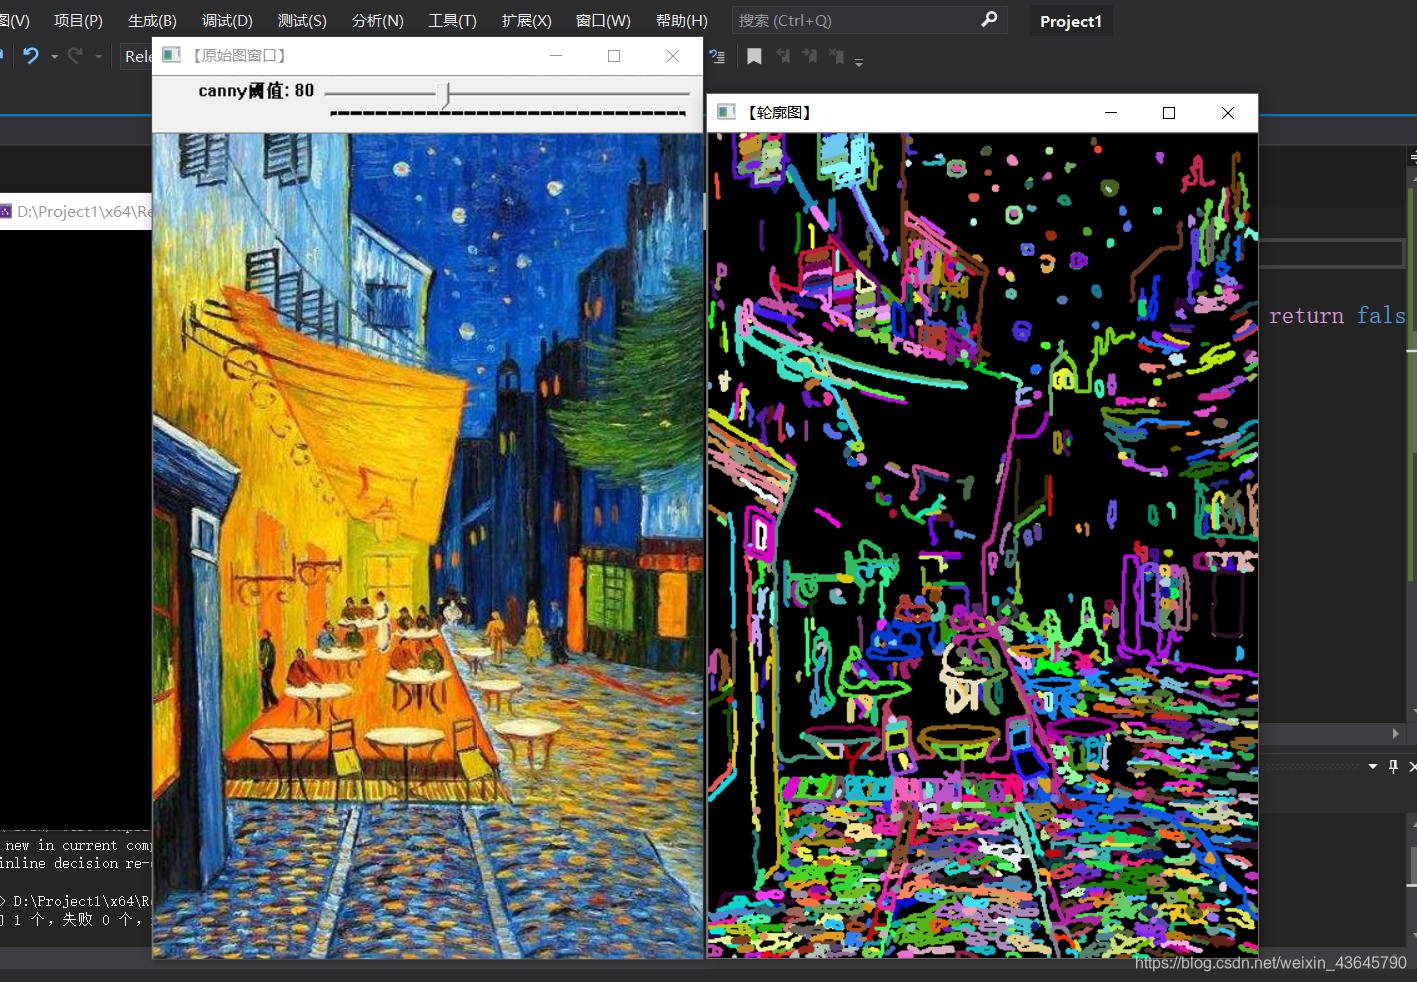
查找并绘制轮廓
#include "opencv2/highgui/highgui.hpp"
#include "opencv2/imgproc/imgproc.hpp"
#include <iostream>

using namespace cv;
using namespace std;


#define WINDOW_NAME1 "【原始图窗口】"
#define WINDOW_NAME2 "【轮廓图】"

Mat g_srcImage;
Mat g_grayImage;
int g_nThresh = 80;
int g_nThresh_max = 255;
RNG g_rng(12345);
Mat g_cannyMat_output;
vector<vector<Point>> g_vContours;
vector<Vec4i> g_vHierarchy;

void on_ThreshChange(int, void*);


int main(int argc, char** argv)
{
	g_srcImage = imread("fg.jpg", 1);
	if (!g_srcImage.data) { printf("读取图片错误,请确定目录下是否有imread函数指定的图片存在~! \n"); return false; }

	cvtColor(g_srcImage, g_grayImage, CV_BGR2GRAY);
	blur(g_grayImage, g_grayImage, Size(3, 3));

	namedWindow(WINDOW_NAME1, CV_WINDOW_AUTOSIZE);
	imshow(WINDOW_NAME1, g_srcImage);

	createTrackbar("canny阈值", WINDOW_NAME1, &g_nThresh, g_nThresh_max, on_ThreshChange);
	on_ThreshChange(0, 0);

	waitKey(0);
	return(0);
}

void on_ThreshChange(int, void*)
{

	Canny(g_grayImage, g_cannyMat_output, g_nThresh, g_nThresh * 2, 3);

	findContours(g_cannyMat_output, g_vContours, g_vHierarchy, CV_RETR_TREE, CV_CHAIN_APPROX_SIMPLE, Point(0, 0));

	Mat drawing = Mat::zeros(g_cannyMat_output.size(), CV_8UC3);
	for (int i = 0; i < g_vContours.size(); i++)
	{
		Scalar color = Scalar(g_rng.uniform(0, 255), g_rng.uniform(0, 255), g_rng.uniform(0, 255));//任意值
		drawContours(drawing, g_vContours, i, color, 2, 8, g_vHierarchy, 0, Point());
	}

	imshow(WINDOW_NAME2, drawing);
}
运行效果如下: