实现目的:通过配置Cobbler服务器,全自动批量安装部署Linux系统
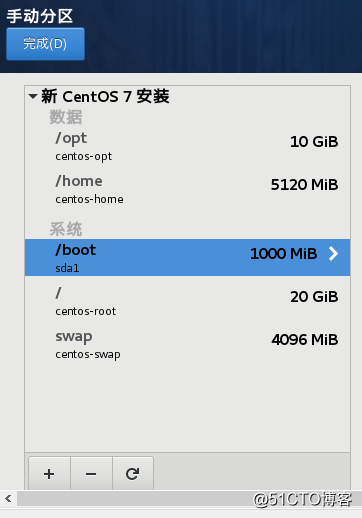
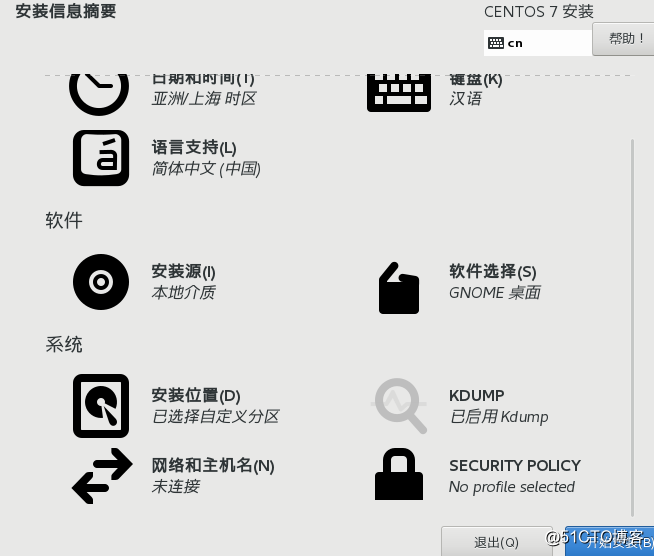
安装centos 7
唯一要变就是在网络类型里面选择使用网络地址NAT模式因为要实时在线下载

vim /etc/sysconfig/network-scripts/ifcfg-ens33 对网卡进行配置因为在这是DNS自动获取说有只需要激活网卡就好
ONBOOT=yes ONBOOT是指明在系统启动时是否激活网卡,只有在激活状态的网卡才能去连接网络,进行网络通讯
systemctl restart network.service 启动网卡
- [root@localhost /]# ifconfig
- inet 192.168.30.130自动分配IP地址
- [root@localhost /]# systemctl status network.service 查看网卡状态
- [root@localhost /]# ping www.baidu.com 检测一下是否能上网
如何在宿主机上共享rpm包看开头就好
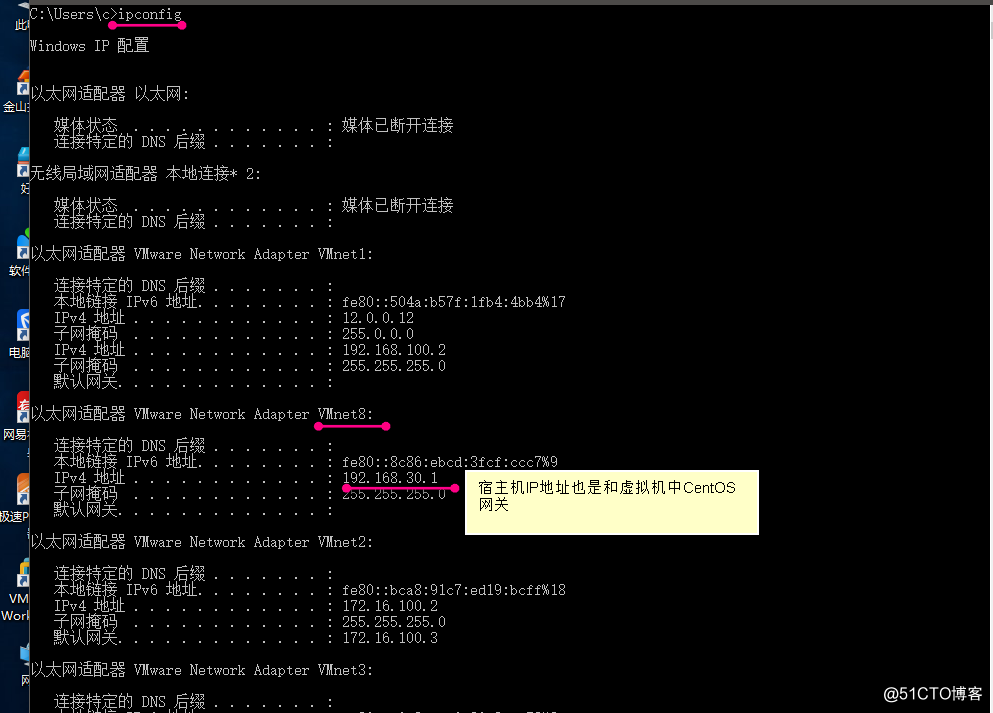
- 从宿主机上共享数据更新源要保持网络互联互通

- 从宿主机上共享数据更新源要保持网络互联互通
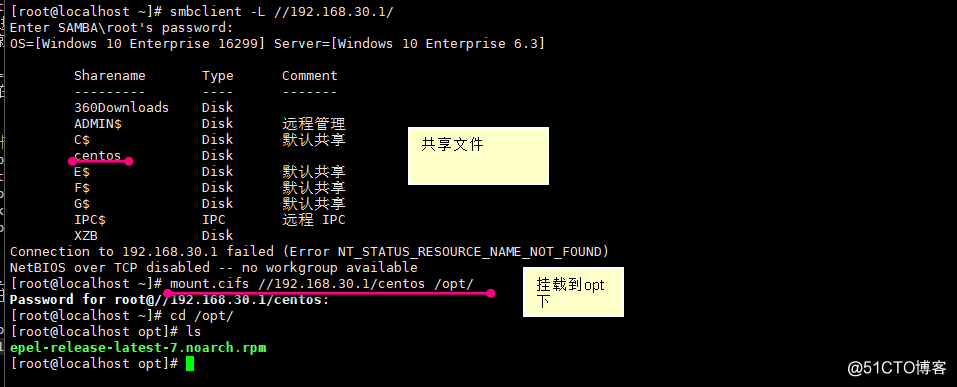
- [root@localhost ~]# smbclient -L //192.168.03.1/ 扫描共享
- mount.cifs //192.168.30.1/centos /opt/ 挂载
- [root@localhost opt]# rpm -ivh epel-release-latest-7.noarch.rpm 用rpm进行安装
- 在虚拟机中把光盘链接
- [root@localhost opt]# mount /dev/sr0 /mnt 光盘进行挂载
- 唯一好的就是yum仓库写好的不用在去写
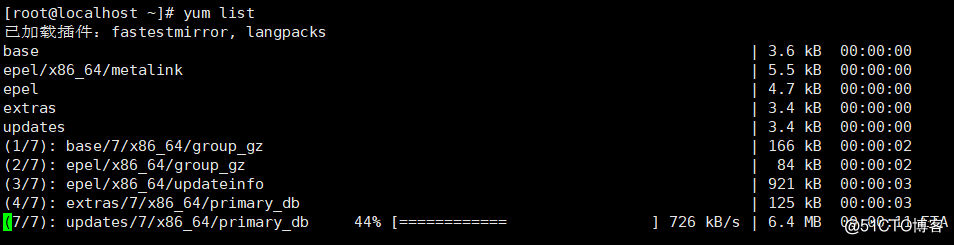
- [root@localhost ~]# yum list 在有网的前提下加载
- [root@localhost ~]# yum install cobbler -y 环境包 在线安装要有网 。Cobbler 可以用来快速建立 Linux 网络安装环境
- [root@localhost ~]# yum install cobbler-web dhcp tftp-server pykickstart httpd rsync xinetd -y 搭建服务 cobbler-web可以用网页进行管理 dhcp自动分配IP地址 tftp-server放压缩内核和引导文件 httpd 放镜像文件和检测那些服务有没有开启用到里面的80端口协议 pykickstart 无人值守自动安装模板 rsync远程同步管理 xinetd平台管理
- root@localhost ~]# vim /etc/cobbler/settings /cobbler修改主配置文件
- 272 next_server: 192.168.30.130 改成自己的IP地址
- 384 server: 192.168.30.130 同样指向自己
- 2242 manage_dhcp: 1 管理DHCP 服务
- [root@localhost ~]# systemctl start httpd.service 开启服务
- [root@localhost ~]# systemctl start cobblerd.service 开启服务
- [root@localhost ~]# systemctl status cobblerd.service 查看是否开启
- [root@localhost ~]# systemctl stop firewalld.service 关闭防火墙
- [root@localhost ~]# setenforce 0 关闭增强安全功能
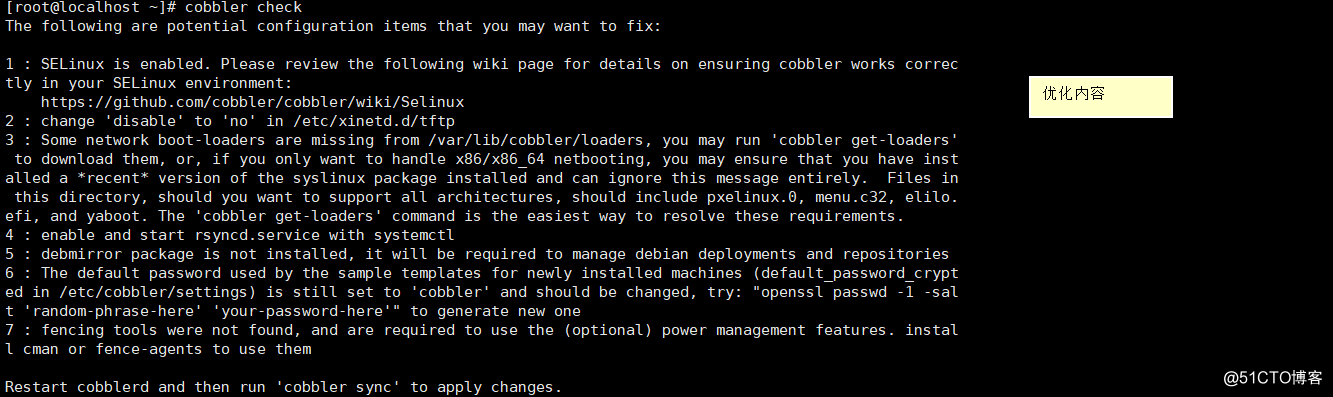
- [root@localhost ~]# cobbler check 在线进行检测
- [root@localhost ~]# vim /etc/xinetd.d/tftp
- disable = no (yes改为no) 启用tftp 对应优化2
- [root@localhost ~]# systemctl enable rsyncd.service 对应优化4 开启服务
- [root@localhost ~]# systemctl restart cobblerd.service 开启服务
- [root@localhost ~]# openssl passwd -1 -salt 'abc123' 'abc123' 盐值加密
$1$abc123$9v8z2./E/PZihXrVcy3II0 加密结果 复制加密结果
root@localhost ~]# vim /etc/cobbler/settings /cobbler修改主配置文件
101 default_password_crypted:"$1$abc123$9v8z2./E/PZihXrVcy3II0" 盐值加密
- [root@localhost ~]# systemctl start rsyncd.service 开启服务
- [root@localhost ~]# systemctl restart xinetd.service 开启服务
- [root@localhost ~]# vim /etc/cobbler/dhcp.template 分配IP
- subnet 192.168.30.0 netmask 255.255.255.0 {修改为自己的网段
- option routers 192.168.30.1; 网关
- option domain-name-servers 192.168.30.2;DNS
- range dynamic-bootp 192.168.30.100 192.168.30.200;
分配IP地址池 - [root@localhost ~]# cobbler sync 帮助同步生成DHCP配置文件
-
[root@localhost ~]# cobbler get-loaders 下载
- [root@localhost ~]# systemctl restart dhcpd.service 启动dhcpd服务
- root@localhost ~]# systemctl start dhcpd.service 开启服务
- [root@localhost ~]# systemctl start cobblerd.service 开启服务
- [root@localhost ~]# systemctl start xinetd.service 开启服务
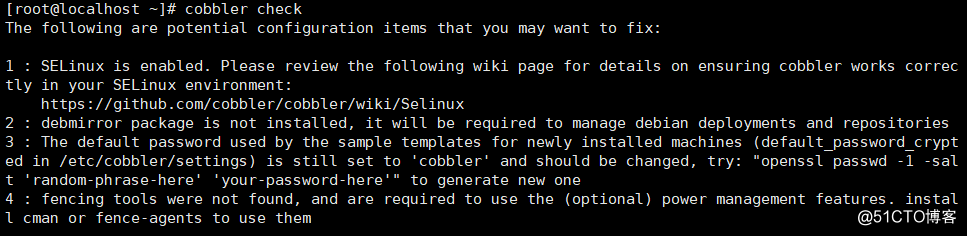
- [root@localhost ~]# cobbler check 查看服务还剩下4 没事不影响
- /var/log/cobbler/cobbler.log //日志文件所在位置
- /var/www/cobbler/ks_mirror/CentOS-7-x86_64 //默认导入存放位置
- [root@localhost ~]# cobbler import --path=/mnt/ --name=CentOS-7-x86_64 --arch=x86_64 导入iso镜像
- 完成后安装 [root@localhost ~]# yum install tree -y
完毕!
[root@localhost ~]# tree /var/lib/tftpboot/images 查看内核和初始化文件在tftp server 共享目录
- systemctl restart cobblerd.service
- systemctl restart dhcpd.service
- systemctl restart xinetd.service
- systemctl restart httpd.service
- 重启所有服务 然后就可以开始自动装机
