一 实例描述
将彩色的图片生成带边缘化信息的图片。
本例中先载入一个图片,然后使用一个“3通道输入,1通道输出的3*3卷积核”(即sobel算子),最后使用卷积函数输出生成的结果。
二 代码
'''
载入图片并显示
首先将图片放到代码的同级目录下,通过imread载入,然后将其显示并打印出来
'''
import matplotlib.pyplot as plt # plt 用于显示图片
import matplotlib.image as mpimg # mpimg 用于读取图片
import numpy as np
import tensorflow as tf
myimg = mpimg.imread('2.jpg') # 读取和代码处于同一目录下的图片
#myimg = mpimg.imread('img.jpg') # 读取和代码处于同一目录下的图片
plt.imshow(myimg) # 显示图片
plt.axis('off') # 不显示坐标轴
plt.show()
print(myimg.shape)
'''
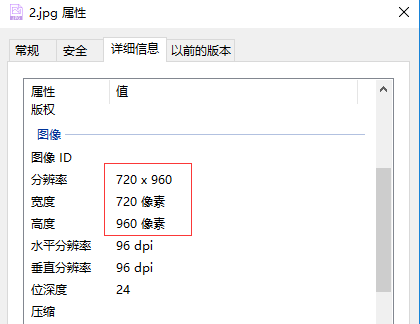
上面这段代码输出(960, 720, 3),可以看到,载入图片的维度是960*720大小,3个通道
'''
'''
这里需要手动将sobel算子填入卷积核里。使用tf.constant函数可以将常量直接初始化到Variable中,因为是3个通道,所以sobel卷积核的每个元素都扩成了3个。
注意:sobel算子处理过的图片并不保证每个像素都在0~255之间,所以要做一次归一化操作(即将每个值减去最小的结果,再除以最大值与最小值的差),让生成的值都在[0,1]之间,然后在乘以255
'''
#full=np.reshape(myimg,[1,3264,2448,3])
full=np.reshape(myimg,[1,960,720,3])
#inputfull = tf.Variable(tf.constant(1.0,shape = [1, 3264, 2448, 3]))
inputfull = tf.Variable(tf.constant(1.0,shape = [1, 960, 720, 3]))
filter = tf.Variable(tf.constant([[-1.0,-1.0,-1.0], [0,0,0], [1.0,1.0,1.0],
[-2.0,-2.0,-2.0], [0,0,0], [2.0,2.0,2.0],
[-1.0,-1.0,-1.0], [0,0,0], [1.0,1.0,1.0]],shape = [3, 3, 3, 1]))
#步长为1*1,padding为SAME表明是同卷积的操作。
op = tf.nn.conv2d(inputfull, filter, strides=[1, 1, 1, 1], padding='SAME') #3个通道输入,生成1个feature ma
o=tf.cast( ((op-tf.reduce_min(op))/(tf.reduce_max(op)-tf.reduce_min(op)) ) *255 ,tf.uint8)
with tf.Session() as sess:
sess.run(tf.global_variables_initializer() )
t,f=sess.run([o,filter],feed_dict={ inputfull:full})
#print(f)
#t=np.reshape(t,[3264,2448])
t=np.reshape(t,[960,720])
plt.imshow(t,cmap='Greys_r') # 显示图片
plt.axis('off') # 不显示坐标轴
plt.show()
三 运行结果

四 说明
可以看出,sobel的卷积操作之后,提取到一张含有轮廓特征的图像。
再查看一下图片属性