当ng new 新项目时,会问是否加入路由,选择yes即可
具体表现:在app.moudle.ts中,引入路由:import { AppRoutingModule } from './app-routing.module';并配置:imports中加入 AppRoutingModule
在app.component.html中已有标签:<!-- 动态加载路由 --> <router-outlet></router-outlet>
学习目标:路由配置
1:先建组件:new和products : ng g component components/news 和 ng g component components/products
2:在app.routing.moudle.ts中引入组件
1 //先建的
2 import { ProductsComponent } from './components/products/products.component';
3 import { NewsComponent } from './components/news/news.component';
配置路由:
 1 const routes: Routes = [
 2
 3   {
 4     path:"news",
 5     component:NewsComponent,
 6   },
 7   {
 8     path:"products",
 9     component:ProductsComponent,
10   },
11   // {
12   //   path:"**",//默认跳转的路由
13   //   redirectTo:"news",
14   // }
15 {
16   path:"",
17   redirectTo:'/home',
18   pathMatch:"full",
19 }
20
21 ];
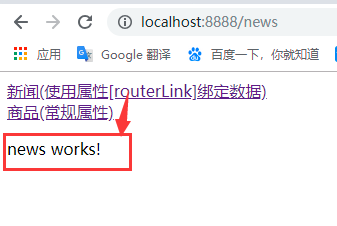
3:在app.component.html中加入路径,进行跳转
1 <header class="header">
2     <a [routerLink]="['/news']">新闻(使用属性[routerLink]绑定数据)</a>
3
4     <br>
5     <a routerLink="/products">商品(常规属性)</a>
6
7 </header>
效果图:
扫描二维码关注公众号,回复:
8686819 查看本文章


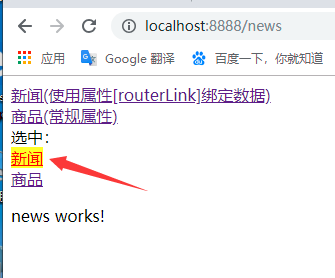
4:选中点击的链接:routerLinkActive
app.component.html:
1 <a [routerLink]="['/news']" routerLinkActive="active">新闻</a>
app.component.css
1 .active{
2     color:red;
3     background-color: yellow;
4 }
5:带参数的 a标签:首先加入商品详细页面:ng g component components/productdetail
再加个路由:import { ProductDetailComponent } from './components/product-detail/product-detail.component';
并配置:
1 {
2     path: "productdetail",
3     component: ProductDetailComponent,
4   }
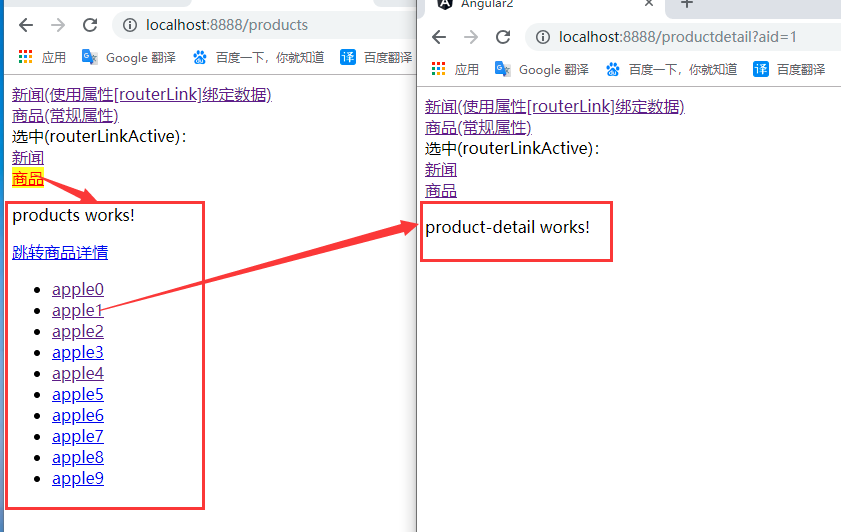
再去商品页面加入商品详情链接:
 1 <ul>
 2     <li *ngFor="let item of list;let key=index;">
 3         <!-- <a href="#">{{key}}---{{item}}</a> -->
 4
 5         <a [routerLink]="['/productdetail']" [queryParams]="{aid:key}" routerLinkActive="active" >
 6
 7             {{item}}
 8         </a>
 9     </li>
10 </ul>
效果图:
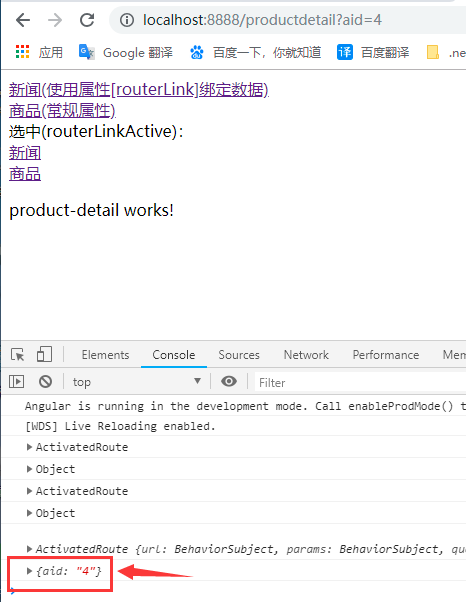
6:接受link中传过来的值:
在producedetail.component.ts中引入:import { ActivatedRoute } from '@angular/router';
并使用:


 1 import { Component, OnInit } from '@angular/core';
 2
 3 import { ActivatedRoute } from '@angular/router';
 4
 5 @Component({
 6   selector: 'app-product-detail',
 7   templateUrl: './product-detail.component.html',
 8   styleUrls: ['./product-detail.component.css']
 9 })
10 export class ProductDetailComponent implements OnInit {
11
12   constructor(public rou: ActivatedRoute) { }
13
14   ngOnInit() {
15
16     //get all router
17     console.log(this.rou);
18
19     this.rou.queryParams.subscribe((data)=>{
20       console.log(data);
21     })
22   }
23
24 }