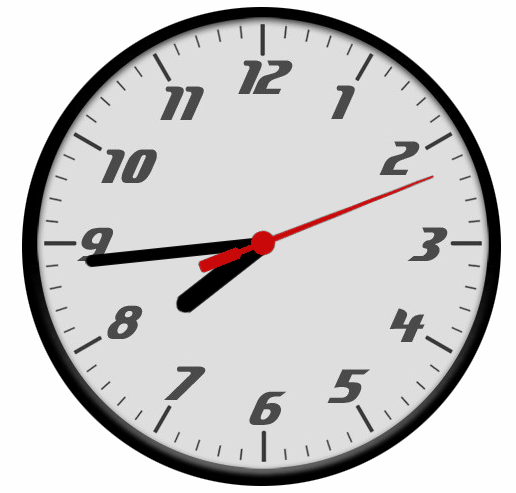
效果图:
HTML:
<div id="clock">
    <div id="h"></div>
    <div id="m"></div>
    <div id="s"></div>
</div>
CSS:
div {
	width: 600px;
	height: 600px;
}

#clock {
	/* 填写自己的图片路径(URL),后面已给出图片,另存为到本地即可 */
	background: url(clock.jpg) no-repeat center center;
	position: absolute;
	z-index: 1;
}

#h {
	/* 填写自己的图片路径(URL),后面已给出图片,另存为到本地即可 */
	background: url(hour.png) no-repeat center center;
	position: absolute;
	z-index: 2
}

#m {
	/* 填写自己的图片路径(URL),后面已给出图片,另存为到本地即可 */
	background: url(minute.png) no-repeat center center;
	position: absolute;
	z-index: 3;
}

#s {
	/* 填写自己的图片路径(URL),后面已给出图片,另存为到本地即可 */
	background: url(second.png) no-repeat center center;
	position: absolute;
	z-index: 4;
}
JavaScript:
window.onload = function () {
	// 获取 DOM 元素
	var oh = document.getElementById("h");
	var om = document.getElementById("m");
	var os = document.getElementById("s");

	// 更新时间并渲染
	function go() {
		var time = new Date();
		var H = time.getHours() + time.getMinutes() / 60;
		var Mi = time.getMinutes();
		var S = time.getSeconds() + time.getMilliseconds() / 1000;
		os.style.transform = 'rotate(' + S * 6 + 'deg)';
		om.style.transform = 'rotate(' + Mi * 6 + 'deg)';
		oh.style.transform = 'rotate(' + H * 30 + 'deg)';
		//document.write("当前时间:"+H+":"+Mi+":"+S);
	}

	// 每隔 1s 更新并渲染
	go();
	setInterval(go, 1000);
}
素材图:
点击图片,CSDN为会我们放大图像,然后右键另存为保存到本地,最后替换 CSS 样式中的图片路径。
表盘 背景图:

时针 背景图:

分针 背景图:

秒针 背景图:

