一、将自己的图片数据生成lmdb格式的数据(caffe可以接收的数据格式)
1、在caffe/data中建立文件夹 myself,在myself中建立子文件夹 train 和 val
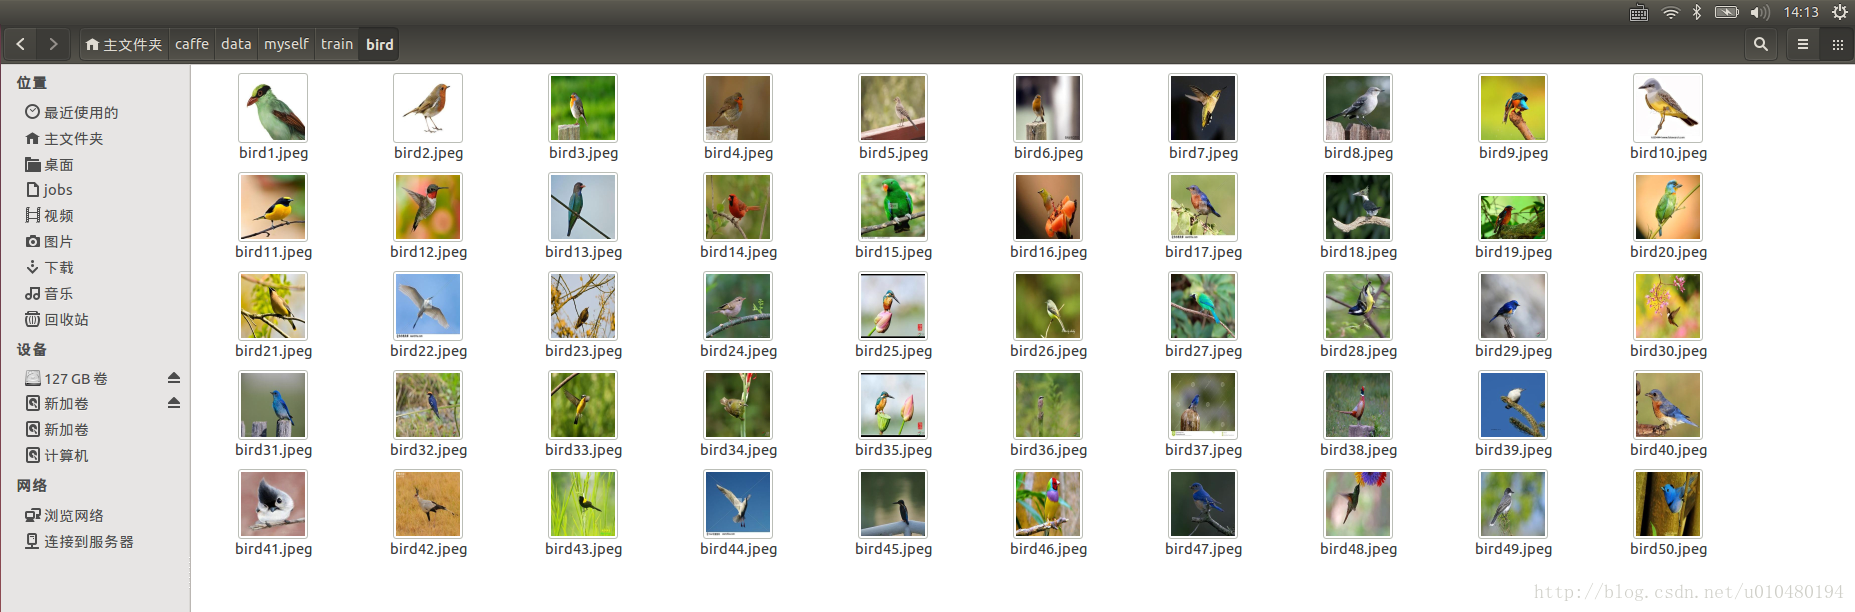
2、在train文件夹中建立cat和bird文件夹,分别从网上下载50张猫和50张鸟存放在相应的文件夹下
3、命名图片为cat1.jpeg ……cat50.jpeg和 bird1.jpeg……bird50.jpeg。
命名好以后是这样子滴:
4、重新下载10张猫和10张鸟存放在val文件夹下为测试用,并重新命名
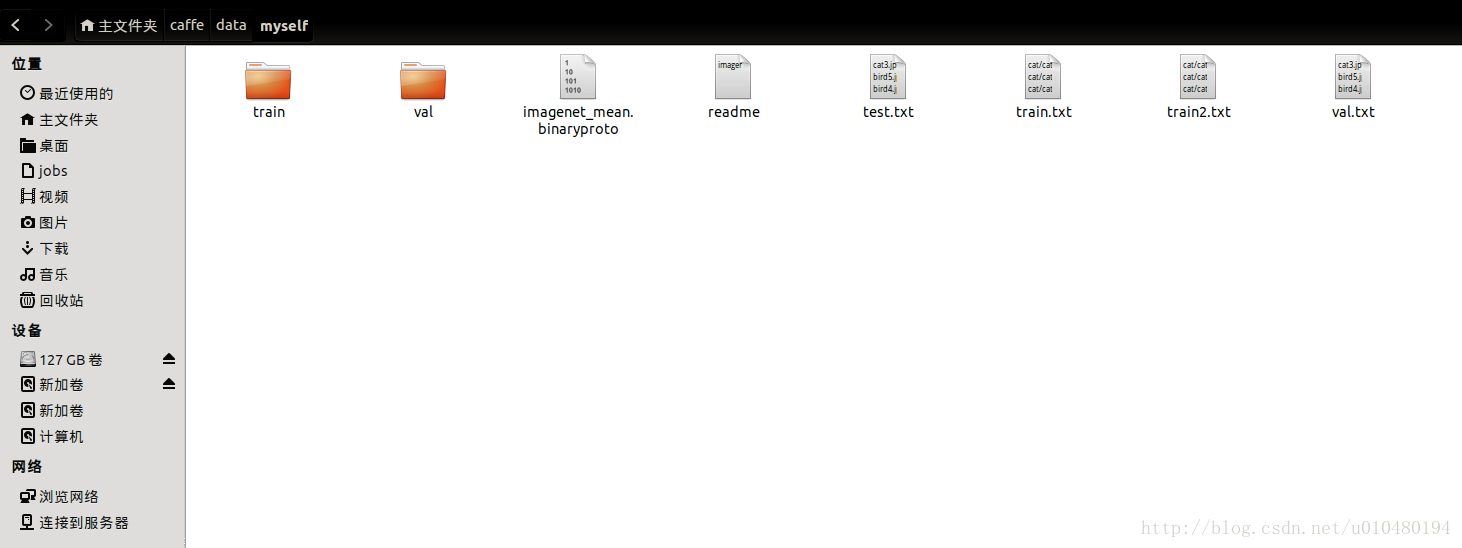
5、在myself文件夹下,创建train.txt,test.txt以及val.txt文件,最后的结构是这个样子的:
(有些文件是以后测试用的请自动忽略)
train.txt内容:
cat/cat1.jpeg 0
cat/cat2.jpeg 0
。。。。。。
cat/cat50.jpeg 0
bird/bird1.jpeg 1
bird/bird2.jpeg 1
。。。。。。
bird/bird50.jpeg 1- 1
- 2
- 3
- 4
- 5
- 6
- 7
- 8
0和1是猫和鸟的类别标号。
test.txt内容:
cat3.jpeg 0
bird5.jpeg 0
bird4.jpeg 0
cat4.jpeg 0
cat9.jpeg 0
bird2.jpeg 0
cat8.jpeg 0
bird10.jpeg 0
cat5.jpeg 0
bird7.jpeg 0
bird9.jpeg 0
cat1.jpeg 0
cat10.jpeg 0
cat7.jpeg 0
cat2.jpeg 0
cat6.jpeg 0
bird8.jpeg 0
bird6.jpeg 0
bird1.jpeg 0
bird3.jpeg 0- 1
- 2
- 3
- 4
- 5
- 6
- 7
- 8
- 9
- 10
- 11
- 12
- 13
- 14
- 15
- 16
- 17
- 18
- 19
- 20
val.txt内容:
cat3.jpeg 0
bird5.jpeg 1
bird4.jpeg 1
cat4.jpeg 0
cat9.jpeg 0
bird2.jpeg 1
cat8.jpeg 0
bird10.jpeg 1
cat5.jpeg 0
bird7.jpeg 1
bird9.jpeg 1
cat1.jpeg 0
cat10.jpeg 0
cat7.jpeg 0
cat2.jpeg 0
cat6.jpeg 0
bird8.jpeg 1
bird6.jpeg 1
bird1.jpeg 1
bird3.jpeg 1- 1
- 2
- 3
- 4
- 5
- 6
- 7
- 8
- 9
- 10
- 11
- 12
- 13
- 14
- 15
- 16
- 17
- 18
- 19
- 20
6、将所有下载的图片都归一化为256*256大小
批量改变图片的尺寸,终端输入 :
for i in caffe/data/myself/train/cat/*.jpeg; do convert -resize 256x256! $i $i; done
- 1
- 2
7、在caffe/examples下创建myself文件夹存放一些网络搭建程序,将imagenet的create_imagenet.sh复制到该文件夹下进行修改,主要修改几个目录,运行该sh文件(目的是将之前设置好的猫和鸟数据生成相应的lmbd格式的数据)
create_imagenet.sh文件修改后为:
#!/usr/bin/env sh
# Create the imagenet lmdb inputs
# N.B. set the path to the imagenet train + val data dirs
set -e

EXAMPLE=/home/coco/caffe/examples/myself  #生成的lmdb数据的存放地址
DATA=/home/coco/caffe/data/myself         #原始数据文件夹的存放地址
TOOLS=/home/coco/caffe/build/tools        #数据格式转换工具的存放地址

TRAIN_DATA_ROOT=/home/coco/caffe/data/myself/train/   #训练数据的存放地址
VAL_DATA_ROOT=/home/coco/caffe/data/myself/val/       #校验数据的存放地址

# Set RESIZE=true to resize the images to 256x256. Leave as false if images have
# already been resized using another tool.
RESIZE=true
if $RESIZE; then
  RESIZE_HEIGHT=256
  RESIZE_WIDTH=256
else
  RESIZE_HEIGHT=0
  RESIZE_WIDTH=0
fi

if [ ! -d "$TRAIN_DATA_ROOT" ]; then
  echo "Error: TRAIN_DATA_ROOT is not a path to a directory: $TRAIN_DATA_ROOT"
  echo "Set the TRAIN_DATA_ROOT variable in create_imagenet.sh to the path" \
       "where the ImageNet training data is stored."
  exit 1
fi

if [ ! -d "$VAL_DATA_ROOT" ]; then
  echo "Error: VAL_DATA_ROOT is not a path to a directory: $VAL_DATA_ROOT"
  echo "Set the VAL_DATA_ROOT variable in create_imagenet.sh to the path" \
       "where the ImageNet validation data is stored."
  exit 1
fi

echo "Creating train lmdb..."

GLOG_logtostderr=1 $TOOLS/convert_imageset \
    --resize_height=$RESIZE_HEIGHT \
    --resize_width=$RESIZE_WIDTH \
    --shuffle \
    $TRAIN_DATA_ROOT \
    $DATA/train.txt \
    $EXAMPLE/imagenet_train_lmdb1

echo "Creating val lmdb..."

GLOG_logtostderr=1 $TOOLS/convert_imageset \
    --resize_height=$RESIZE_HEIGHT \
    --resize_width=$RESIZE_WIDTH \
    --shuffle \
    $VAL_DATA_ROOT \
    $DATA/val.txt \
    $EXAMPLE/imagenet_val_lmdb1

echo "Done."- 1
- 2
- 3
- 4
- 5
- 6
- 7
- 8
- 9
- 10
- 11
- 12
- 13
- 14
- 15
- 16
- 17
- 18
- 19
- 20
- 21
- 22
- 23
- 24
- 25
- 26
- 27
- 28
- 29
- 30
- 31
- 32
- 33
- 34
- 35
- 36
- 37
- 38
- 39
- 40
- 41
- 42
- 43
- 44
- 45
- 46
- 47
- 48
- 49
- 50
- 51
- 52
- 53
- 54
- 55
- 56
- 57
- 58
此时在caffe/examples/myself文件夹下会得到 imagenet_train_lmdb和imagenet_val_lmdb文件夹。
二、计算图像的均值
模型需要我们从每张图片减去均值,所以我们必须获得训练的均值,用tools/compute_image_mean.cpp实现,这个cpp是一个很好的例子去熟悉如何操作多个组件。直接复制imagenet的./make_imagenet_mean到caffe/examples/myself下进行修改即可。
#!/usr/bin/env sh
# Compute the mean image from the imagenet training lmdb
# N.B. this is available in data/ilsvrc12

EXAMPLE=/home/coco/caffe/examples/myself
DATA=/home/coco/caffe/data/myself
TOOLS=/home/coco/caffe/build/tools

$TOOLS/compute_image_mean.bin $EXAMPLE/imagenet_train_lmdb \
  $DATA/imagenet_mean.binaryproto

echo "Done."- 1
- 2
- 3
- 4
- 5
- 6
- 7
- 8
- 9
- 10
- 11
- 12
可能会报错:
coco@coco-OMEN-by-HP-Laptop:~/caffe/examples/myself$ ./make_imagenet_mean.shF1008 15:47:15.137737 13163 compute_image_mean.cpp:77] Check failed: size_in_datum == data_size (213180 vs. 196608) Incorrect data field size 213180
- 1
- 2
原因:上一步生成lmdb文件时,图片归一化没有成功,更改myself文件夹下的create_imagenet.sh文件,将 RESIZE=false改为RESIZE=true
三、网络定义
这一部分比较简单,主要是修改一些路径即可
从/home/coco/caffe/models/bvlc_reference_caffenet文件夹下复制train_val.prototxt,solver.prototxt文件到examples/myself文件夹下,并进行路径的修改。
部分代码如下:主要是修改训练数据和测试数据的来源以及均值文件的来源
name: "CaffeNet"
layer {
  name: "data"
  type: "Data"
  top: "data"
  top: "label"
  include {
    phase: TRAIN
  }
  transform_param {
    mirror: true
    crop_size: 227
    mean_file: "/home/coco/caffe/data/myself/imagenet_mean.binaryproto"
  }
# mean pixel / channel-wise mean instead of mean image
#  transform_param {
#    crop_size: 227
#    mean_value: 104
#    mean_value: 117
#    mean_value: 123
#    mirror: true
#  }
  data_param {
    source: "/home/coco/caffe/examples/myself/imagenet_train_lmdb"
    batch_size: 256
    backend: LMDB
  }
}
layer {
  name: "data"
  type: "Data"
  top: "data"
  top: "label"
  include {
    phase: TEST
  }
  transform_param {
    mirror: false
    crop_size: 227
    mean_file: "/home/coco/caffe/data/myself/imagenet_mean.binaryproto"
  }
# mean pixel / channel-wise mean instead of mean image
#  transform_param {
#    crop_size: 227
#    mean_value: 104
#    mean_value: 117
#    mean_value: 123
#    mirror: false
#  }
  data_param {
    source: "/home/coco/caffe/examples/myself/imagenet_val_lmdb"
    batch_size: 50
    backend: LMDB
}- 1
- 2
- 3
- 4
- 5
- 6
- 7
- 8
- 9
- 10
- 11
- 12
- 13
- 14
- 15
- 16
- 17
- 18
- 19
- 20
- 21
- 22
- 23
- 24
- 25
- 26
- 27
- 28
- 29
- 30
- 31
- 32
- 33
- 34
- 35
- 36
- 37
- 38
- 39
- 40
- 41
- 42
- 43
- 44
- 45
- 46
- 47
- 48
- 49
- 50
- 51
- 52
- 53
- 54
注意:路径的名称尽量写绝对地址,写全称,防止运行时报错。
Solver.prototxt的内容如下:
net: "/home/coco/caffe/examples/myself/train_val.prototxt"
test_iter: 1000
test_interval: 1000
base_lr: 0.01
lr_policy: "step"
gamma: 0.1
stepsize: 100000
display: 20
max_iter: 450000
momentum: 0.9
weight_decay: 0.0005
snapshot: 10000
snapshot_prefix: "/home/coco/caffe/examples/myself/snapshot"  //快照的存放地址
solver_mode: GPU- 1
- 2
- 3
- 4
- 5
- 6
- 7
- 8
- 9
- 10
- 11
- 12
- 13
- 14
四、训练
在myself文件夹下编写train_mynet.sh文件,内容如下:

#!/usr/bin/env sh
set -e

/home/coco/caffe/build/tools/caffe train \
--solver=/home/coco/caffe/examples/myself/solver.prototxt $@- 1
- 2
- 3
- 4
- 5
运行此sh文件即可。
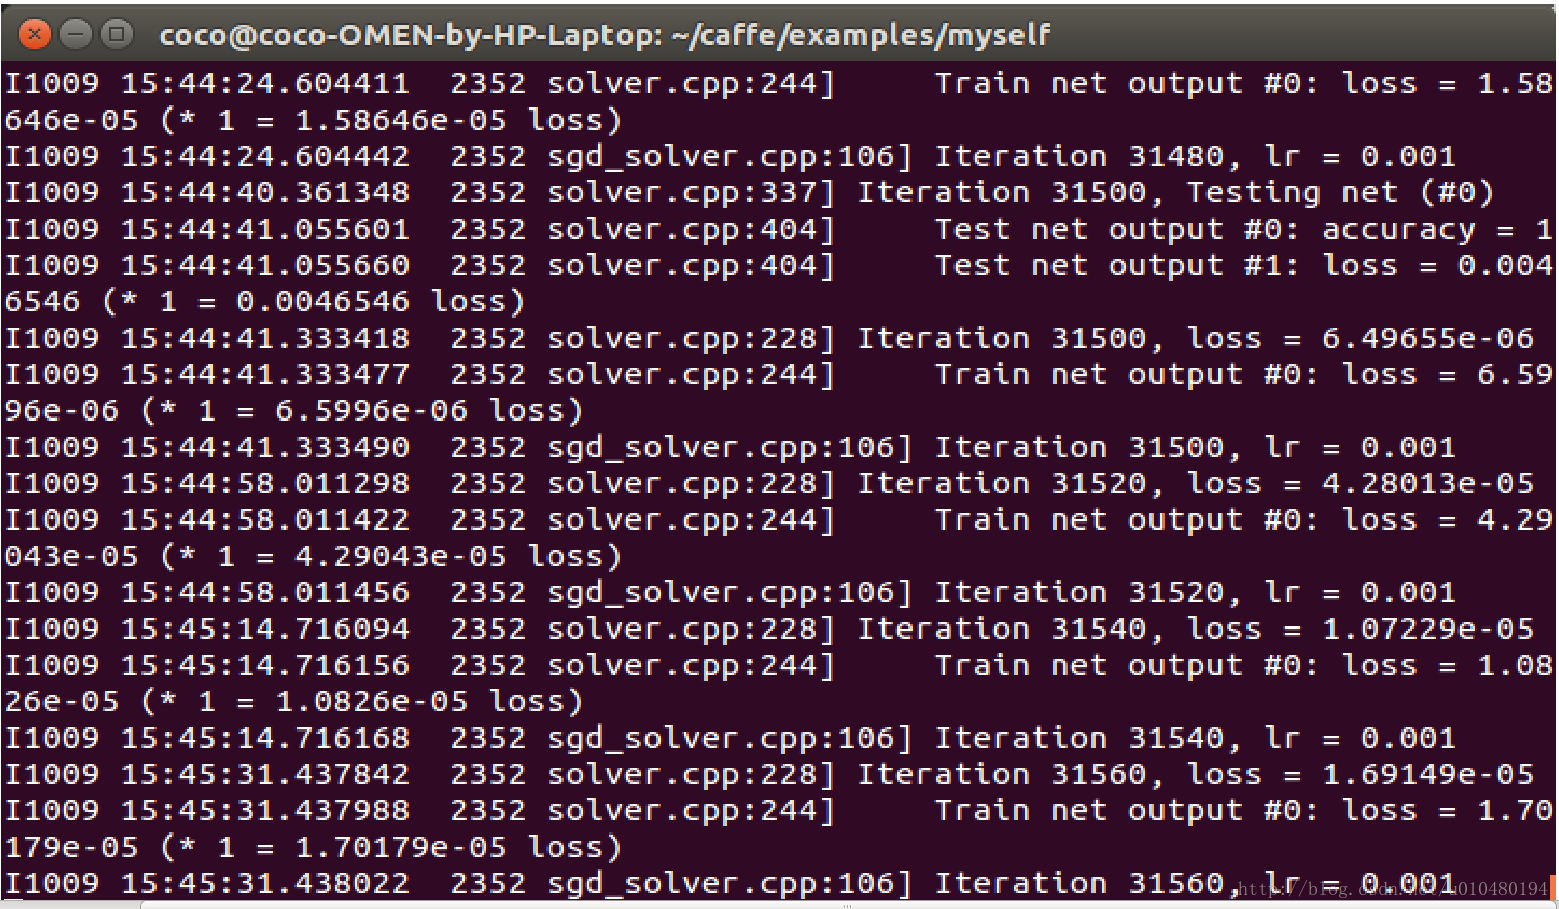
终端最终的输出结果:
注意:由于样本量很小,理论上很短的时间内就可以收敛。可能是caffe没有收敛的功能,最终会迭代到最大的迭代次数才可以结束整个训练过程。观察test过程中accuarucy很早就已经为1了,所以最大的迭代次数可以不必设置成很大的值。
用上面搭建的网络完成测试吧
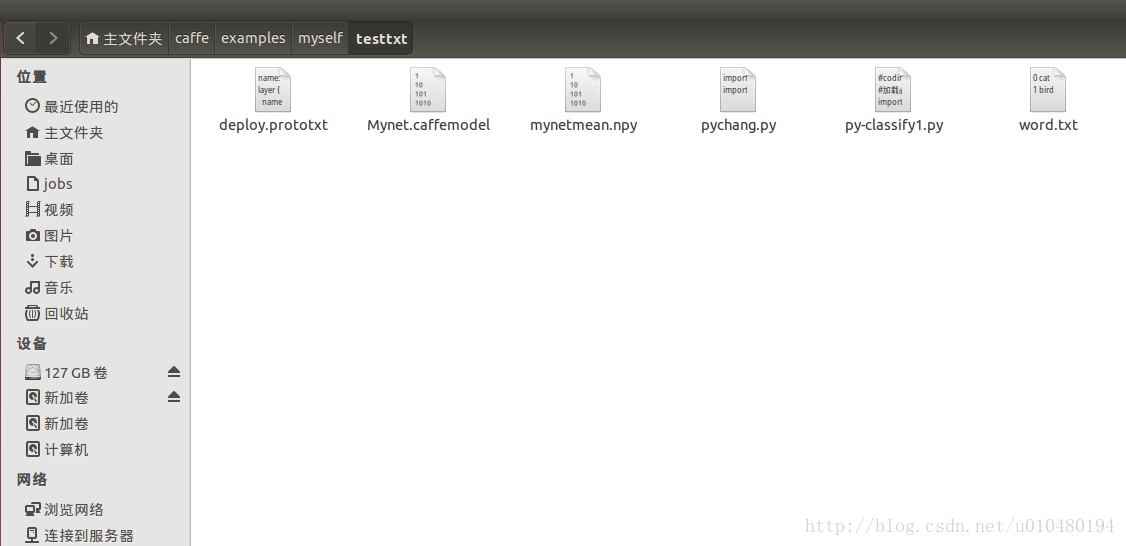
在caffe/examples/myself/testtxt文件夹下已经写好了所有的需要测试的文件,文件目录如下:
1.deploy.prototxt文件编写
直接从models文件夹里面考过来,更改一些小细节
layer {
  name: "fc8"
  type: "InnerProduct"
  bottom: "fc7"
  top: "fc8"
  inner_product_param {
    num_output: 2 //需要更改的地方,输出的分类数量是2,因为此时我们只有两类猫和鸟
} - 1
- 2
- 3
- 4
- 5
- 6
- 7
- 8
2、Mynet.caffemodel
caffe模型,存放的是一些模型的参数,直接用之前训练过程结果即可。复制粘贴过来并改名称。
3、mynetmean.npy均值文件,用来对测试数据去均值的,可以加快测试的速度。
该文件是从caffe/data/myself/imagenet_mean.binary文件转化过来的,转化的方法是:
终端输入:
python pychang.py
- 1
- 2
pychang.py是写好的python格式的转化工具
4、word.txt文件,是分类文件,里面保存了分的类别数,内容如下:
0 cat
1 bird- 1
- 2
5、py-classify.py是python版本的最终用来执行的分类文件
文件里面的一些内容主要是依托前面写的文件内容如下:
#coding=utf-8
#加载必要的库
import numpy as np

import sys,os

#设置当前目录
caffe_root = '/home/coco/caffe/'
sys.path.insert(0, caffe_root + 'python')
import caffe
os.chdir(caffe_root)

net_file=caffe_root + 'examples/myself/testtxt/deploy.prototxt'
caffe_model=caffe_root + 'examples/myself/testtxt/Mynet.caffemodel'
mean_file=caffe_root + 'examples/myself/testtxt/mynetmean.npy'

net = caffe.Net(net_file,caffe_model,caffe.TEST)
transformer = caffe.io.Transformer({'data': net.blobs['data'].data.shape})
transformer.set_transpose('data', (2,0,1))
transformer.set_mean('data', np.load(mean_file).mean(1).mean(1))
transformer.set_raw_scale('data', 255)
transformer.set_channel_swap('data', (2,1,0))
00
im=caffe.io.load_image(caffe_root+'data/myself/train/bird/bird19.jpeg')//这里表示你要测试的图片的地址
net.blobs['data'].data[...] = transformer.preprocess('data',im)
out = net.forward()


imagenet_labels_filename = caffe_root + 'examples/myself/testtxt/word.txt'
labels = np.loadtxt(imagenet_labels_filename, str, delimiter='\t')

top_k = net.blobs['prob'].data[0].flatten().argsort()[-1:-6:-1]
for i in np.arange(top_k.size):
print top_k[i], labels[top_k[i]]- 1
- 2
- 3
- 4
- 5
- 6
- 7
- 8
- 9
- 10
- 11
- 12
- 13
- 14
- 15
- 16
- 17
- 18
- 19
- 20
- 21
- 22
- 23
- 24
- 25
- 26
- 27
- 28
- 29
- 30
- 31
- 32
- 33
- 34
终端最终的运行结果如下:
第一个输出的是bird第二个才是cat,证明图片bird19.jpeg更像bird一些,测试正确。
