说明
第一步:创建项目
- 浏览器打开:https://start.spring.io/,生成一个spring boot项目

- 点击Generate这个按钮,下载项目包文件
第二步:导入开发工具
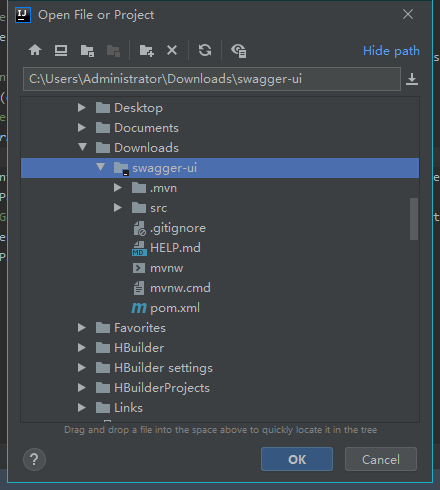
- 打开下载目录,解压项目文件

- 启动idea,引入项目文件
第三步:引入swagger-ui包
    <dependency>
            <groupId>io.springfox</groupId>
            <artifactId>springfox-swagger2</artifactId>
            <version>2.9.2</version>
    </dependency>
    <dependency>
        <groupId>io.springfox</groupId>
        <artifactId>springfox-swagger-ui</artifactId>
        <version>2.9.2</version>
    </dependency>
第四步:创建一个swagger 配置
@EnableSwagger2
@Configuration
public class SwaggerConfig {


    @Bean
    public Docket api(){

        return new Docket(DocumentationType.SWAGGER_2)
                .apiInfo(apiInfo())
                .select()
                .apis(RequestHandlerSelectors.basePackage("com.shelton.swaggerui"))
                .build();
    }


    public ApiInfo apiInfo(){
        return new ApiInfoBuilder()
                .title("api接口说明")
                .version("1.0.0")
                .build();
    }

}
第五步:创建一个POST api接口
@RestController
@Api(value = "用户接口", tags={"用户操作接口"})
public class IndexController {

    @ApiOperation(value = "用户登录",notes = "登录",httpMethod = "POST")
    @PostMapping("/login")
    public Object get(@RequestParam @ApiParam(name="username",value="登录账号",required=true) String username, @RequestParam @ApiParam(name="password",value="密码",required=true) String password){

        Map map = new HashMap();
        map.put("msg","success");
        map.put("code","1");
        return map;
    }
}
页面效果图

- 测试api接口请求
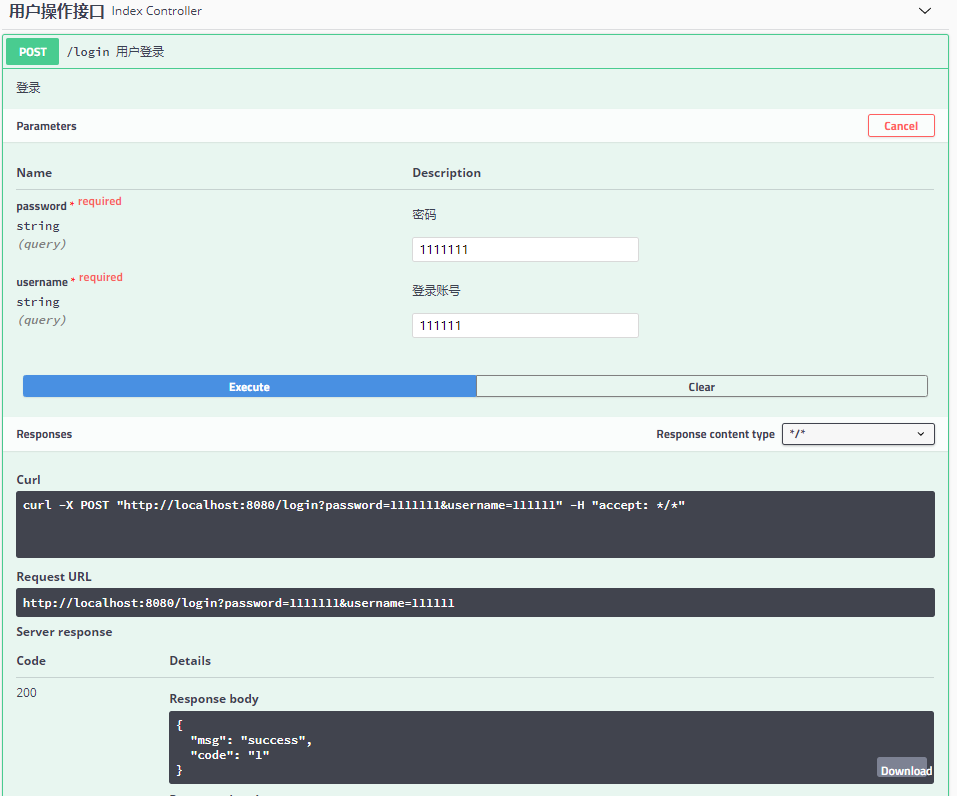
这里返回的结果,可以看到,跟我们预期返回的是一样。