目前不完善,可先行忽略,后续不完善之处会陆续补全
Maven 安装流程
1.Maven下载地址

2.下载完成,保存本地

3.配置maven的环境变量

4.检测是否安装Maven
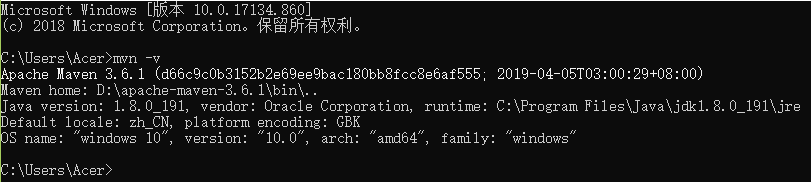
5.安装成功后下载配置信息

IDEA - Maven环境配置

IDEA - Maven - JDK环境配置
通过 pom.xml 设置Maven编译环境的JDK版本
- 方式一:pom.xml - Maven Properties
<properties>
  <maven.compiler.source>1.8</maven.compiler.source>
  <maven.compiler.target>1.8</maven.compiler.target>
  <maven.compiler.compilerVersion>1.8</maven.compiler.compilerVersion>
</properties>
- 方式二:pom.xml - 编译器(maven-compiler-plugin)插件
<build>
  <defaultGoal>compile</defaultGoal>
  <plugins>
    <plugin>
      <groupId>org.apache.maven.plugins</groupId>
      <artifactId>maven-compiler-plugin</artifactId>
      <version>2.5.1</version>
      <configuration>
        <source>1.6</source>
        <target>1.6</target>
        <compilerArgument>-Xlint:all</compilerArgument>
        <showWarnings>true</showWarnings>
        <showDeprecation>true</showDeprecation></configuration>
    </plugin>
  </plugins>
</build>
通过 Settings 设置Maven的导入环境、运行环境的JDK版本
- 设置 Maven - importing(设置导入时的JDK版本) ~

- 设置 Maven - Runner JRE版本(可以跟着之前已设置过的Project JDK) ~

IDEA - 导入、使用Maven
idea的引用Maven使用方式
- 方式一

- 方式二

