Thymeleaf是SpringBoot官方推荐的用来渲染页面的一个模板,如果你对模板和模板引擎没什么概念的话,可以简单理解为Thymeleaf是一个高级简洁的JSP。如果学过MVC设计模式,那么Thymeleaf就是视图层(view)的主要核心内容。
为什么要整合Thymeleaf
- SpringBoot在内置Tomcat服务器,并且以Jar包方式运行,传统JSP页面不在适合这种模式开发
- 使用Thymeleaf有助于前后端协作,因为它在无网络环境下也可以运行,前端开发者便于在静态页面查看页面效果,后台开发者也便于在服务器查看实时的数据交互。
- 实现严格的mvc设计模式,不用像JSP页面大量嵌套Java代码,开发更简洁
整合Thymeleaf过程及步骤
首先,明确整合Thymeleaf需要用到模块依赖Jar包
其次,要初步了解SpringBoot解析渲染Thymeleaf的过程
1.整合Thymeleaf需要用到模块依赖Jar包:Web模块和Thymeleaf模块相应的依赖Jar包
<dependencies>
        <!--thymeleaf模块依赖-->
        <dependency>
            <groupId>org.springframework.boot</groupId>
            <artifactId>spring-boot-starter-thymeleaf</artifactId>
        </dependency>
        <!--Web模块依赖-->
        <dependency>
            <groupId>org.springframework.boot</groupId>
            <artifactId>spring-boot-starter-web</artifactId>
        </dependency>
</dependencies>
上面的依赖在SpringBoot Initializer中勾选Web模块勾选Web,Themeleaf模块勾选Thymeleaf

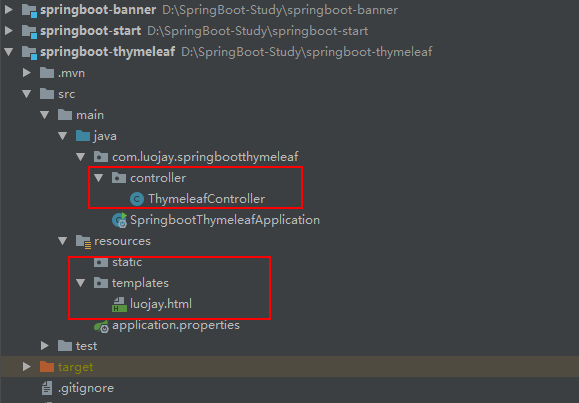
2.构建整合Thymeleaf的目录结构
| 文件夹 | 说明 |
|---|---|
| controller | 在Application所在的包下建controller会被SpringBoot自动扫描配置Bean |
| static | static是SpringBoot默认加载像CSS,JS,IMG等静态资源的文件夹 |
| templates | templates默认是放置模板文件,用来展示渲染的页面 |
3.controller的代码内容
@Controller告知SpringBoot这是控制层,自动注入Bean
@RequestMapping是映射访问路径注解,在localhost:8080之后的路径就是根据此处写的
package com.luojay.springbootthymeleaf.controller;
import org.springframework.stereotype.Controller;
import org.springframework.web.bind.annotation.RequestMapping;
@Controller
public class ThymeleafController {
@RequestMapping("/getThymeleaf")
public String Welcome(){
return "luojay";
//此处返回值,对应templates的文件名,SpringBoot根据它找到对应Html
}
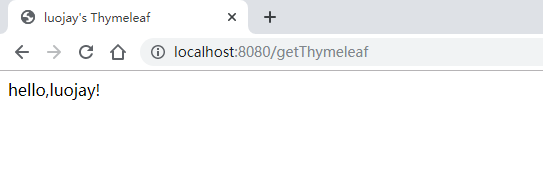
}4.luojay.html代码内容
<!DOCTYPE html>
<html lang="en">
<head>
    <meta charset="UTF-8">
    <title>luojay's Thymeleaf</title>
</head>
<body>
    hello,luojay!
</body>
</html>
页面展示效果
进阶的学习案例
上面的入门例子可以说是简单到不行,有了这个基础,可以利用网上一些静态资源整合Thymeleaf搭建好看的页面,比如登录界面

文章配套代码
Github:springboot-thymeleaf
登录页面源代码:基于Layui简约登录界面