1、pygame窗口
import pygame #
pygame.init() #模块初始化,任何pygame程序均需要执行此句
screencaption=pygame.display.set_caption(‘hello world’)#定义窗口的标题为’hello world’
screen=pygame.display.set_mode([640,480]) #定义窗口大小为640*480
screen.fill([255,255,255])#用白色填充窗口
2、窗口退出
代码如下:
while True:
for event in pygame.event.get():
if event.type==pygame.QUIT:
sys.exit()
3、pygame中的颜色
在screen.fill([255,255,255])中,提示,pygame使用的是RGB系统。
纯绿色用[0,255,0],纯蓝色用[0,0,255],纯红色用[255,0,0]。
4、矩形
pygame.draw.rect()用来创建一个矩形。Rect(left,top,width,height)用来定义位置和宽高,具体代码如下:
pygame.draw.rect(screen,[255,0,0],[250,150,300,200],0)#0代表用(255,0,0)来填充
或者
rect_list=[250,150,300,200]
pygame.draw.rect(screen,[255,0,0],rect_list,0)
或
my_rect=pygame.Rect(250,150,300,200)
pygame.draw.rect(screen,[255,0,0],my_rect,0)
******6、实例:**窗口的矩形画图
代码如下,建一个firstwin.py文件,复制如下代码:
import pygame,sys
import time
import random
pygame.init()
screencaption=pygame.display.set_caption(‘My first window’)
screen=pygame.display.set_mode([640,480])
screen.fill([100,150,200])
for i in range(1):
width=random.randint(0,255)
height=random.randint(0,100)
top=random.randint(0,400)
left=random.randint(0,500)
pygame.draw.rect(screen,[255,0,0],[left,top,width,height],0)
pygame.display.flip()
while True:
for event in pygame.event.get():
if event.type==pygame.QUIT:
sys.exit()
7.本机操作如下:
1)将上述代码复制进一个叫firstwin.py的文件,并将文件放在以下目录里
/usr/bin/pythonxgj/test.py
2)并进入该目录下
xgj@xgj-PC:~$ su
密码:
root@xgj-PC:/home/xgj# cd
root@xgj-PC:~# cd /usr/bin/pythonxgj/test.py
root@xgj-PC:/usr/bin/pythonxgj/test.py#
3)执行:python firstwin.py
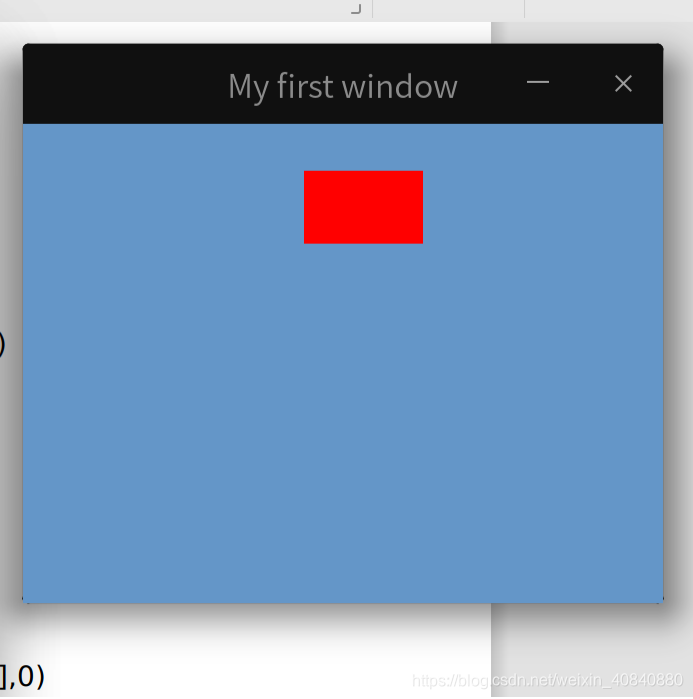
成功,OK