版权声明:本文为博主原创文章,遵循 CC 4.0 BY-SA 版权协议,转载请附上原文出处链接和本声明。
图像灰度线性变换
假定原图像
的灰度范围为[a,b],变换后图像
灰度扩展为[c,d],则根据线性方程式可以得到:
通过上式可以把图像某个亮度值区域[a,b]扩展到[c,d]。采用等例线性灰度变换对图像每一个像素做线性灰度拉伸,将有效地改善图像效果。

若图像灰度在
范围内,其中大部分像素的灰度级分布在区间[a,b]内,很小部分像素的灰度级超出此区间,则映射关系为:

Python实现代码如下:
def linear_transform(src,c = 0,low=0,high=1,bottom=0,up=1):
    assert high >= low and high >= 0 and high <= 1 and low >= 0 and low <= 1
    assert up > bottom and up >= 0 and up <= 1 and bottom >= 0 and bottom <= 1

    dst = np.zeros_like(src).astype(np.float32)
    dst = (up - bottom) / (high - low) * (src.astype(np.float32)-low) + c
    dst = np.clip(dst,0,255).astype(np.uint8)
    return dst
程序运行结果
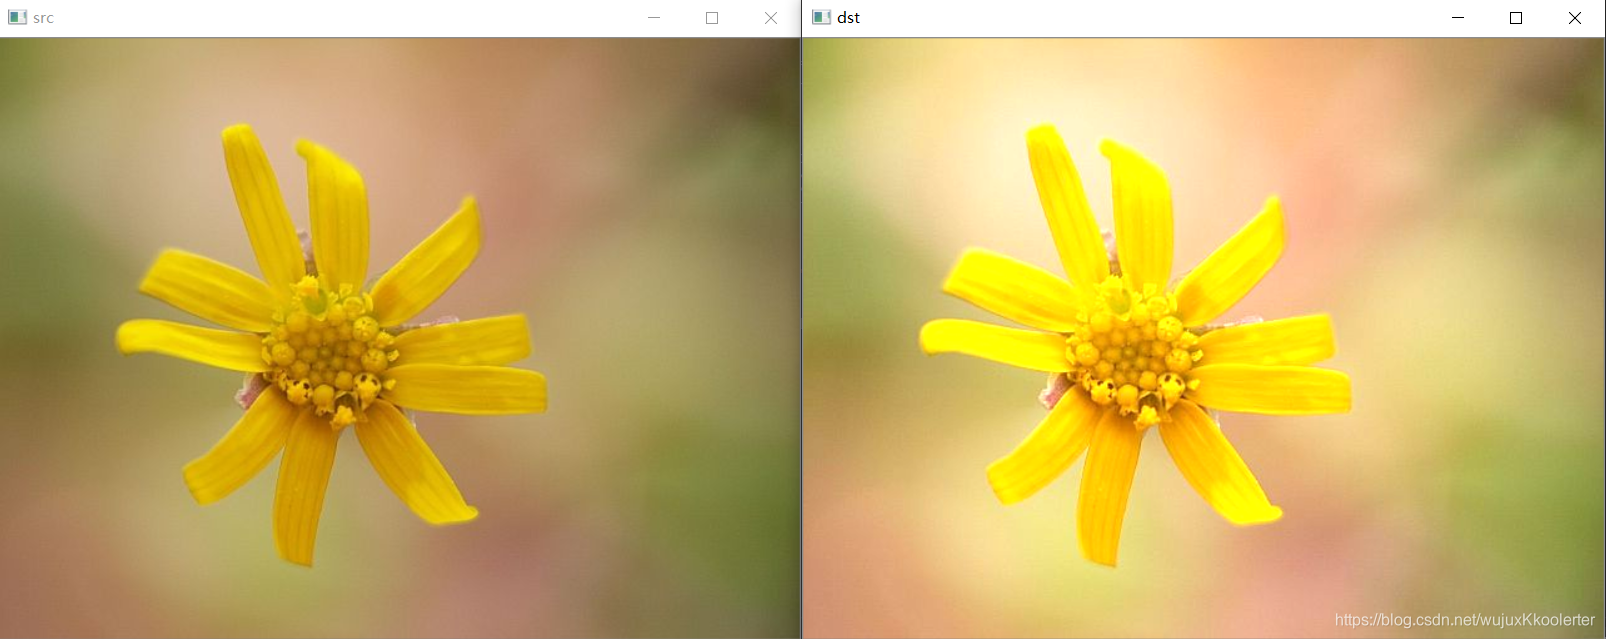
左边为原图像,右边为图像灰度线性变换后的结果