要进行监控,需要两个Project,一个是Admin Server端,负责监控Spring boot的项目,另一个是Admin Client端,是被监控的Spring boot服务。
Admin Server端
首先配置文件pom.xml导入函数依赖。
 1 <?xml version="1.0" encoding="UTF-8"?>
 2 <project xmlns="http://maven.apache.org/POM/4.0.0"
 3          xmlns:xsi="http://www.w3.org/2001/XMLSchema-instance"
 4          xsi:schemaLocation="http://maven.apache.org/POM/4.0.0 http://maven.apache.org/xsd/maven-4.0.0.xsd">
 5     <modelVersion>4.0.0</modelVersion>
 6
 7     <groupId>admin</groupId>
 8     <artifactId>admin</artifactId>
 9     <version>1.0-SNAPSHOT</version>
10
11     <parent>
12         <groupId>org.springframework.boot</groupId>
13         <artifactId>spring-boot-starter-parent</artifactId>
14         <version>2.1.6.RELEASE</version>
15     </parent>
16
17     <dependencies>
18         <dependency>
19             <groupId>org.springframework.boot</groupId>
20             <artifactId>spring-boot-starter-web</artifactId>
21             <version>2.1.6.RELEASE</version>
22         </dependency>
23
24         <dependency>
25             <groupId>de.codecentric</groupId>
26             <artifactId>spring-boot-admin-starter-server</artifactId>
27             <version>2.1.6</version>
28         </dependency>
29
30         <!--监控-->
31         <dependency>
32             <groupId>org.springframework.boot</groupId>
33             <artifactId>spring-boot-starter-actuator</artifactId>
34         </dependency>
35
36         <dependency>
37             <groupId>de.codecentric</groupId>
38             <artifactId>spring-boot-admin-server-ui</artifactId>
39             <version>2.0.1</version>
40         </dependency>
41     </dependencies>
42 </project>
然后写配置文件application.yml
1 spring:
2   application:
3     name: admin-server
4 server:
5   port: 9090
最后补全项目的主类
 1 package cy;
 2
 3 import de.codecentric.boot.admin.server.config.EnableAdminServer;
 4 import org.springframework.boot.SpringApplication;
 5 import org.springframework.boot.autoconfigure.SpringBootApplication;
 6
 7 @SpringBootApplication
 8 @EnableAdminServer
 9
10 public class TestApplication {
11     public static void main(String[] args) {
12         SpringApplication.run(TestApplication.class, args);
13
14     }
15 }
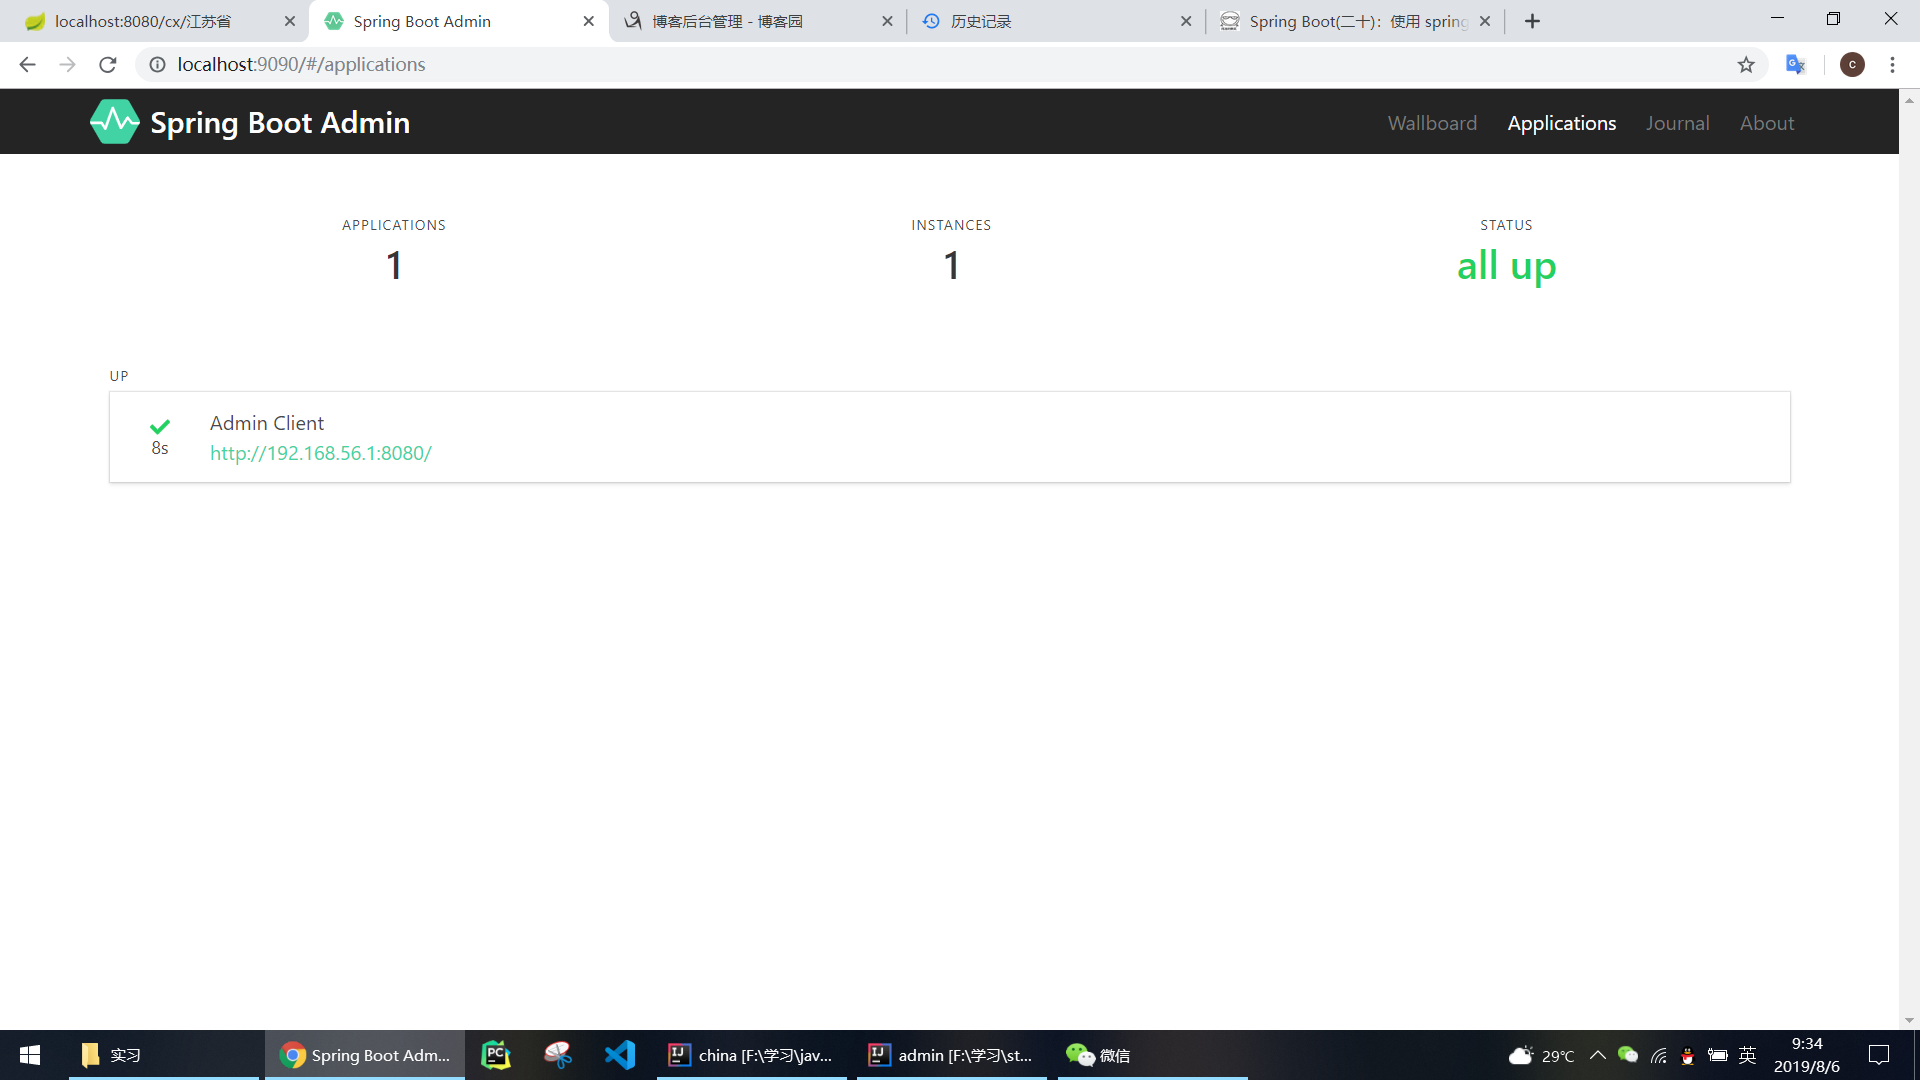
这时进入 http://localhost:9090/ 看到如下界面就表示第一步Server端已经完成。

Admin Client端
在被监控的Project文件的pom.xml文件中加上下面的依赖
1 <dependencies>
2     <dependency>
3       <groupId>de.codecentric</groupId>
4       <artifactId>spring-boot-admin-starter-client</artifactId>
5       <version>2.1.0</version>
6     </dependency>
7 </dependencies>
配置文件分为两类,如果你配置的是application.yml
 1 //application.yml
 2 server:
 3   port: 8080
 4 spring:
 5   application:
 6     name: Admin Client
 7   boot:
 8     admin:
 9       client:
10         url: http://localhost:9090
11 management:
12   endpoints:
13     web:
14       exposure:
15         include: '*'
如果配置的是application.properties
1 //application.properties
2 server.port=8080
3 spring.application.name=Admin Client
4 spring.boot.admin.client.url=http://localhost:9090
5 management.endpoints.web.exposure.include=*
两者的区别可以看https://www.cnblogs.com/chenyun-/p/11306854.html
运行Client的主类,可以看到
选择进入该项目,可以看到
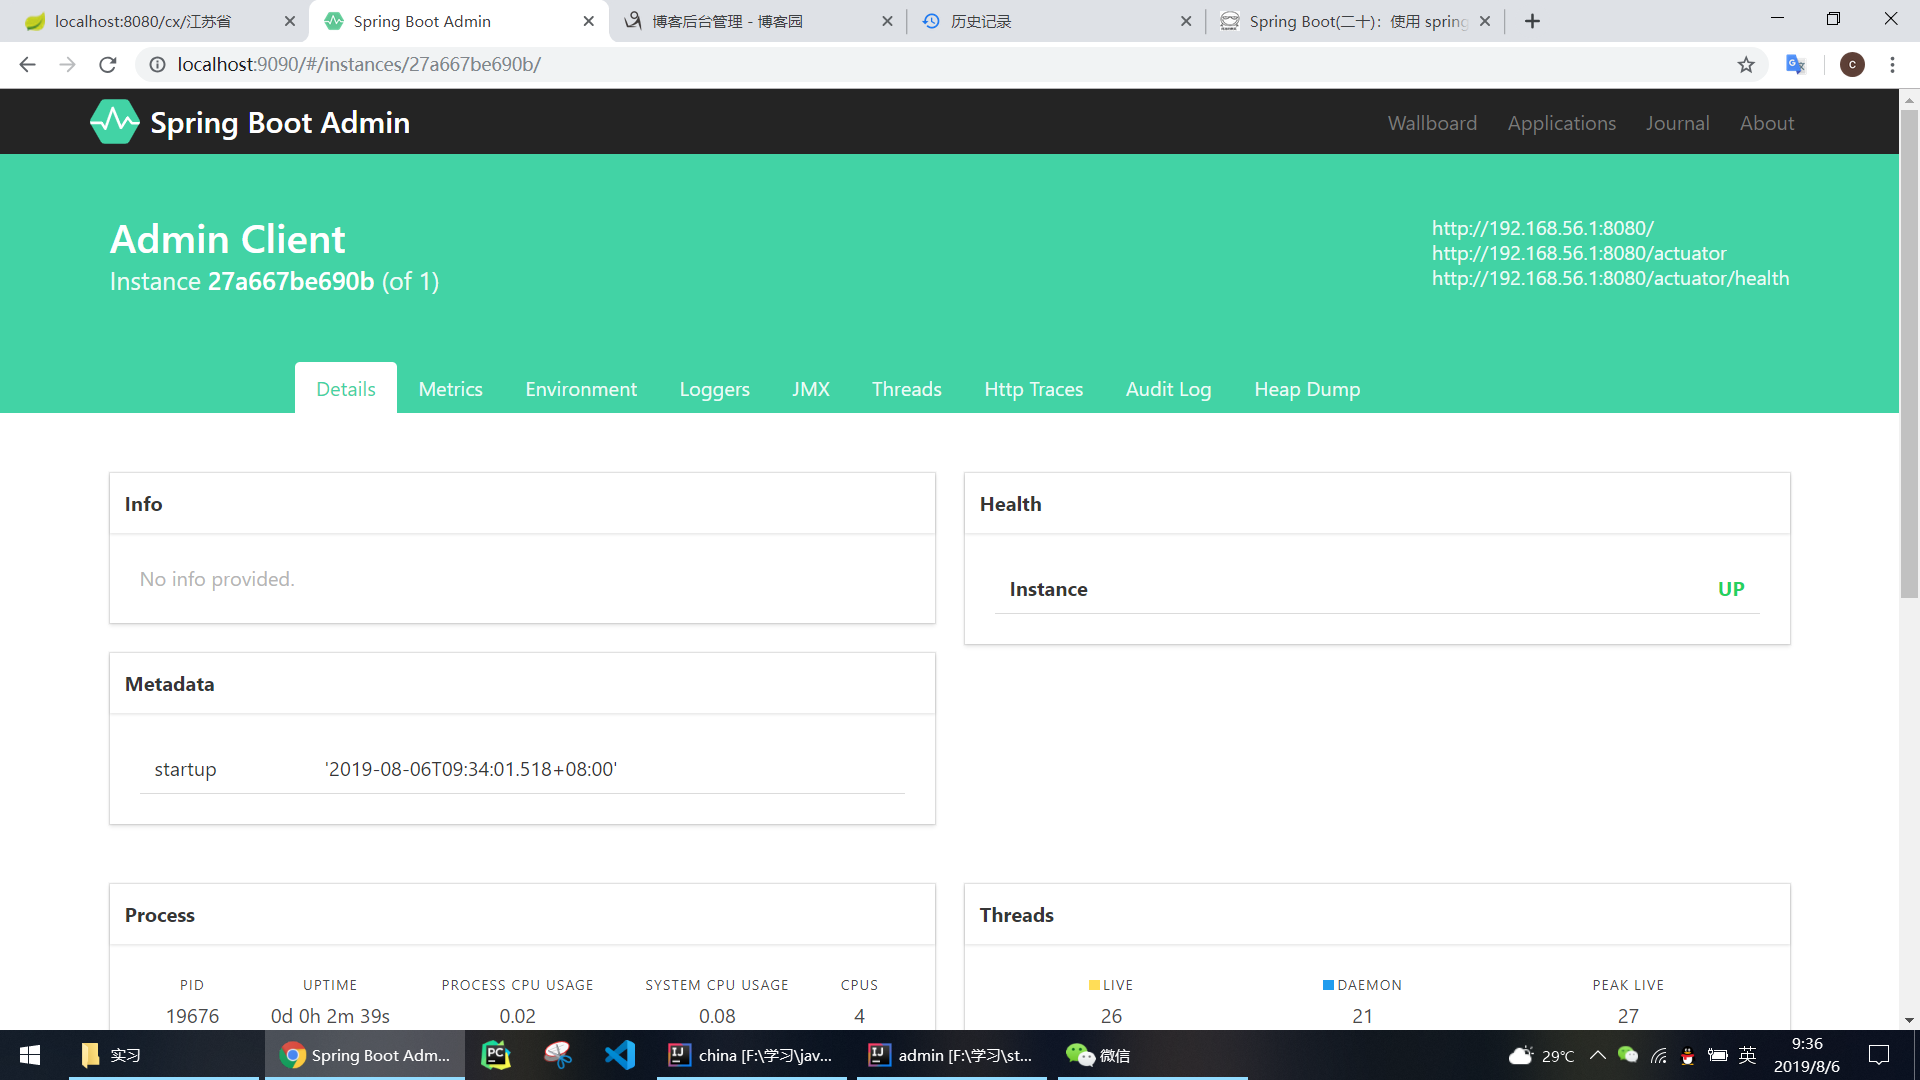
这个时候我们就可以监控到这个服务的各项指标。
文章的最后我们来解释一下这个配置文件的含义,推荐使用application.yml,这里为了方便排版使用了application.properties:
server.port=8080 就是被监控的项目所运行在的端口;
spring.application.name=Admin Client Client名称;
spring.boot.admin.client.url=http://localhost:9090 监控程序在的位置,让这两者可以找到;
management.endpoints.web.exposure.include=* 开放给监控程序的权限,这里的✳代指所有的权限。