前言
1、何为spring-boot-admin?
Spring Boot Admin 是一个监控工具,旨在以良好且易于访问的方式可视化 Spring Boot Actuators 提供的信息
快速开始
如何搭建spring-boot-admin-server
1、在服务端项目的POM引入相应的GAV
  <dependency>
            <groupId>de.codecentric</groupId>
            <artifactId>spring-boot-admin-starter-server</artifactId>
            <version>${

    spring-boot-admin.version}</version>
        </dependency>
        <dependency>
            <groupId>org.springframework.boot</groupId>
            <artifactId>spring-boot-starter-web</artifactId>
        </dependency>
2、新建springboot启动类并加上@EnableAdminServer
@SpringBootApplication
@EnableAdminServer
public class MonitorApplication {


    public static void main(String[] args) {


        SpringApplication.run(MonitorApplication.class);
    }
}
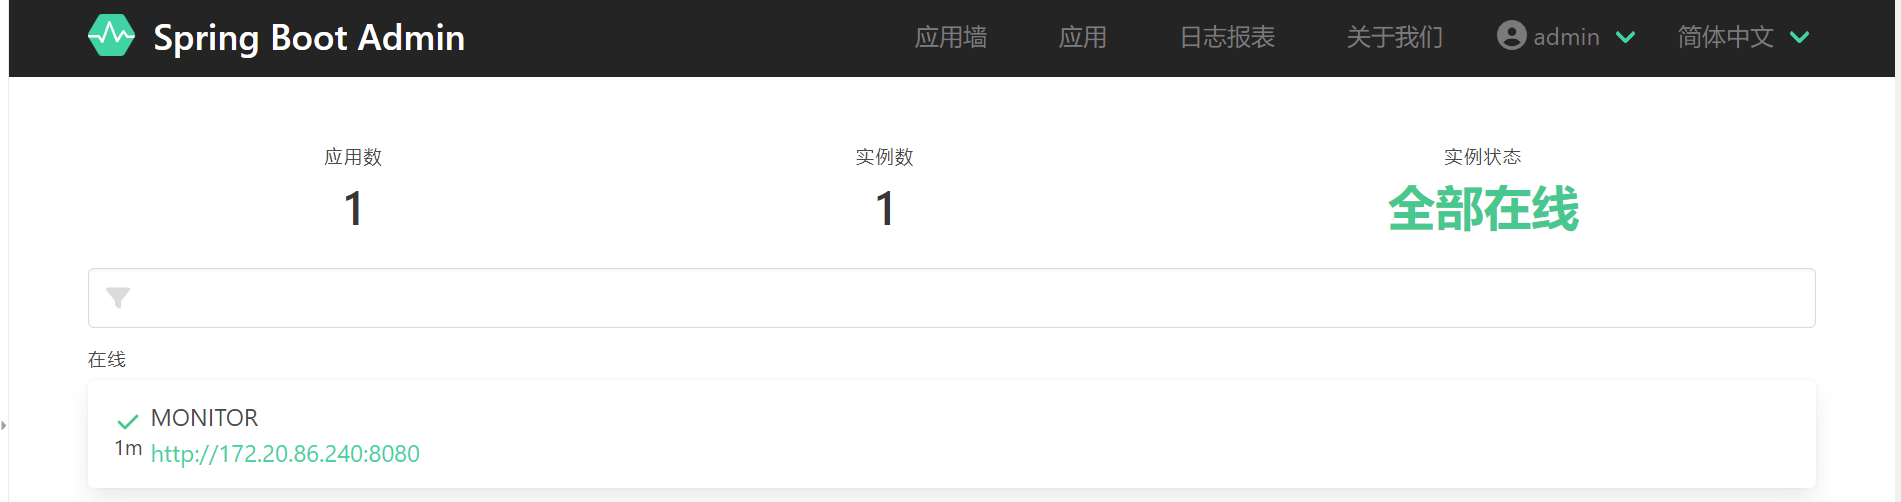
配置完,访问一下页面

虽然可以访问,但是这样不安全,接下来我们和spring security做个整合
3、整合spring security
a、 在服务端项目的pom引入security GAV
 <dependency>
            <groupId>org.springframework.boot</groupId>
            <artifactId>spring-boot-starter-security</artifactId>
        </dependency>
b、 在服务端项目的application.yml配置相关用户名和密码
spring:
  security:
    user:
      name: ${

    MONITOR_USER:admin}
      password: ${

    MONITOR_PWD:admin}
c、 定制security config
@Configuration
@EnableWebSecurity
@RequiredArgsConstructor
public class SecurityMonitorConfig extends WebSecurityConfigurerAdapter {


    private final AdminServerProperties adminServer;

    private final WebEndpointProperties webEndpointProperties;


    @Override
    protected void configure(HttpSecurity http) throws Exception {


        SavedRequestAwareAuthenticationSuccessHandler successHandler = new SavedRequestAwareAuthenticationSuccessHandler();
        successHandler.setTargetUrlParameter("redirectTo");
        successHandler.setDefaultTargetUrl(this.adminServer.path("/"));


        http.authorizeRequests()
                .requestMatchers(new AntPathRequestMatcher(this.adminServer.path("/assets/**"))).permitAll()
                .requestMatchers(new AntPathRequestMatcher(this.adminServer.path(webEndpointProperties.getBasePath() + "/info")))
                .permitAll()
                .requestMatchers(new AntPathRequestMatcher(adminServer.path(webEndpointProperties.getBasePath() + "/health")))
                .permitAll()
                .requestMatchers(new AntPathRequestMatcher(this.adminServer.path("/login")))
                .permitAll()
                .anyRequest().authenticated()
                .and()
                .formLogin().loginPage(this.adminServer.path("/login")).successHandler(successHandler).and()
                .logout().logoutUrl(this.adminServer.path("/logout")).and()
                .httpBasic().and()
                .csrf().csrfTokenRepository(CookieCsrfTokenRepository.withHttpOnlyFalse())
                .ignoringRequestMatchers(
                        new AntPathRequestMatcher(this.adminServer.path("/instances"), POST.toString()),
        new AntPathRequestMatcher(this.adminServer.path("/instances/*"), DELETE.toString()),
        new AntPathRequestMatcher(this.adminServer.path(webEndpointProperties.getBasePath() + "/**")));

        http.rememberMe((rememberMe) -> rememberMe.key(UUID.randomUUID().toString()).tokenValiditySeconds(1209600));


    }

}
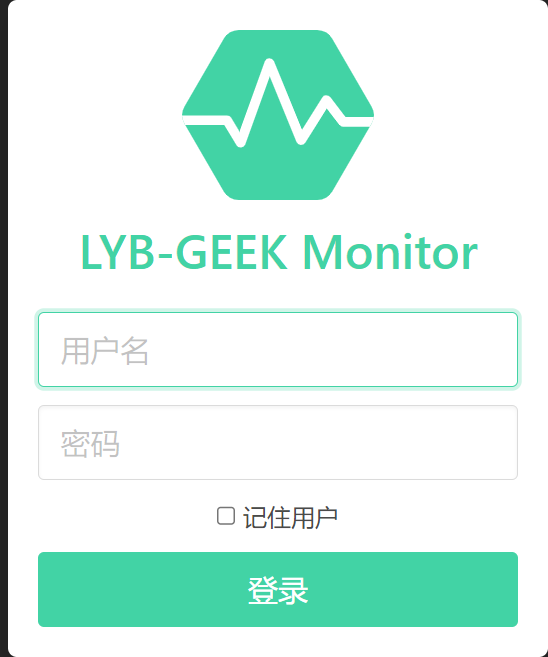
配置完访问一下页面

输入用户名和密码 admin/admin
如果对整合安全认证还有疑问,可以直接参考官网
https://docs.spring-boot-admin.com/current/security.html
4、页面定制
如果我们觉得登录的springboot admin logo个性化不强,我们可以简单定制一下
在application.yml做如下配置
spring:
  boot:
    admin:
      ui:
        title: ${

    UI_TITLE:LYB-GEEK Monitor}
        brand: <img src="assets/img/icon-spring-boot-admin.svg"><span>${

    spring.boot.admin.ui.title}</span>
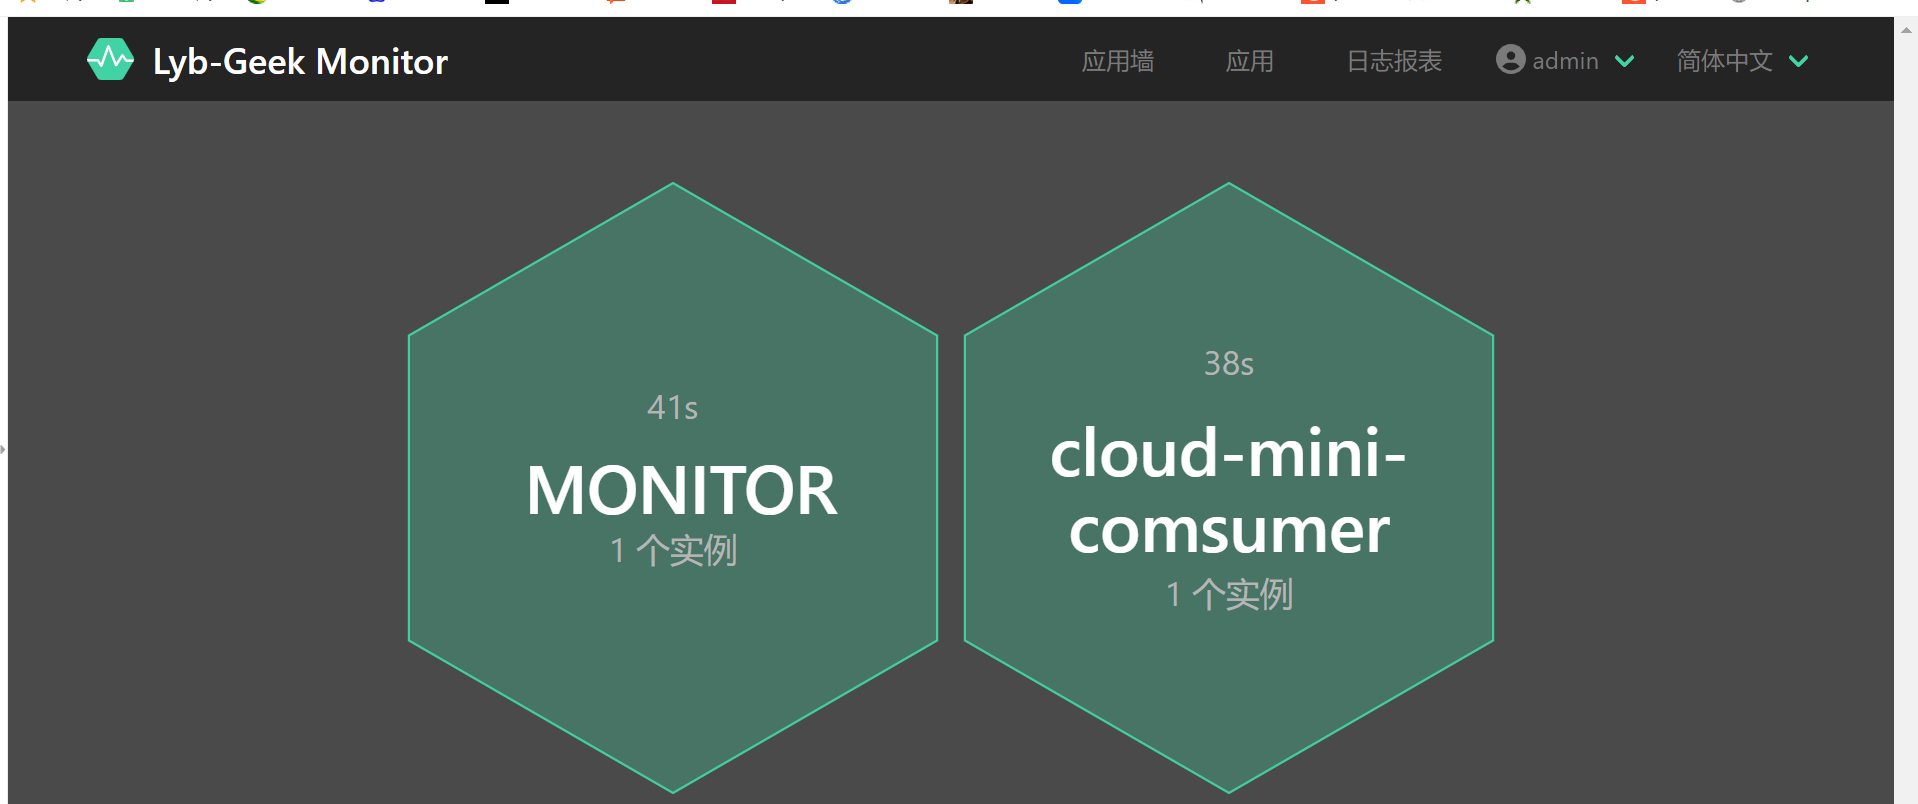
配置好访问一下

如果有些导航栏,我们觉得不需要,比如去掉关于我们
spring:
  boot:
    admin:
      ui:
        view-settings:
          - name: "about"
            enabled: false
注: view-settings这个配置需要是2.3.1以上版本才有的属性
配置好访问一下

发现关于我们已经去掉了,以上只是简单定制,更多定制可以参考如下链接
https://docs.spring-boot-admin.com/current/customize_ui.html
5、与注册中心集成
a、 在服务端项目中pom引入eureka-client GAV
  <dependency>
            <groupId>org.springframework.cloud</groupId>
            <artifactId>spring-cloud-starter-netflix-eureka-client</artifactId>
        </dependency>
b、 在application.yml文件引入eureka 客户端相关配置
eureka:
  instance:
    instance-id: ${

    spring.application.name}:${

    spring.cloud.client.ip-address}:${

    spring.application.instance_id:${

    server.port}}
    prefer-ip-address: ${

    PREFER_IP:true}  #是否选择IP注册
    #   ip-address: ${IP_ADDRESS:localhost}   #指定IP地址注册
    lease-renewal-interval-in-seconds: 5  #续约更新时间间隔(默认30秒),使得eureka及时剔除无效服务
    lease-expiration-duration-in-seconds: 10 #续约到期时间(默认90秒)
    hostname: ${

    HOSTNAME:${

    spring.application.name}}
  client:
    service-url:
      defaultZone: ${

    EUREKA_CLIENT_SERVICEURL_DEFAULTZONE:http://localhost:8761/eureka/}
      #缩短延迟向服务端注册的时间、默认40s
    initial-instance-info-replication-interval-seconds: 10
    #提高Eureka-Client端拉取Server注册信息的频率,默认30s
    registry-fetch-interval-seconds: 5
访问eureka控制面板

服务端的配置暂且说到这边,接下来我们说下客户端集成
如何搭建spring-boot-admin-client
1、在客户端项目的POM配置相关GAV
<dependency>
            <groupId>org.springframework.boot</groupId>
            <artifactId>spring-boot-starter-web</artifactId>
        </dependency>

        <dependency>
            <groupId>de.codecentric</groupId>
            <artifactId>spring-boot-admin-starter-client</artifactId>
            <version>${spring-boot-admin-client.version}</version>
        </dependency>

       <dependency>
            <groupId>org.springframework.boot</groupId>
            <artifactId>spring-boot-starter-actuator</artifactId>
        </dependency>
2、客户端暴露actuator相关端点
management:
  endpoints:
    web:
      exposure:
        include: "*"
  endpoint:
    health:
      show-details: ALWAYS
3、配置spring-boot-admin服务端地址
spring:
  boot:
    admin:
      client:
        url: http://localhost:8080
启动观察控制台,会发现有如下信息

原因是因为我们服务端配置了鉴权,因此我们客户端还需做如下配置
spring:
  boot:
    admin:
      client:
        url: http://localhost:8080
        username: admin
        password: admin
配置好,观察控制台,发现没异常信息,此时我们访问服务端监控面板
如图说明客户端搭建成功
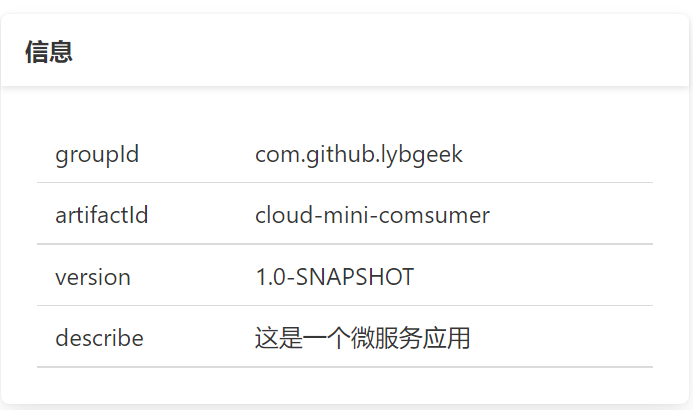
4、配置应用信息
默认我们查看服务端监控面板–应用列表详情,会发现
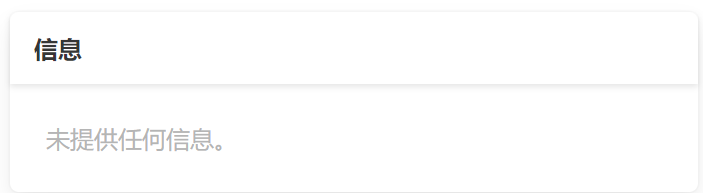
这个信息是空的,我们可以在yml配置形如下内容
info:
  groupId: @project.groupId@
  artifactId: @project.artifactId@
  version: @project.version@
  describe: 这是一个微服务应用
再次访问服务端监控面板
其实这个采的就是actuator/info端点。当然可以像官方介绍的示例,在项目的POM引入springboot插件,并指定goal为build-info
<build>
    <plugins>
        <plugin>
            <groupId>org.springframework.boot</groupId>
            <artifactId>spring-boot-maven-plugin</artifactId>
            <executions>
                <execution>
                    <goals>
                        <goal>build-info</goal>
                    </goals>
                </execution>
            </executions>
        </plugin>
    </plugins>
</build>
5、在服务端监控面板集成客户端日志
默认是没集成客户端日志,如图

通过官网

我们知道要配置logging.file.path或者logging.file.name
示例配置
logging:
  file:
    path: ${

    LOG_FILE_PATH:/data/logs/cloud-mini-comsumer}
logback-spring相关配置如下
<?xml version="1.0" encoding="UTF-8"?>
<configuration scan="true" scanPeriod="60 seconds" debug="false">
    <include resource="org/springframework/boot/logging/logback/defaults.xml"/>
    <property name="serviceName" value="cloud-mini-comsumer"/>
    <property name="logHome" value="/data/logs/${serviceName}"/>
    <contextName>${serviceName}</contextName>

    <!--输出到控制台-->
    <appender name="console" class="ch.qos.logback.core.ConsoleAppender">
        <encoder>
            <pattern>${CONSOLE_LOG_PATTERN}</pattern>
        </encoder>
    </appender>

    <!--按天生成日志-->
    <appender name="logFile" class="ch.qos.logback.core.rolling.RollingFileAppender">
        <Prudent>true</Prudent>
        <rollingPolicy class="ch.qos.logback.core.rolling.TimeBasedRollingPolicy">
            <FileNamePattern>
                ${logHome}/%d{yyyy-MM-dd}/%d{yyyy-MM-dd}.log
            </FileNamePattern>
            <maxHistory>30</maxHistory>
        </rollingPolicy>
        <layout class="ch.qos.logback.classic.PatternLayout">
            <Pattern>
                %d{yyyy-MM-dd HH:mm:ss} -%msg%n
            </Pattern>
        </layout>
    </appender>

    <root level="info">
        <appender-ref ref="console"/>
        <appender-ref ref="logFile"/>
    </root>

</configuration>
我们配置后,出现日志文件按钮,点击后出现
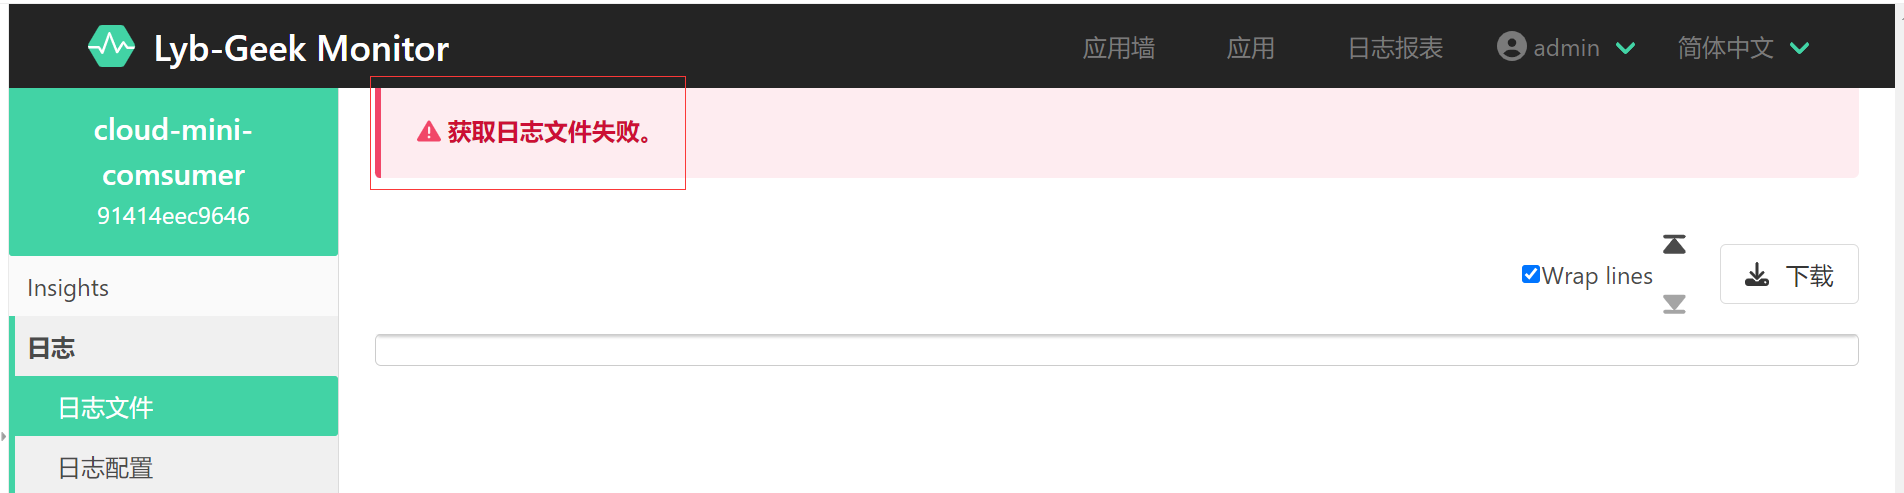
那就很诡异,明明按官网配置了,后面排查发现,其他服务可以出现日志,他们配置日志目录底下,都会生成一个spring.log日志,那意味着只要能生成spring.log即可。于是我们调整一下logback-spring,将
<include resource="org/springframework/boot/logging/logback/defaults.xml"/>
调整为
<include resource="org/springframework/boot/logging/logback/base.xml" />
然后重新访问服务端监控面板

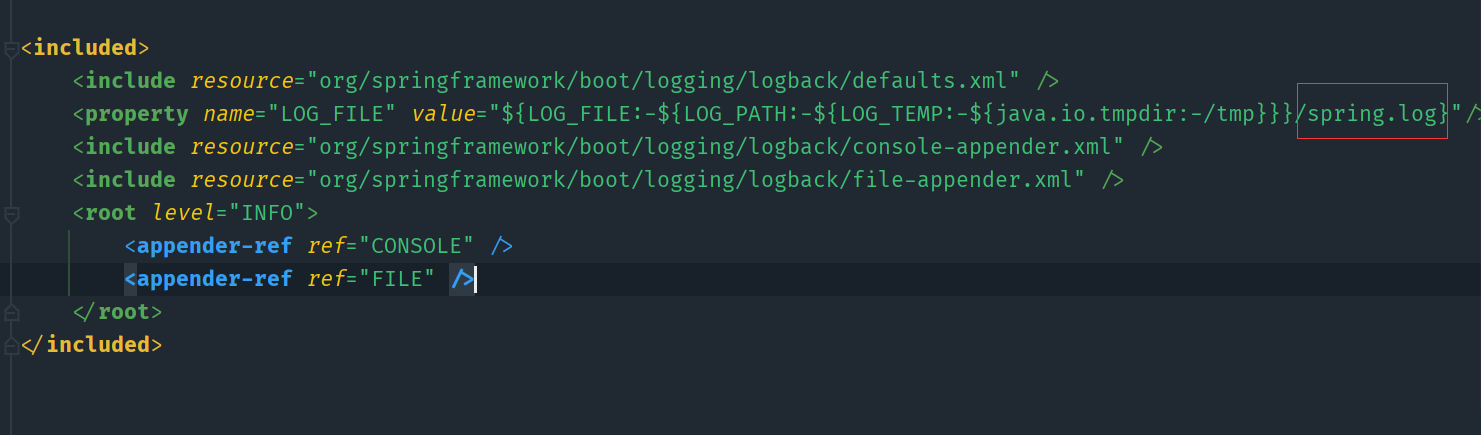
发现有日志出来了。那为毛加了这个base.xml就有用,那是因为这个日志采集的端点是actuator/logfile。因为本文不是讲解源码,我就把相关核心源码,贴在下面,感兴趣的朋友可以根据下面提供的源码,进行debug调试
核心源码
@WebEndpoint(id = "logfile")
public class LogFileWebEndpoint {


	private static final Log logger = LogFactory.getLog(LogFileWebEndpoint.class);

	private File externalFile;

	private final LogFile logFile;

	public LogFileWebEndpoint(LogFile logFile, File externalFile) {


		this.externalFile = externalFile;
		this.logFile = logFile;
	}

	@ReadOperation(produces = "text/plain; charset=UTF-8")
	public Resource logFile() {


		Resource logFileResource = getLogFileResource();
		if (logFileResource == null || !logFileResource.isReadable()) {


			return null;
		}
		return logFileResource;
	}

	private Resource getLogFileResource() {


		if (this.externalFile != null) {


			return new FileSystemResource(this.externalFile);
		}
		if (this.logFile == null) {


			logger.debug("Missing 'logging.file.name' or 'logging.file.path' properties");
			return null;
		}
		return new FileSystemResource(this.logFile.toString());
	}

}
public class LogFile {


	/**
	 * The name of the Spring property that contains the name of the log file. Names can
	 * be an exact location or relative to the current directory.
	 * @deprecated since 2.2.0 in favor of {@link #FILE_NAME_PROPERTY}
	 */
	@Deprecated
	public static final String FILE_PROPERTY = "logging.file";

	/**
	 * The name of the Spring property that contains the directory where log files are
	 * written.
	 * @deprecated since 2.2.0 in favor of {@link #FILE_PATH_PROPERTY}
	 */
	@Deprecated
	public static final String PATH_PROPERTY = "logging.path";

	/**
	 * The name of the Spring property that contains the name of the log file. Names can
	 * be an exact location or relative to the current directory.
	 * @since 2.2.0
	 */
	public static final String FILE_NAME_PROPERTY = "logging.file.name";

	/**
	 * The name of the Spring property that contains the directory where log files are
	 * written.
	 * @since 2.2.0
	 */
	public static final String FILE_PATH_PROPERTY = "logging.file.path";

	private final String file;

	private final String path;

	/**
	 * Create a new {@link LogFile} instance.
	 * @param file a reference to the file to write
	 */
	LogFile(String file) {


		this(file, null);
	}

	/**
	 * Create a new {@link LogFile} instance.
	 * @param file a reference to the file to write
	 * @param path a reference to the logging path to use if {@code file} is not specified
	 */
	LogFile(String file, String path) {


		Assert.isTrue(StringUtils.hasLength(file) || StringUtils.hasLength(path), "File or Path must not be empty");
		this.file = file;
		this.path = path;
	}

	/**
	 * Apply log file details to {@code LOG_PATH} and {@code LOG_FILE} system properties.
	 */
	public void applyToSystemProperties() {


		applyTo(System.getProperties());
	}

	/**
	 * Apply log file details to {@code LOG_PATH} and {@code LOG_FILE} map entries.
	 * @param properties the properties to apply to
	 */
	public void applyTo(Properties properties) {


		put(properties, LoggingSystemProperties.LOG_PATH, this.path);
		put(properties, LoggingSystemProperties.LOG_FILE, toString());
	}

	private void put(Properties properties, String key, String value) {


		if (StringUtils.hasLength(value)) {


			properties.put(key, value);
		}
	}

	@Override
	public String toString() {


		if (StringUtils.hasLength(this.file)) {


			return this.file;
		}
		return new File(this.path, "spring.log").getPath();
	}
加了那个logback-base可以的原因是,点开base.xml
6、客户端与注册中心集成
说实话spring-boot-admin我看过的,基本上都是用在微服务场景比较多,因此后面的内容,我以集成注册中心为核心来讲解示例,通过url配置服务端监控地址就不再论述。
a、 在客户端项目的pom引入eureka-client GAV
 <dependency>
            <groupId>org.springframework.cloud</groupId>
            <artifactId>spring-cloud-starter-netflix-eureka-client</artifactId>
        </dependency>
b、 配置eureka 客户端相关信息
eureka:
  instance:
    instance-id: ${

    spring.application.name}:${

    spring.cloud.client.ip-address}:${

    spring.application.instance_id:${

    random.uuid}}
    prefer-ip-address: ${

    PREFER_IP:false}  #是否选择IP注册
 #   ip-address: ${IP_ADDRESS:localhost}   #指定IP地址注册
    lease-renewal-interval-in-seconds: 5  #续约更新时间间隔(默认30秒),使得eureka及时剔除无效服务
    lease-expiration-duration-in-seconds: 10 #续约到期时间(默认90秒)
    hostname: ${

    HOSTNAME:${

    spring.application.name}}
    metadata-map:
      ipAddress: ${

    spring.cloud.client.ip-address}
      management:
        address: ${

    spring.cloud.client.ip-address}
  client:
    service-url:
      defaultZone: ${

    EUREKA_CLIENT_SERVICEURL_DEFAULTZONE:http://localhost:8761/eureka/}
      #缩短延迟向服务端注册的时间、默认40s
    initial-instance-info-replication-interval-seconds: 10
    #提高Eureka-Client端拉取Server注册信息的频率,默认30s
    registry-fetch-interval-seconds: 5
注: 客户端和服务端集成的eureka地址必须得同一个
客户端和服务端同时配置好注册中心后,我们访问一下服务端监控面板

和用url配置服务端地址的效果一样,到这边大体就差不多了。但是实际使用,没那么简单。我们列举几种场景
场景一:客户端的默认端点不是actuator
因为公司有时候会有等保要求,正常是不能直接暴露actuator端点,所以我们客户端,可能会将端点路径改个名字,比如改成如下
management:
  endpoints:
    web:
      base-path: ${

    MONINTOR_BASE_PATH:/lyb-geek}
      exposure:
        include: "*"
此时通过服务端监控面板访问

会发现爆红了,点击爆红的面板进去
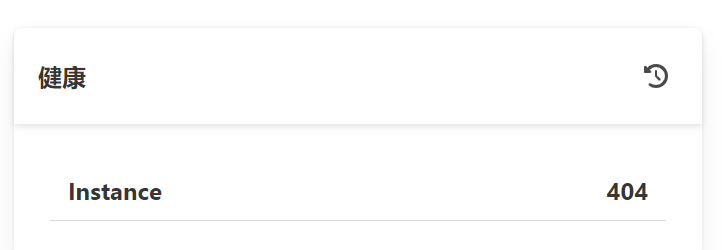
健康检测404,我们可以通过配置注册中心的元数据,示例如下
eureka:
  instance:
    metadata-map:
      management:
        context-path: ${

    management.endpoints.web.base-path:/actuator}
此时我们再访问服务端监控面板
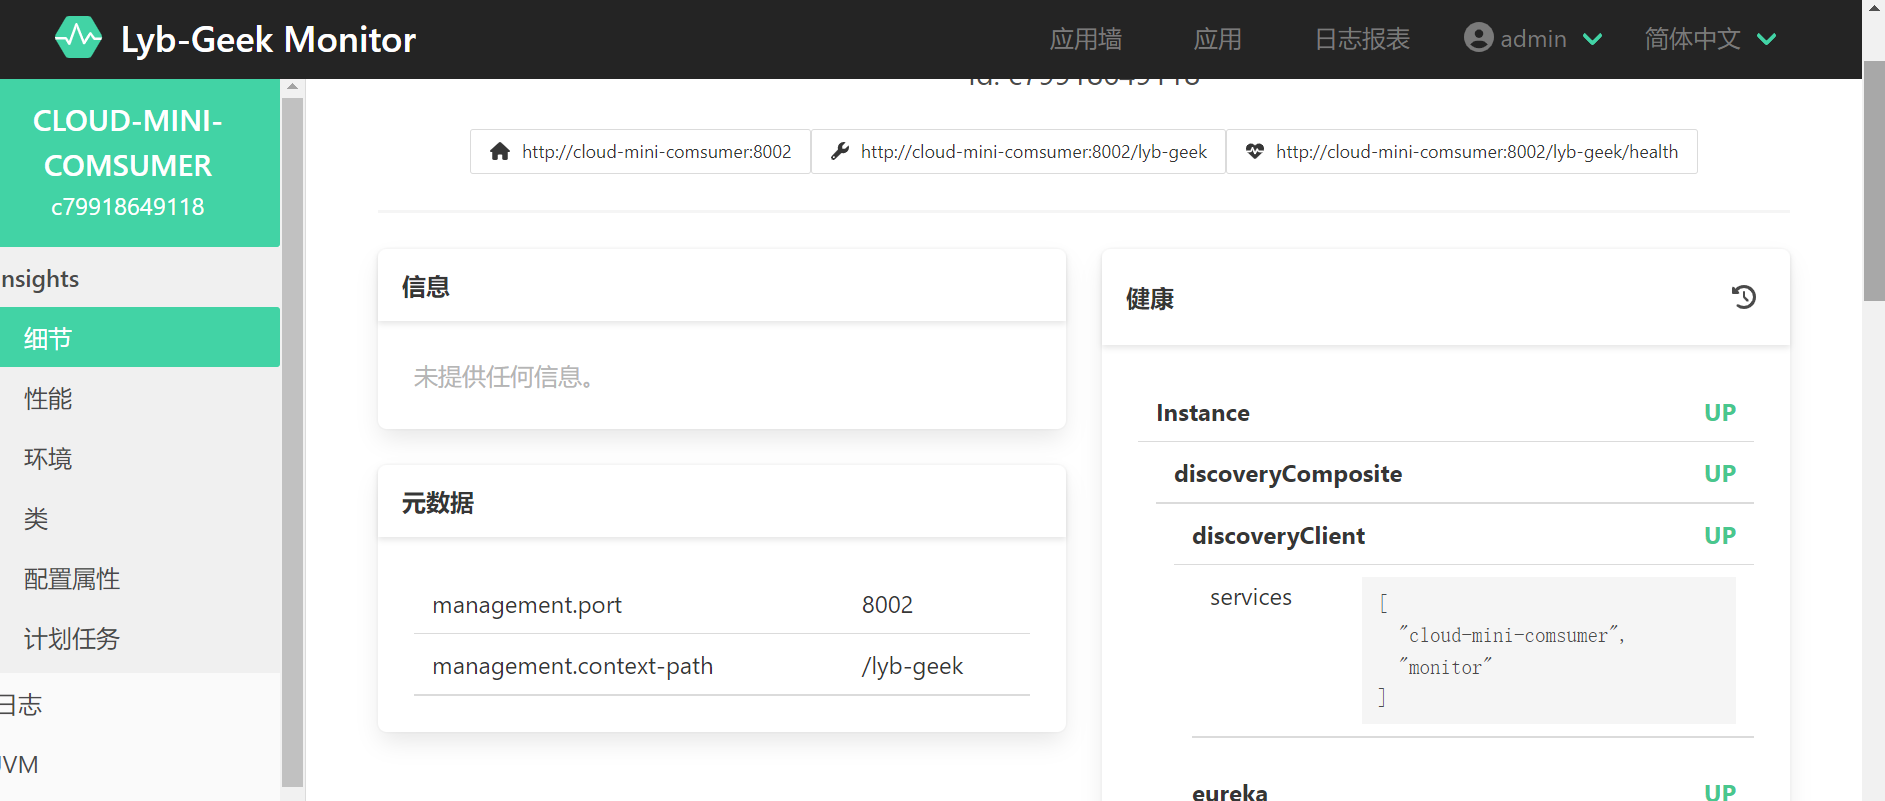
发现可以正常访问了。
场景二:客户端的actuator需要认证才能访问
当我们没有通过认证,直接访问服务端监控面板时

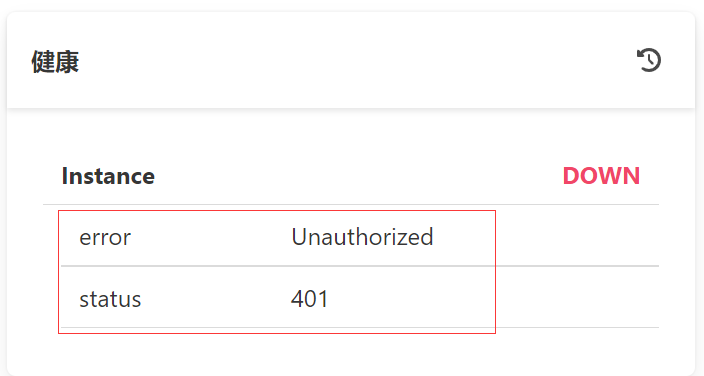
会出现401,未授权访问,此时我们在注册中心配置形如下内容
eureka:
  instance:
    metadata-map:
      user.name: ${

    spring.security.user.name}
      user.password: ${

    spring.security.user.password}
访问服务端监控面板
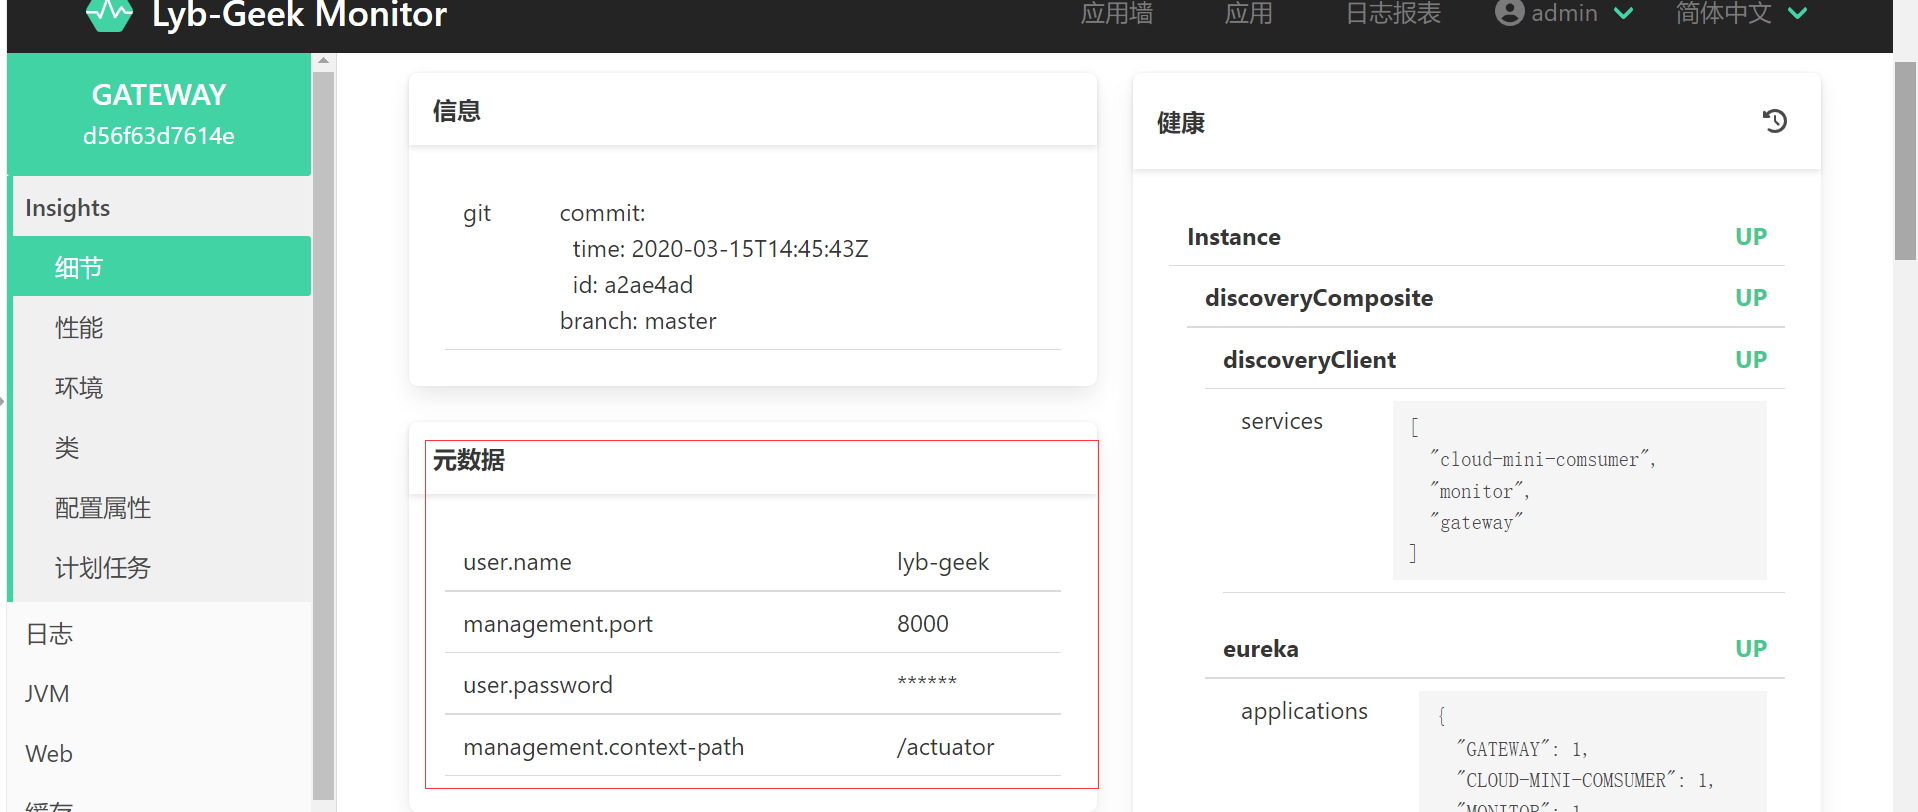
已经可以正常访问
场景三:客户端通过hostName注册到注册中心,服务端监控面板只显示一个实例
这个场景出现在容器化部署,因为此时hostName和port都一样,因此这个客户端就被当成是同一个。此时通过如下配置
eureka:
  instance:
    metadata-map:
      management:
        address: ${

    spring.cloud.client.ip-address}
通过配置management.address指定ip
注: 想知道spring-boot-admin可以支持哪些注册中心元数据,可以查看官网
https://docs.spring-boot-admin.com/current/server.html

也看可以查看源码
de.codecentric.boot.admin.server.cloud.discovery.DefaultServiceInstanceConverter
如何为spring-boot-admin集成告警
以集成邮件告警为例,在服务端的POM引入邮件发送的GAV
<dependency>
            <groupId>org.springframework.boot</groupId>
            <artifactId>spring-boot-starter-mail</artifactId>
        </dependency>
在服务端的application.yml配置邮件发送配置
spring:
  mail:
    host: ${

    MAIL_HOST:邮箱服务器地址}
    port:
    username: ${

    MAIL_USERNAME:邮箱服务器用户名}
    password: ${

    MAIL_PWD:邮箱服务器密码}
    protocol: ${

    MAIL_PROTOCOL:smtp}
    default-encoding: UTF-8
    properties:
      mail.smtp.auth: true
      mail.smtp.starttls.enable: true
      mail.smtp.starttls.required: true
      mail.smtp.socketFactory.port: ${

    MAIL_SMTP_SOCKETFACTORY_PORT:465}
      mail.smtp.socketFactory.class: javax.net.ssl.SSLSocketFactory
      mail.smtp.socketFactory.fallback: false
      mail.smtp.ssl.protocols: ${

    MAIL_SMTP_SSL_PROTOCOLS:TLSv1}
配置邮件通知接收人和发送人
spring:
  boot:
    admin:
      notify:
        mail:
          to: ${

    NOTIFY_MAIL_TO:邮箱接收人,多个用,隔开}
          from: ${

    NOTIFY_MAIL_FROM:邮箱发送人}
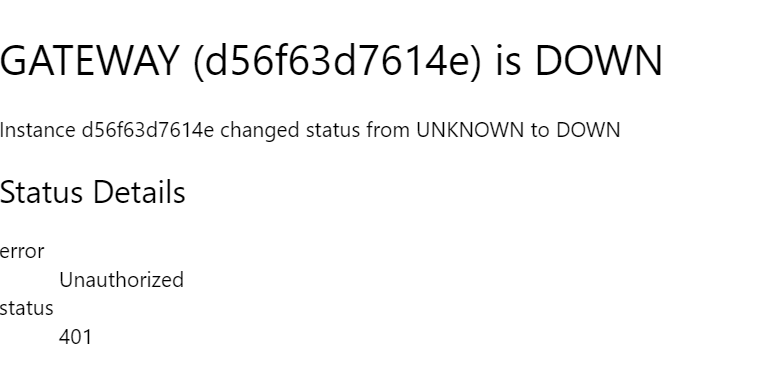
当客户端出现异常时,会收到形如下告警
更多告警的玩法可以参考官网
https://docs.spring-boot-admin.com/current/server-notifications.html
总结
spring-boot-admin其实核心就做了一件事,就是把Spring Boot Actuators 可视化。本文就不提供demo了,因为官网文档写得很详细,大部分内容都可以从官网找到https://docs.spring-boot-admin.com/current/。除了那个日志稍微有点坑