本文将粗略的搭建一个Spring源码的阅读环境,为后面的源码阅读做一个准备。做任何事情不管是有一个完美的或者是不太完美的开头,只要去做了,那么就是一种胜利。
由于spring使用了gradle构建工具,接下来先安装gradle。
安装gradle
从Gradle官网下载gradle安装包,打开https://gradle.org/releases/
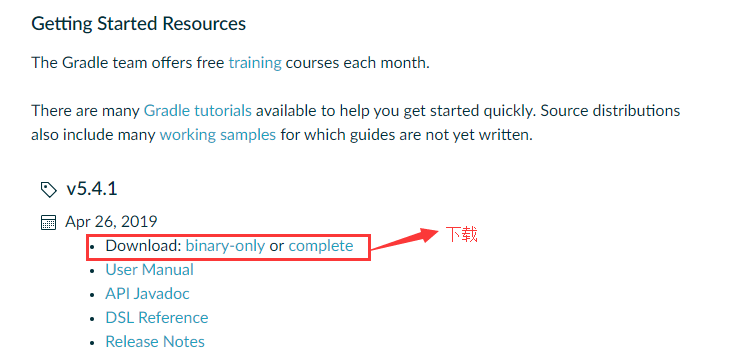
将下载的安装包gradle-x.x.x-all.zip解压到当前目录

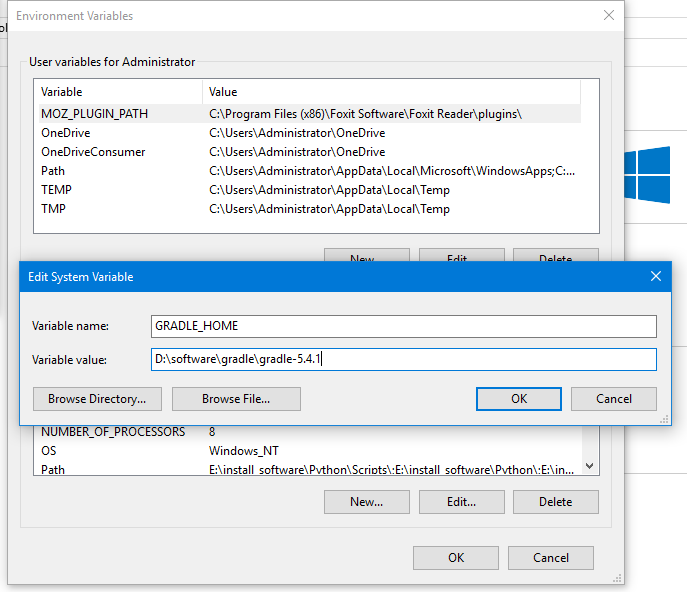
环境变量配置
配置GRADLE_HOME
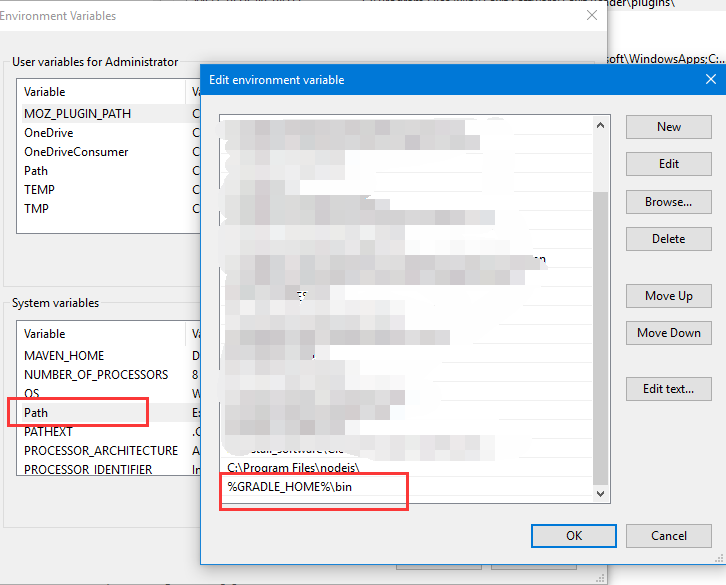
配置Path
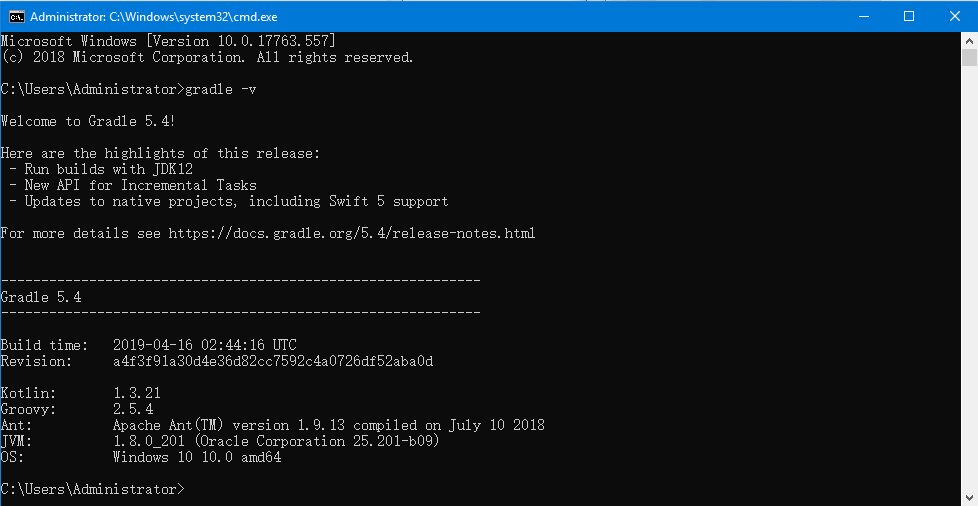
打开目录行工具,输入
gradle -v,能看到gradle的版本信息表示安装已经成功
导入Spring源码
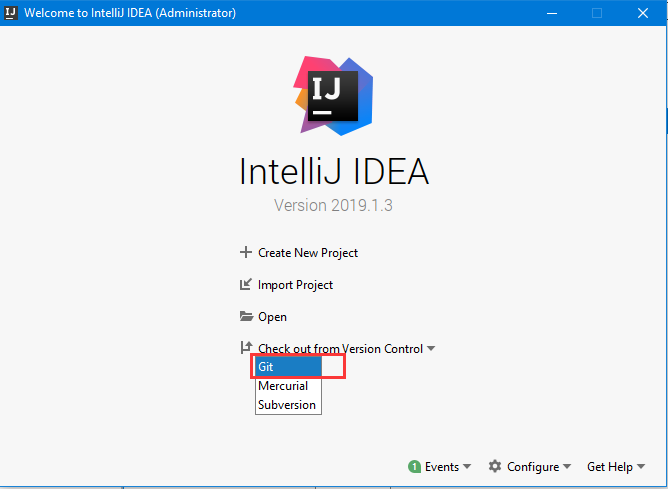
Spring在github上的仓库地址是:https://github.com/spring-projects/spring-framework,本文不会直接去github上去下载源码,网速实在太慢。本文使用的码云上Spring仓库的镜像,该镜像每日同步一次,地址是https://gitee.com/mirrors/Spring-Framework
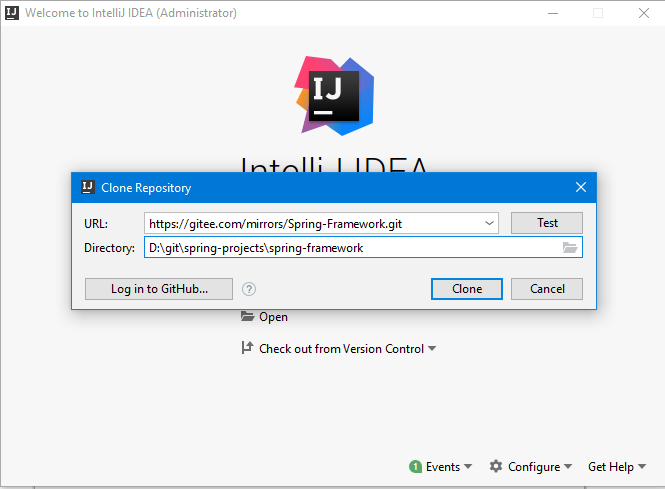
从git导入项目
填写要克隆的git仓库信息,可以点击右边的【Test】按钮测试,等待仓库克隆完成
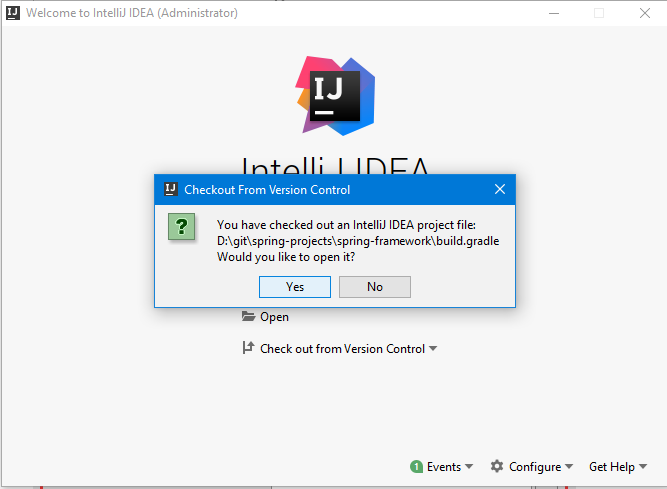
打开导入的Spring项目
- 从gradle导入Spring项目,等待gradle build完成
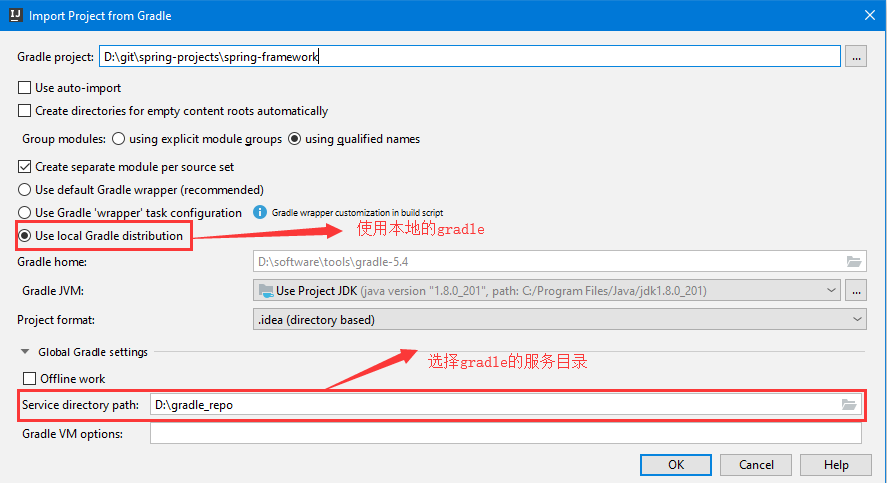
注意:- 上面使用的是本地自己安装的gradle。
- idea中gradle默认的服务目录路径是用户目录下的
.gradle目录,对于Administrator用户,对应的目录是C:\Users\Administrator\.gradle。该目录占用的空间一般比较多,所以在这里将这个目录放到其他的盘中。
构建完成后报错如下(只列出了一部分):
...
Error:(63, 30) java: cannot find symbol
  symbol:   class Signature
  location: class org.springframework.cglib.core.KeyFactory
...
  location: class org.springframework.cglib.proxy.Enhancer
Error:(152, 30) java: cannot find symbol
...
spring未了避免与cglib和objenesis冲突,将cglib和objenesis相关的包重新repack到
org.springframework.cglib和org.springframework.objenesis包中,这部分的代码没有包含到源码当中。构建之前,可以通过添加Gradle任务来解决,见:https://github.com/spring-projects/spring-framework/blob/master/import-into-idea.md#known-issues和https://youtrack.jetbrains.com/issue/IDEA-160605解决办法如下:
- 在idea中打开Gradle面板

- 在右侧的Gradle面板Spring -> Tasks -> other -> cglibRepackJar
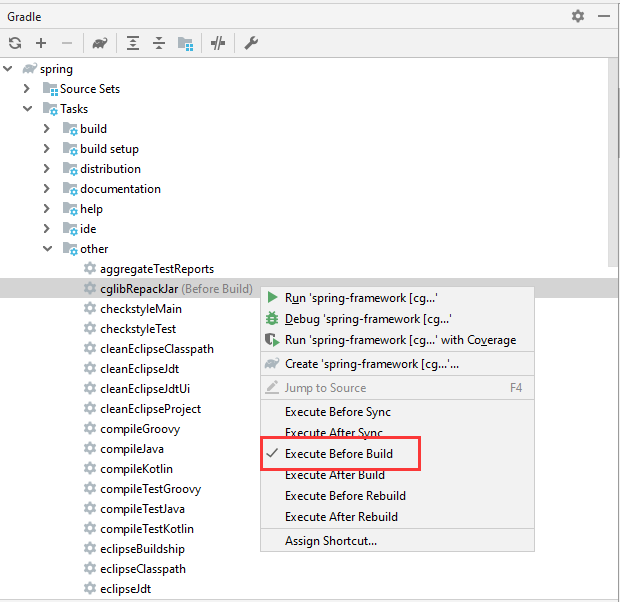
- 激活任务

- 选择要激活的cglibRepackJar任务

- 重新构建项目(花费的时间较长)

- 在idea中打开Gradle面板
创建测试模块my-test
为了方便编写测试spring的代码,在spring-framework单独新建一个模块my-test
右键spring-framework项目->New->Module...

输入ArtifactId: my-test
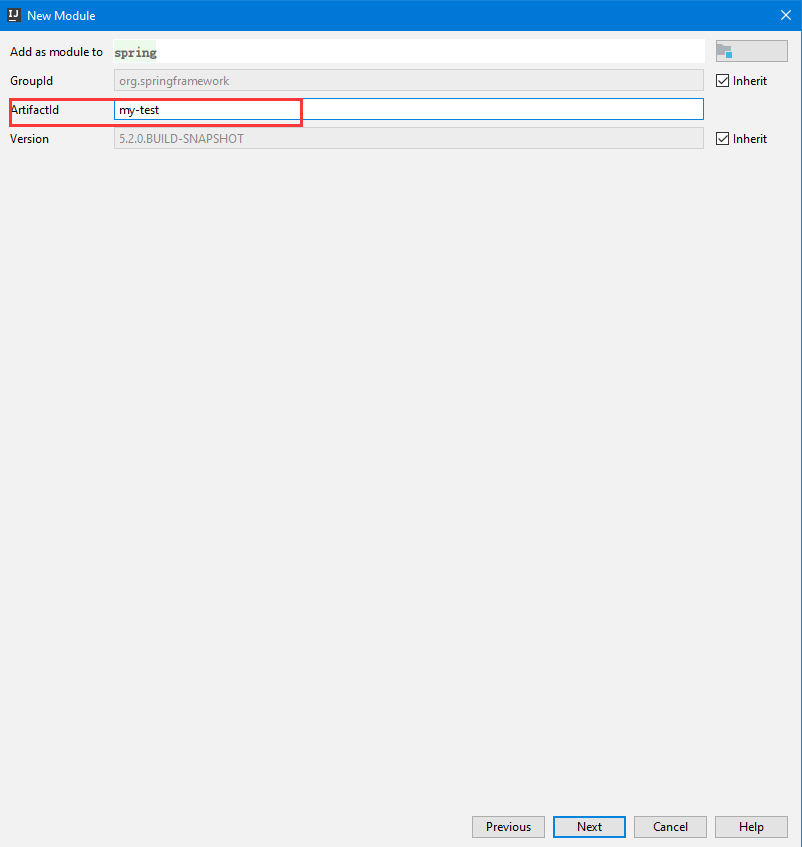
- 一路下一步,最好点击完成,新的模块就建好了
添加依赖:
api(project(":spring-context"))
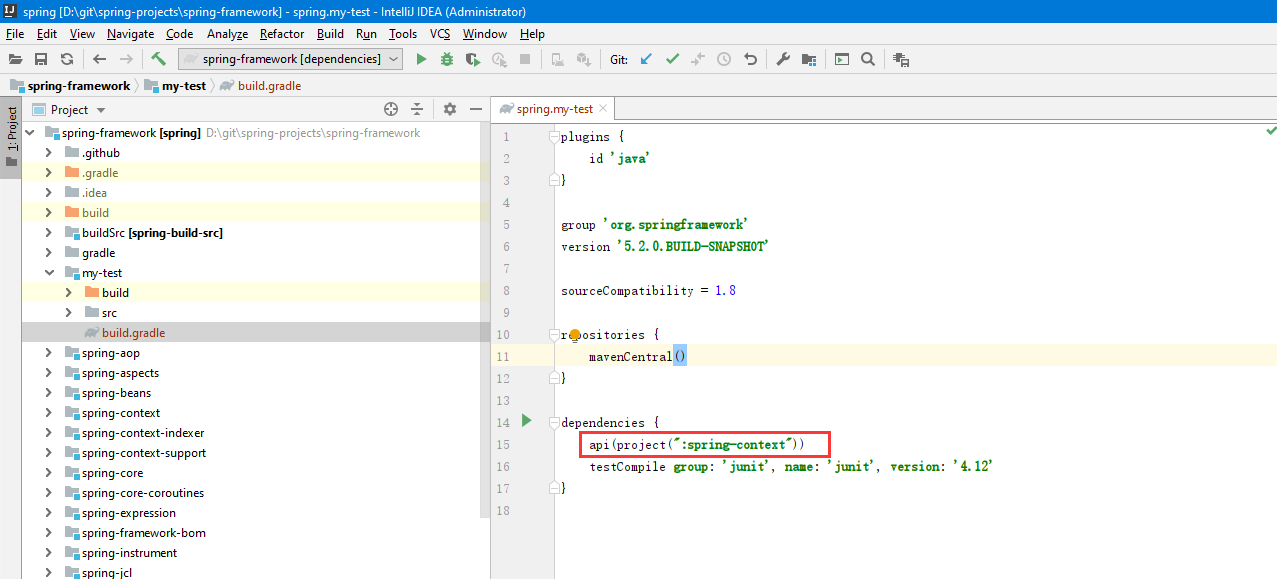
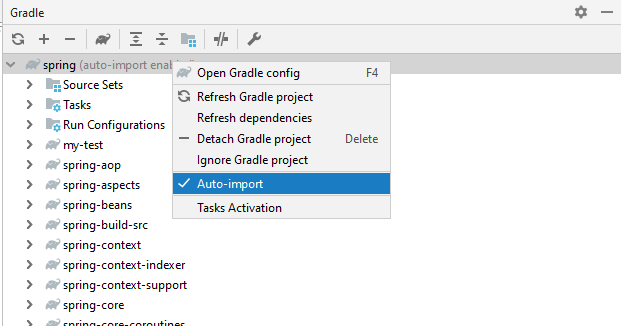
为了能让my-test自动导入相关的依赖,在Gradle面板中右键spring节点
在my-test模块中编写程序测试
创建
MyApplicationpackage com.zfx; import org.springframework.context.ApplicationContext; import org.springframework.context.support.ClassPathXmlApplicationContext; public class MyApplication { public static void main(String[] args) { ApplicationContext ac = new ClassPathXmlApplicationContext("classpath:applicationContext.xml"); Hello hello = (Hello)ac.getBean("hello"); hello.sayHello(); } }在resources目录下新建
applicationContext.xml<?xml version="1.0" encoding="UTF-8"?> <beans xmlns="http://www.springframework.org/schema/beans" xmlns:xsi="http://www.w3.org/2001/XMLSchema-instance" xsi:schemaLocation="http://www.springframework.org/schema/beans http://www.springframework.org/schema/beans/spring-beans.xsd"> <bean id="hello" class="com.zfx.Hello"></bean> </beans>新建
Hello类package com.zfx; public class Hello { public void sayHello() { System.out.println("Hello, zhangfengxian"); } }运行
MyApplication,可以看到控制台输出:Hello, zhangfengxian
至此整个环境算是搭建好了
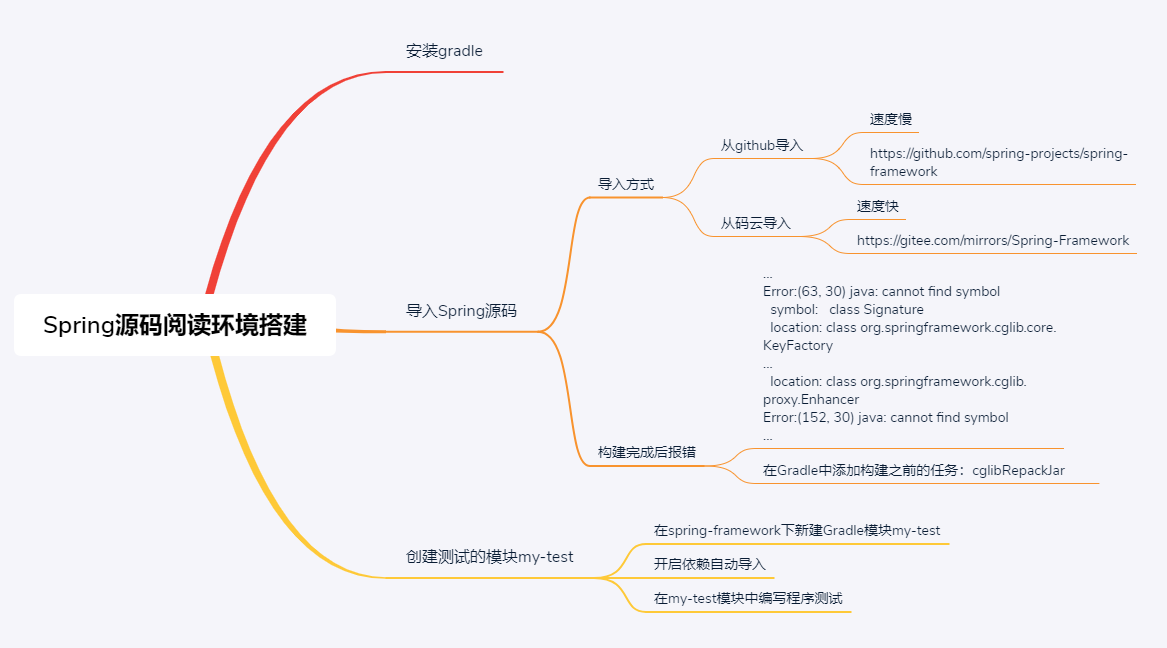
本文思维导图