一、目标:浏览器发送hello world 请求,服务器响应并向浏览器发送“hello world”。
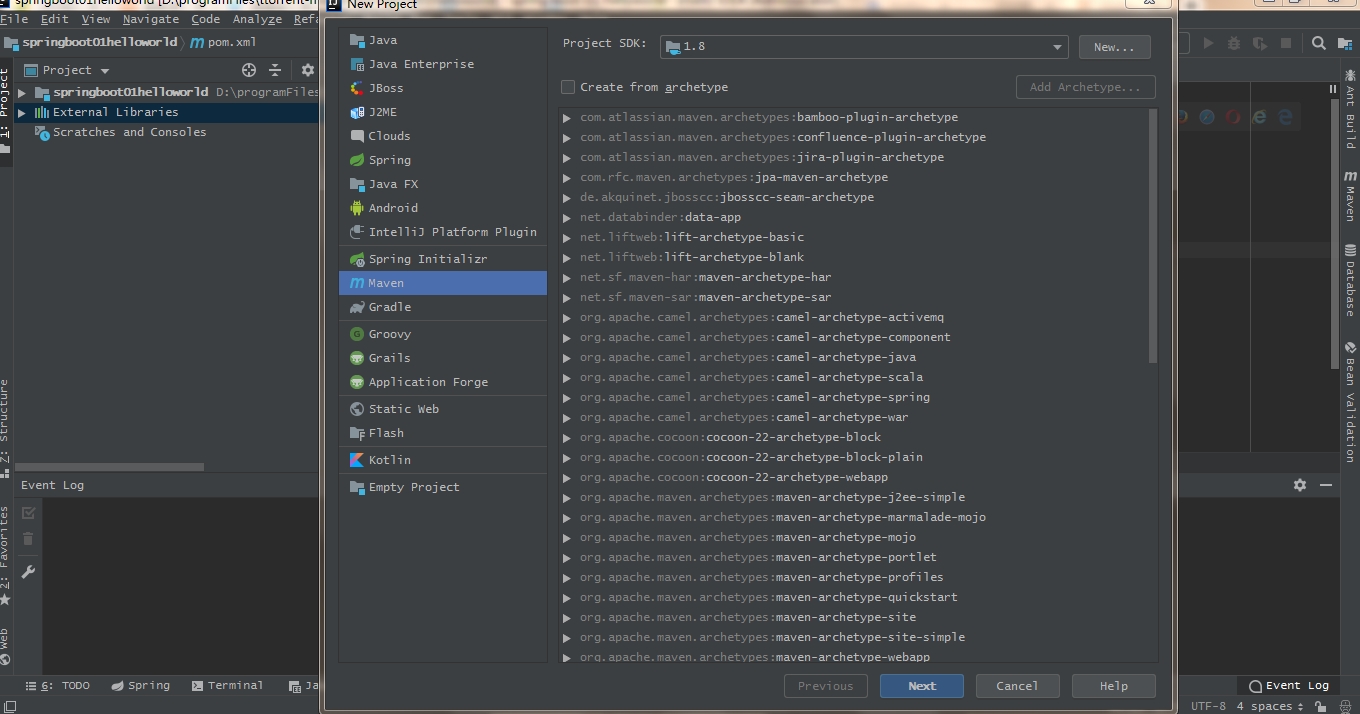
1、创建maven工程
2、pom.xml 中导入相关依赖
    <parent>
        <groupId>org.springframework.boot</groupId>
        <artifactId>spring-boot-starter-parent</artifactId>
        <version>2.1.5.RELEASE</version>
    </parent>
    <!-- Add typical dependencies for a web application -->
    <dependencies>
        <dependency>
            <groupId>org.springframework.boot</groupId>
            <artifactId>spring-boot-starter-web</artifactId>
        </dependency>
    </dependencies>
3、编写主程序:启动springboot应用
(1)涉及的注解:
@springbootapplycation 说明该类为springboot主程序
package com.antiguigu;

import org.springframework.boot.SpringApplication;
import org.springframework.boot.autoconfigure.SpringBootApplication;

@SpringBootApplication
public class HelloWorldApplycationMain {

    public static void main(String[] args) {
        //启动spring应用
        SpringApplication.run(HelloWorldApplycationMain.class,args);
    }
}
4、编写controller、service:业务逻辑代码。
package com.antiguigu.controller;

import org.springframework.stereotype.Controller;
import org.springframework.web.bind.annotation.RequestMapping;
import org.springframework.web.bind.annotation.ResponseBody;

@Controller
public class HellorWorldCon {
    @ResponseBody
    @RequestMapping("/hello")
    public String hello(){
        return "Hello World!";
    }

}
5、测试应用
运行 HelloWorldApplycationMain 中的main 方法。在页面中输入地址 http://localhost:8080/hello 访问服务。
二、springboot部署
在pom.xml 文件中添加
    <!-- springboot 打包插件 -->
    <build>
        <plugins>
            <plugin>
                <groupId>org.springframework.boot</groupId>
                <artifactId>spring-boot-maven-plugin</artifactId>
            </plugin>
        </plugins>
    </build>
在IDEA中将项目打包为jar文件后在cmd窗口使用命令 Java -jar 运行jar文件。