1、相关地址
(1)中文文档介绍:https://cn.httprunner.org/
(2)相关安装包下载地址:链接:https://pan.baidu.com/s/13SP1mFsNKrLK0snRWWIyxA 提取码:prip
(3)源码下载地址:https://github.com/HttpRunner/HttpRunnerManager
(4)参考地址:https://www.cnblogs.com/tiechui2015/p/10017801.html
2、首先安装python 3.5版本,版本太高,HttpRunner运行会报错;--自行百度安装;
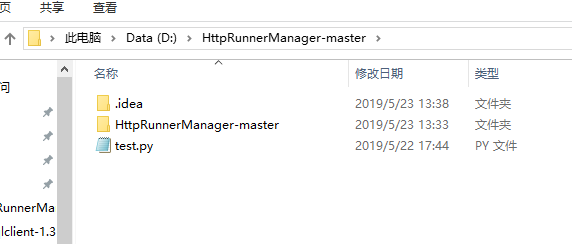
3、下载源码:https://github.com/HttpRunner/HttpRunnerManager 放在D盘根目录下,并解压;
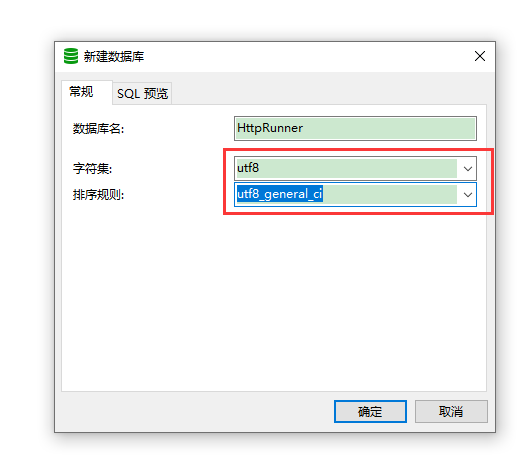
4、安装mysql数据库,安装navicat图形界面,创建HttpRunner数据库,设置为utf-8编码,设置好相应用户名、密码;
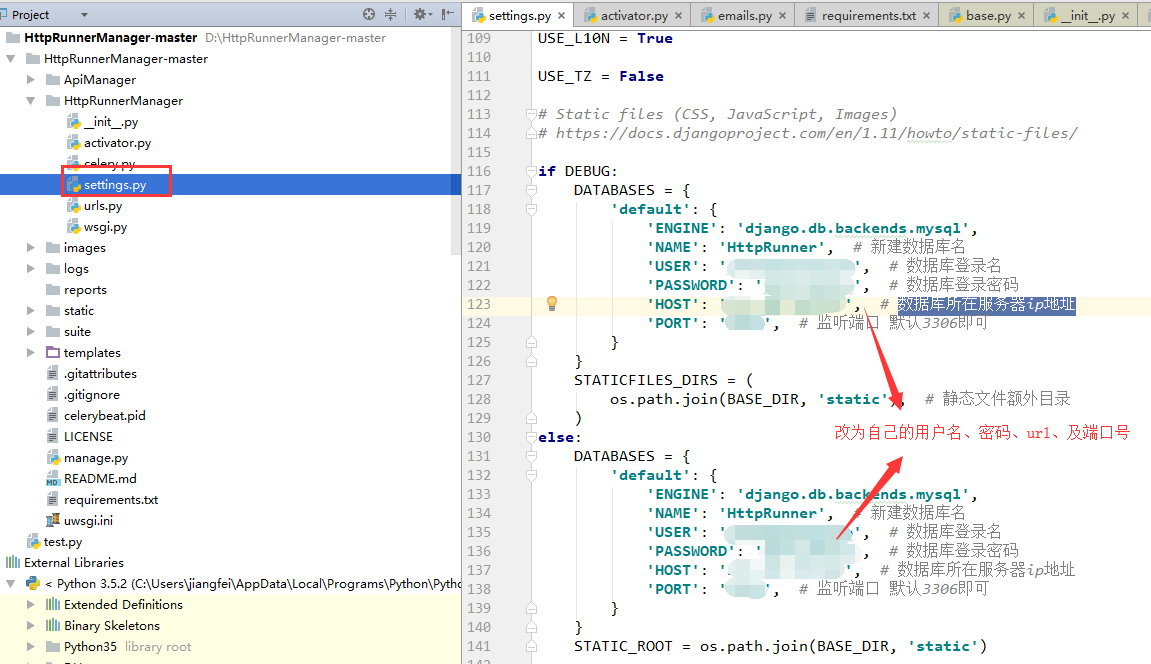
5、修改HttpRunnerManager/HttpRunnerManager/settings.py里DATABASES字典相关配置;
6、rabbitmq安装,参考:https://www.cnblogs.com/tiechui2015/p/10017801.html
7、在rabbitmq文件夹,打开sbin目录,双击rabbitmq-server.bat;访问http://localhost:15672 ,username:guest、Password:guest, 成功登陆即可
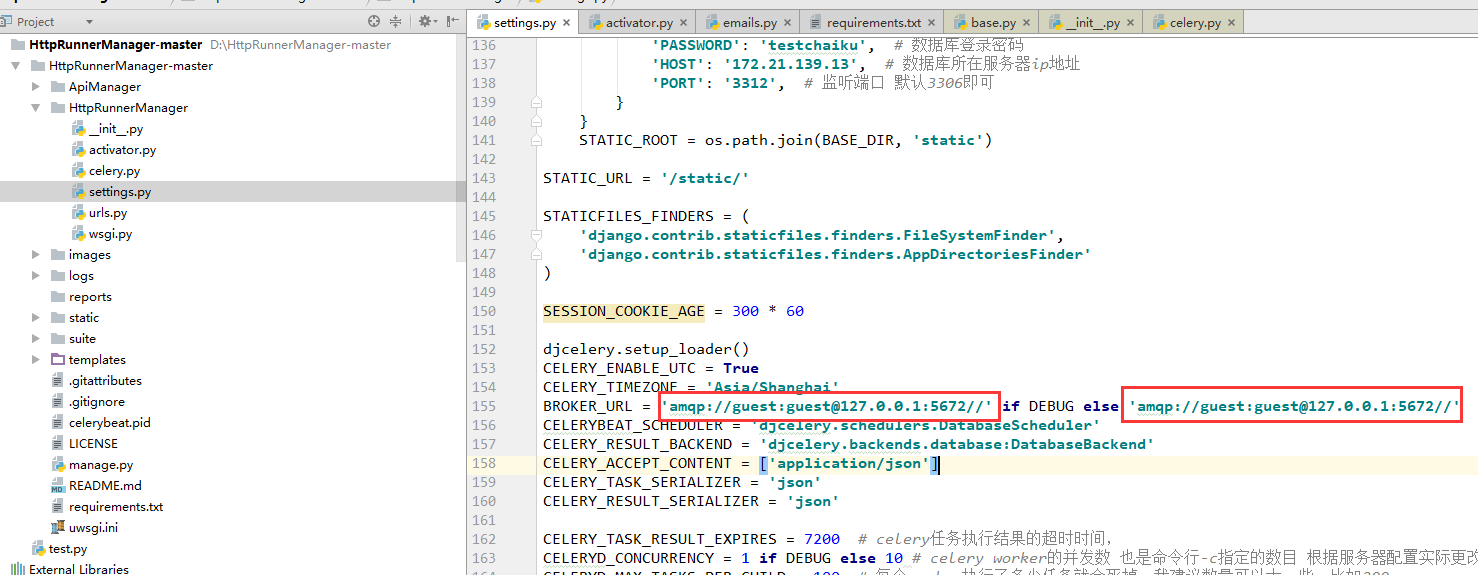
8、修改:HttpRunnerManager/HttpRunnerManager/settings.py里BROKER_URL = 'amqp://guest:[email protected]:5672//'或者将127.0.0.1替换成host
9、安装工程所依赖的库文件-requirements.txt
打开cmd
cd D:\HttpRunnerManager-master\HttpRunnerManager-master;
pip install -r requirements.txt;

requirements.txt详见下面:
Django == 2.0.3
PyYAML == 3.12
requests == 2.18.4
eventlet == 0.22.1
HttpRunner == 1.5.8
django-celery == 3.3.0
flower == 0.9.3
dwebsocket == 0.4.2
paramiko == 2.4.1
mysqlclient == 1.3.13
此时可能提示mysqlclient报错,进行下面步骤10;
10、打开链接:https://pan.baidu.com/s/13SP1mFsNKrLK0snRWWIyxA 提取码:prip 下载文件,解压mysqlclient;
将mysqlclient-1.3.12-cp35-cp35m-win_amd64.whl拷贝到python的根目录下 打开cmd cd python根目录; pip install mysqlclient-1.3.12-cp35-cp35m-win_amd64.whl;
pip install pymysql;
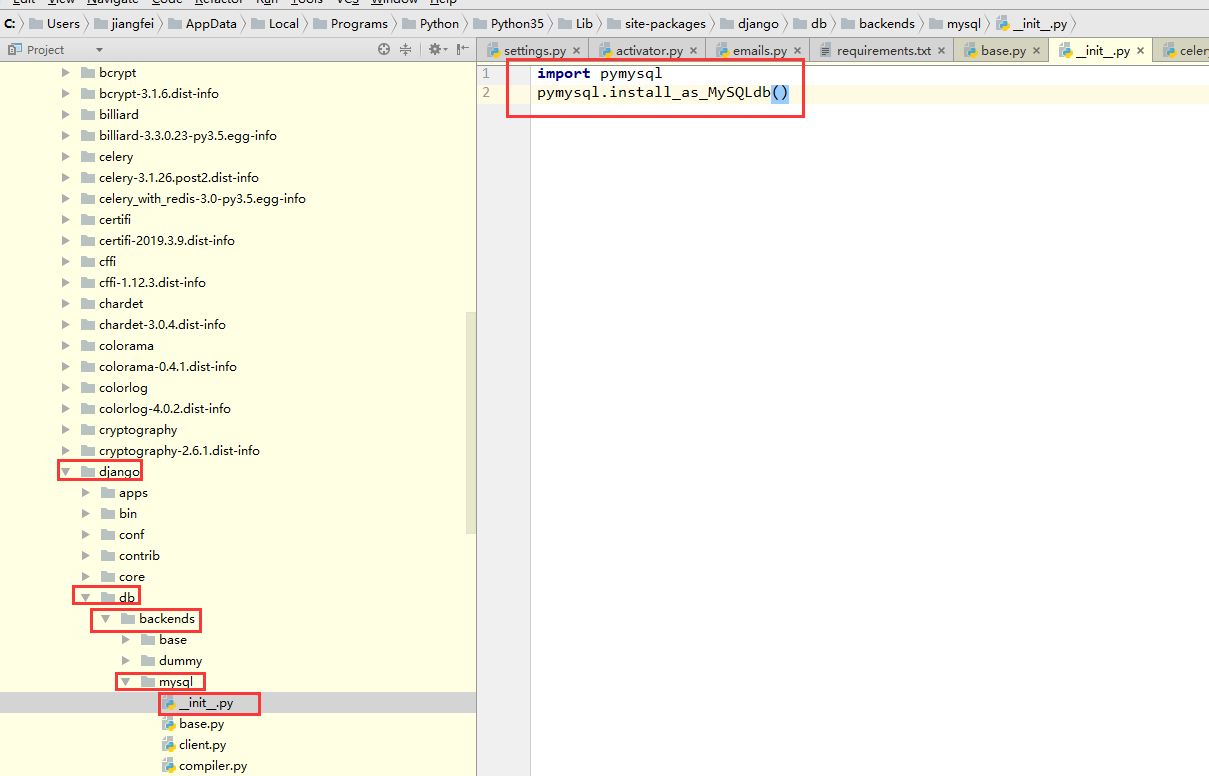
cd python根目录下的lib-site packages-django-db-backends-mysql-打开__init__.py;
填写下面两句并保存
import pymysql
pymysql.install_as_MySQLdb()
11、生成数据库迁移脚本,生成表结构
打开cmd,进入D:\HttpRunnerManager-master\HttpRunnerManager-master;
python manage.py makemigrations ApiManager #生成数据迁移脚本
python manage.py migrate  #应用到db生成数据表
12、创建超级用户,用户后台管理数据库,并按提示输入相应用户名,密码,邮箱。 如不需用,可跳过此步骤;
python manage.py createsuperuser
13、启动服务
python manage.py runserver 0.0.0.0:8000
14、启动worker, 如果选择同步执行并确保不会使用到定时任务,那么此步骤可忽略
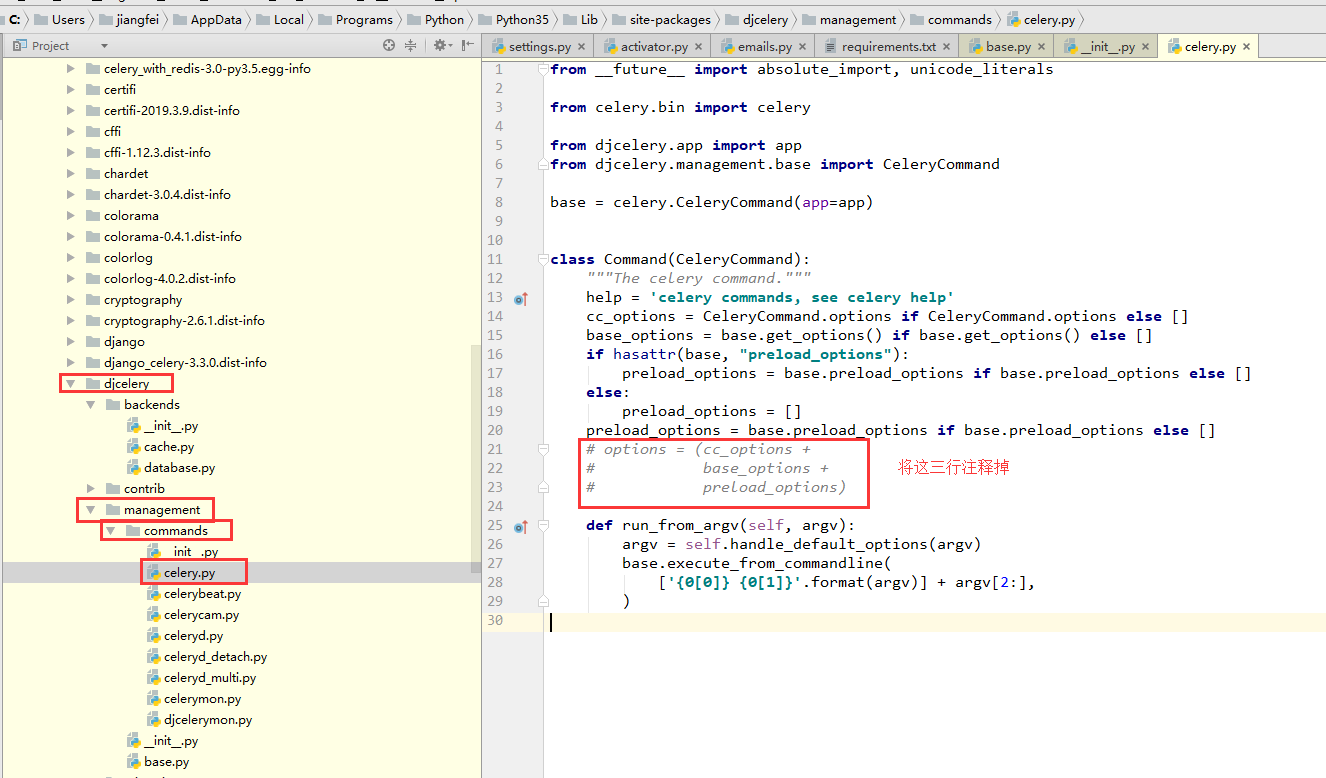
python manage.py celery -A HttpRunnerManager worker --loglevel=info  #启动worker
python manage.py celery beat --loglevel=info #启动定时任务监听器
celery flower #启动任务监控后台
注意:运行第一条时可能报错,进入python根目录,lib-site packages-djcelery-management-commands-celery.py,将options注释掉,重新打开服务
15、访问
-
访问:http://localhost:5555/dashboard 即可查看任务列表和状态
-
浏览器输入:http://127.0.0.1:8000/api/register/ 注册用户,开始尽情享用平台吧
-
浏览器输入http://127.0.0.1:8000/admin/ 输入步骤12设置的用户名、密码,登录后台运维管理系统,可后台管理数据
16、一睹为快
前端界面: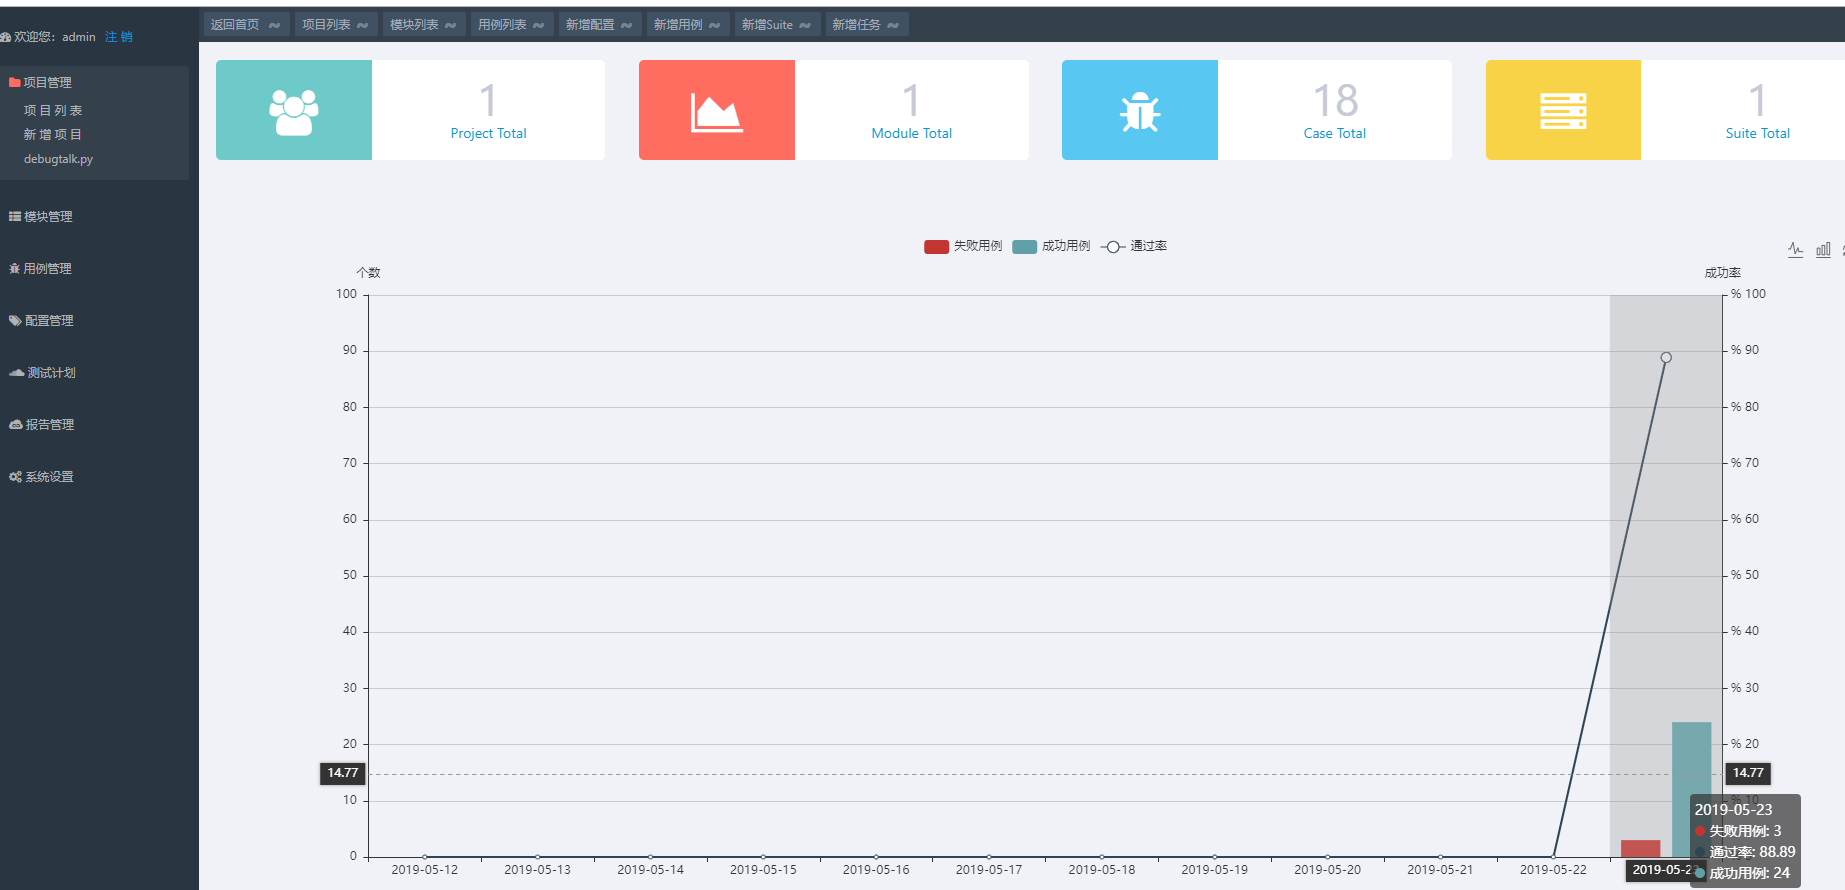
后端界面: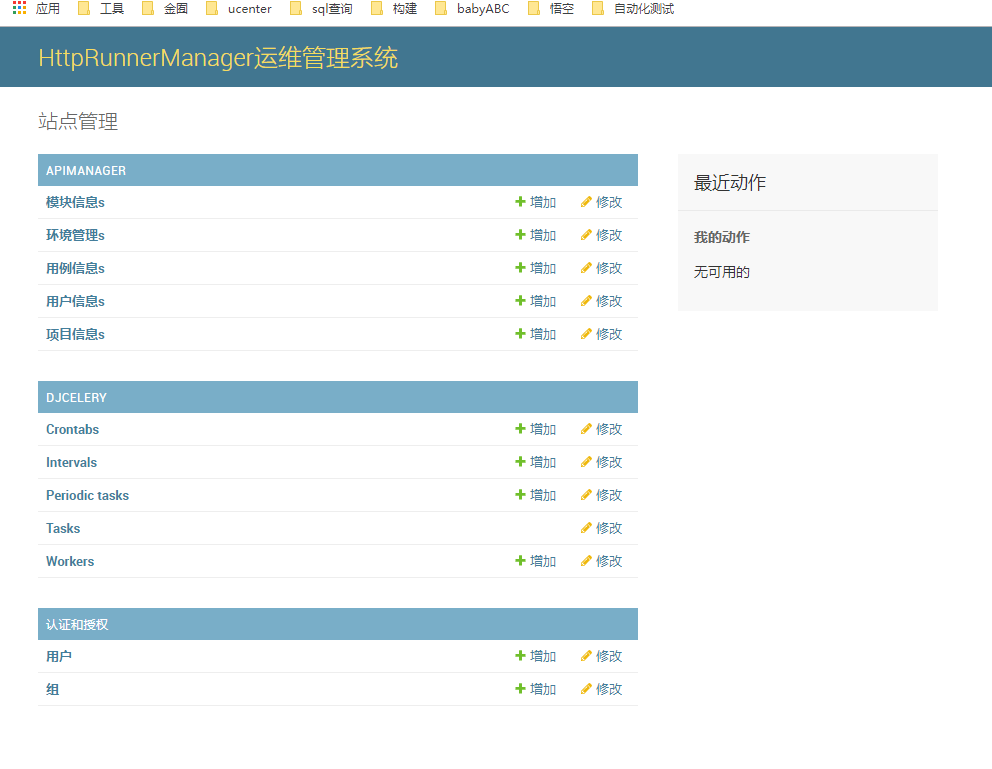
rabbitMQ界面:
Flower监控界面: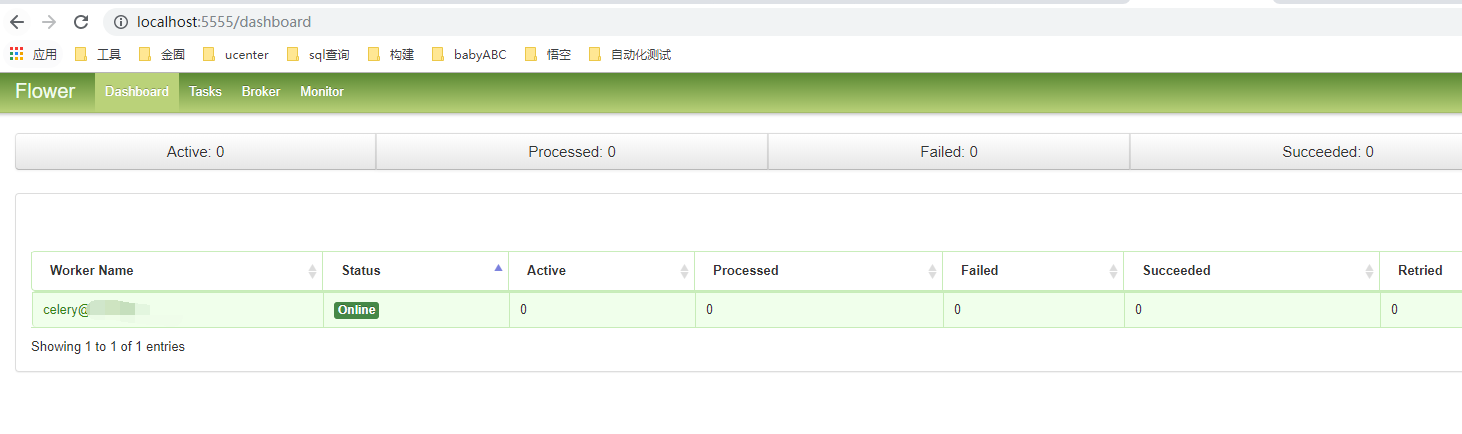
后台服务运行情况: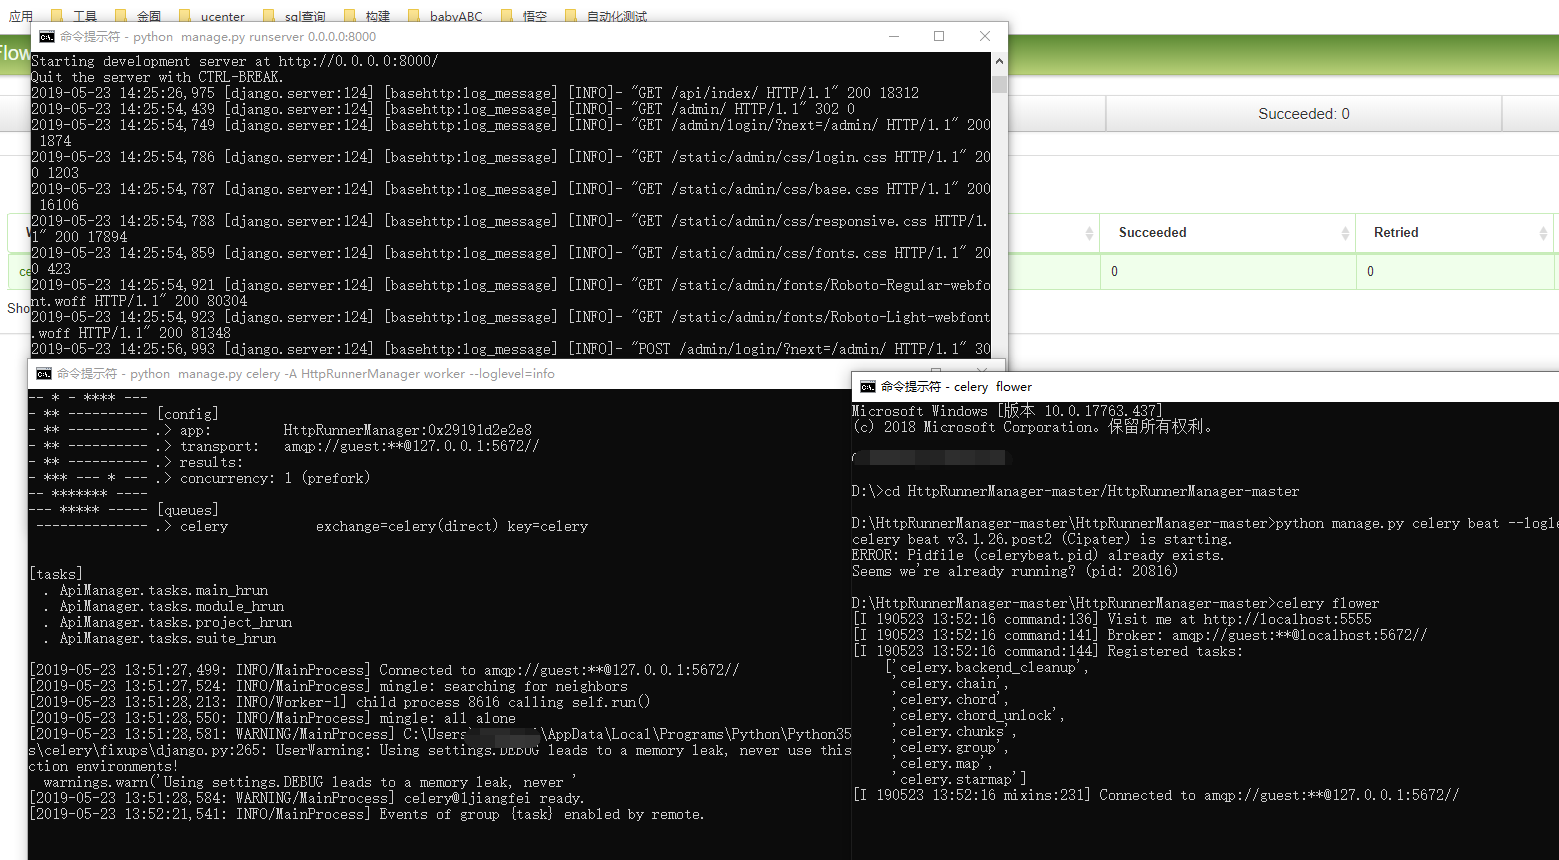
这几个服务不能关闭!!!!