Spring Cloud Config为服务端和客户端提供了分布式系统的外部化配置支持,配置服务中心采用Git的方式存储配置文件,
因此我们很容易部署修改,有助于对环境配置进行版本管理。
一、配置中心
在根目录spring_cloud中创建Maven Moudle模块:config-server
pom.xml
<project xmlns="http://maven.apache.org/POM/4.0.0" xmlns:xsi="http://www.w3.org/2001/XMLSchema-instance"
    xsi:schemaLocation="http://maven.apache.org/POM/4.0.0 http://maven.apache.org/xsd/maven-4.0.0.xsd">
    <parent>
        <artifactId>spring-cloud</artifactId>
        <groupId>com.sam</groupId>
        <version>0.0.1</version>
    </parent>
    <modelVersion>4.0.0</modelVersion>

    <artifactId>config-server</artifactId>

    <dependencies>
        <dependency>
            <groupId>org.springframework.cloud</groupId>
            <artifactId>spring-cloud-config-server</artifactId>
        </dependency>

    </dependencies>

</project>
创建消费者服务启动类:ConfigApplication
package com.sam.config.server;

import org.springframework.boot.SpringApplication;
import org.springframework.boot.autoconfigure.SpringBootApplication;
import org.springframework.cloud.client.discovery.EnableDiscoveryClient;
import org.springframework.cloud.config.server.EnableConfigServer;

/**
 * @ClassName: ConfigApplication
 * @Description: 配置中心服务
 * @author sam
 * @date 2018年8月10日 下午3:49:01
 */
@SpringBootApplication
@EnableConfigServer
@EnableDiscoveryClient
public class ConfigApplication {

    public static void main(String[] args) {
        SpringApplication.run(ConfigApplication.class, args);
    }
}
创建配置文件:application.yml
server:
  port: 8030

eureka:
  client:
    serviceUrl:
          defaultZone: http://localhost:8010/eureka/ #eureka服务注册地址

# git管理配置
spring:
  cloud:
    config:
      server:
        git:
          uri: https://github.com/vtopqx/config/ #git仓库地址
          searchPaths: demo* #搜索路径
#          username: username
#          password: password
  application:
    name: config-server

management:
  security:
    enabled: false #是否开启actuator安全认证
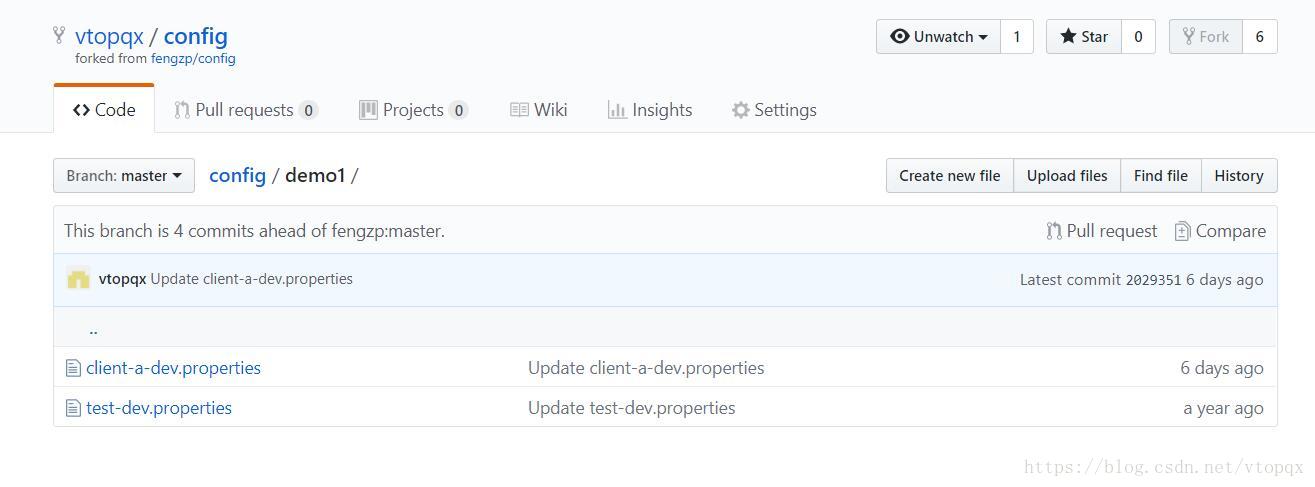
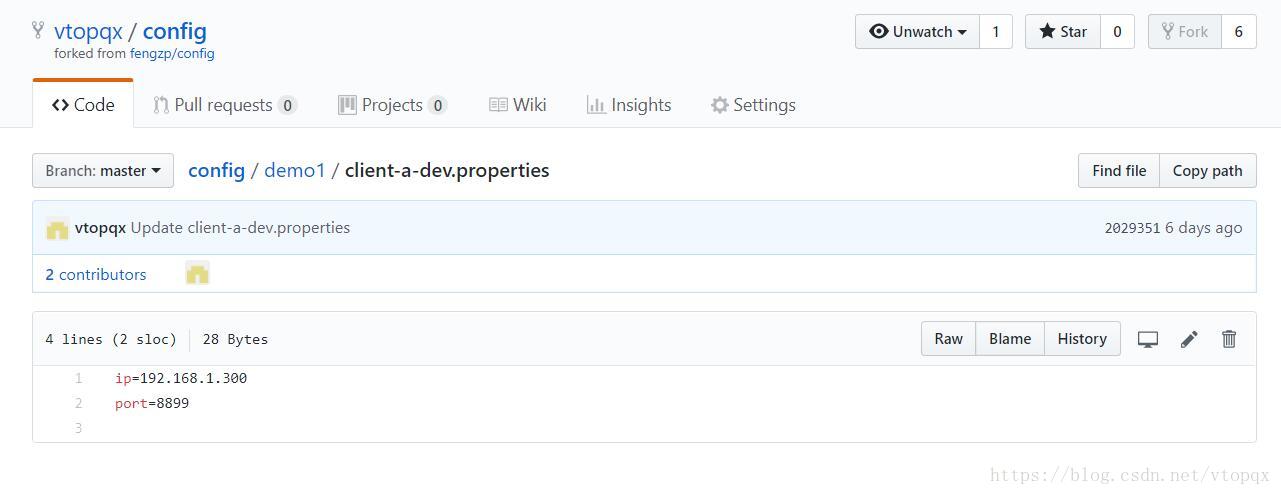
在配置的git仓库下新建一个demo1的文件夹,在里面创建一个叫client-a-dev.properties的配置文件
文件中随便加上两个配置

启动模块,然后打开 http://localhost:8030/client-a/dev 可以看到相应的配置信息:
{"name":"client-a","profiles":["dev"],"label":"master","version":"2029351dd3871b1284b0b8533755ccec90531be7","state":null,"propertySources":[{"name":"https://github.com/vtopqx/config/demo1/client-a-dev.properties","source":{"port":"8899","ip":"192.168.1.300"}}]}
二、配置客户端读取
这里创建一个新的消费者服务来测试,
在根目录spring_cloud中创建Maven Moudle模块:service-consumer-config
pom.xml
<project xmlns="http://maven.apache.org/POM/4.0.0" xmlns:xsi="http://www.w3.org/2001/XMLSchema-instance"
    xsi:schemaLocation="http://maven.apache.org/POM/4.0.0 http://maven.apache.org/xsd/maven-4.0.0.xsd">
    <parent>
        <artifactId>spring-cloud</artifactId>
        <groupId>com.sam</groupId>
        <version>0.0.1</version>
    </parent>
    <modelVersion>4.0.0</modelVersion>
    <artifactId>service-consumer-ribbon</artifactId>

    <dependencies>
        <dependency>
            <groupId>org.springframework.cloud</groupId>
            <artifactId>spring-cloud-starter-ribbon</artifactId>
        </dependency>

        <!-- 使用配置中心 -->
        <dependency>
            <groupId>org.springframework.cloud</groupId>
            <artifactId>spring-cloud-starter-config</artifactId>
        </dependency>

    </dependencies>

</project>
创建配置文件:application.yml
server:
  port: 8913

eureka:
  client:
    serviceUrl:
          defaultZone: http://localhost:8010/eureka/

spring:
  application:
      name: client-a
  cloud:
      config:
        discovery:
          enabled: true #开启通过服务来访问Config Server的功能
          service-id: config-server
        profile: dev
        label: master

  rabbitmq:
      host: localhost
      port: 5672
      username: guest
      password: guest
在TestController添加测试方法
package com.sam.service.consumer.config;

import org.springframework.beans.factory.annotation.Autowired;
import org.springframework.beans.factory.annotation.Value;
import org.springframework.cloud.context.config.annotation.RefreshScope;
import org.springframework.web.bind.annotation.RequestMapping;
import org.springframework.web.bind.annotation.RequestParam;
import org.springframework.web.bind.annotation.RestController;
import org.springframework.web.client.RestTemplate;

/**
 * @ClassName: TestController
 * @Description: [测试]配置中心
 * @author mqx
 * @date 2018年8月10日 下午2:56:02
 */
@RestController
@RefreshScope
public class TestController {

    @Autowired
    RestTemplate restTemplate;

    @RequestMapping("/hi")
    public String hi(@RequestParam String id) {
        return restTemplate.getForObject("http://service-producer/hi?id=" + id, String.class);
    }

    @Value("${ip}")
    private String ip;

    @Value("${port}")
    private String port;

    @RequestMapping("/getProperties")
    public String getProperties() {
        return ip + " : " + port;
    }
}
配置完成后,启动模块后打开 http://localhost:8913/getProperties
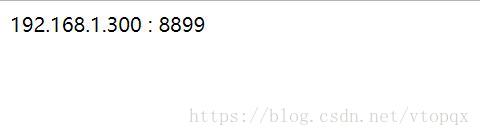
表示配置文件读取成功,通过以上配置,即可实现程序配置文件分离!
PS:通过以上配置是可以读取配置文件,不过如果修改配置文件的话,还需要重启服务才行,下一篇会实现动态配置,解决配置修改重启问题!