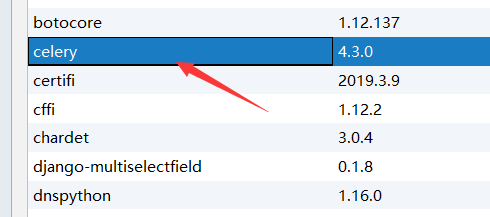
一.安装celery 模块
①
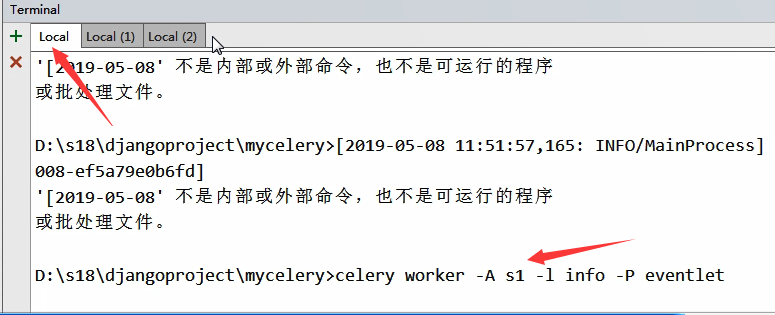
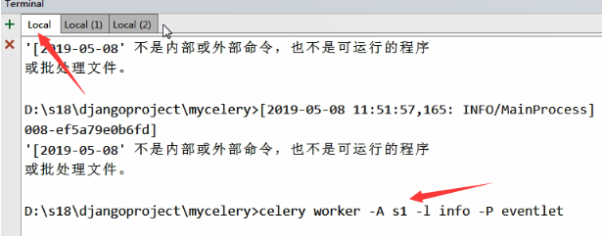
②在windows系统运行时安装 eventlet 模块

运行时输入代码:

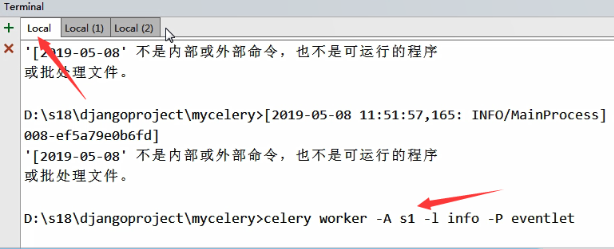
③ 在其他系统运行时
直接输入代码:

celery worker -A 消费者文件名 -l info
二.celery 异步任务
1.消费者中(s1.py)
from celery import Celery
import time
c=Celery("task",broker="redis://192.168.226.133:6379/2",backend="redis://192.168.226.133:6379/1")

@c.task
def myfun1(a,b):
    return f"myfun1{a}{b}"

@c.task
def myfun2():
    return "myfun2"

@c.task
def myfun3():
    return "myfun3"
2.生产者中(s2.py)
from s1 import myfun1,myfun2,myfun3,c
from celery.result import AsyncResult
#多个生产者
# for i in range(10):
# s=myfun1.delay()
# print(s)
s=myfun1.delay(10,20)
print(s.id)
r=AsyncResult(id=s.id,app=c)
#获取状态
# print(r.status)
# print(r.successful())
#获取值
# print(r.get())
#只获取报错信息
print(r.get(propagate=False))
#获取具体出错的位置
# print(r.traceback)
3.启动代码(启动之后运行s2.py)
三.celery 延时任务
1.消费者(s1.py)
from celery import Celery
import time
c=Celery("task",broker="redis://192.168.226.133:6379/2",backend="redis://192.168.226.133:6379/1")

@c.task
def myfun1(a,b):
    return f"myfun1{a}{b}"

@c.task
def myfun2():
    return "myfun2"

@c.task
def myfun3():
    return "myfun3"
2.生产者(s2.py)
from s1 import myfun1,myfun2,myfun3,c
from celery.result import AsyncResult
from datetime import timedelta
#指定多长时间以后执行
# s=myfun1.apply_async((10,20),countdown=5)
#第二种方式,使用utc时间
s=myfun1.apply_async((10,20),eta="utc")
print(s.id)
# 延时
# 重试
3.参数
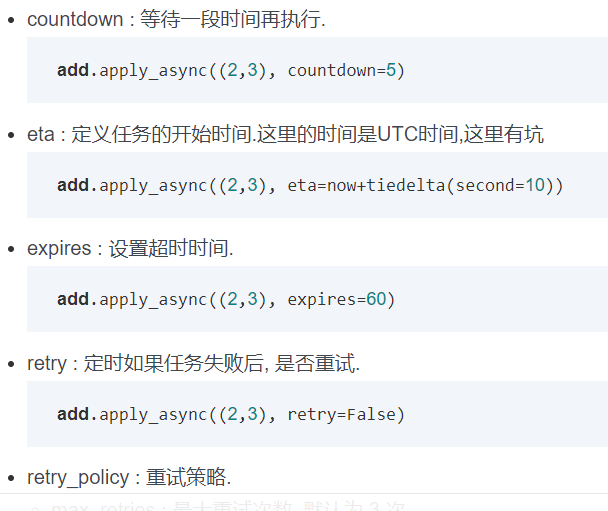
retry_policy : 重试策略.

max_retries : 最大重试次数, 默认为 3 次.
interval_start : 重试等待的时间间隔秒数, 默认为 0 , 表示直接重试不等待.
interval_step : 每次重试让重试间隔增加的秒数, 可以是数字或浮点数, 默认为 0.2
interval_max : 重试间隔最大的秒数, 即 通过 interval_step 增大到多少秒之后, 就不在增加了, 可以是数字或者浮点数, 默认为 0.2 .
4.启动代码(启动之后运行s2.py)
四.celery 周期任务
1.消费者(s1.py)
from celery import Celery
import time
c=Celery("task",broker="redis://192.168.226.133:6379/2",backend="redis://192.168.226.133:6379/1")

@c.task
def myfun1(a,b):
    return f"myfun1{a}{b}"

@c.task
def myfun2():
    return "myfun2"

@c.task
def myfun3():
    return "myfun3"
2.生产者(s2.py)
from s1 import c
from celery.beat import crontab
c.conf.beat_schedule = {
    "name": {
        "task": "s1.myfun1",
        "schedule": 3,          #每三秒执行一次
        "args": (10, 20)
    },
    "crontab": {
        "task": "s1.myfun1",
        "schedule": crontab(minute=44),  #每小时的第44分钟执行
        "args": (10, 20)
    }
}
3.执行代码(两个窗口)
①运行s1
②运行s2
