1、YUM安装gitlab-11.10.4
- 下载gitlab-ce的repo
[root@localhost ~]# curl -s https://packages.gitlab.com/install/repositories/gitlab/gitlab-ce/script.rpm.sh | sudo bash
[root@localhost ~]# yum makecache fast
[root@localhost ~]# yum list gitlab-ce- 安装gitlab
[root@localhost ~]# yum install -y gitlab-ce
#安装完成后,需要进行配置url和unicorn的进程项,避免内存占用过高,如下:
[root@localhost ~]# grep -Ev "^$|#" /etc/gitlab/gitlab.rb
external_url 'http://192.168.0.130'
unicorn['worker_processes'] = 2
[root@localhost ~]# gitlab-ctl reconfigure
这一步,如果出现重新配置一直卡页面,需要检查gitlab-runsvdir服务是否已经启动,如果未启动,或者已经启动,进行启动或重启操作,如下:
[root@localhost ~]# systemctl status gitlab-runsvdir
[root@localhost ~]# systemctl restart gitlab-runsvdir
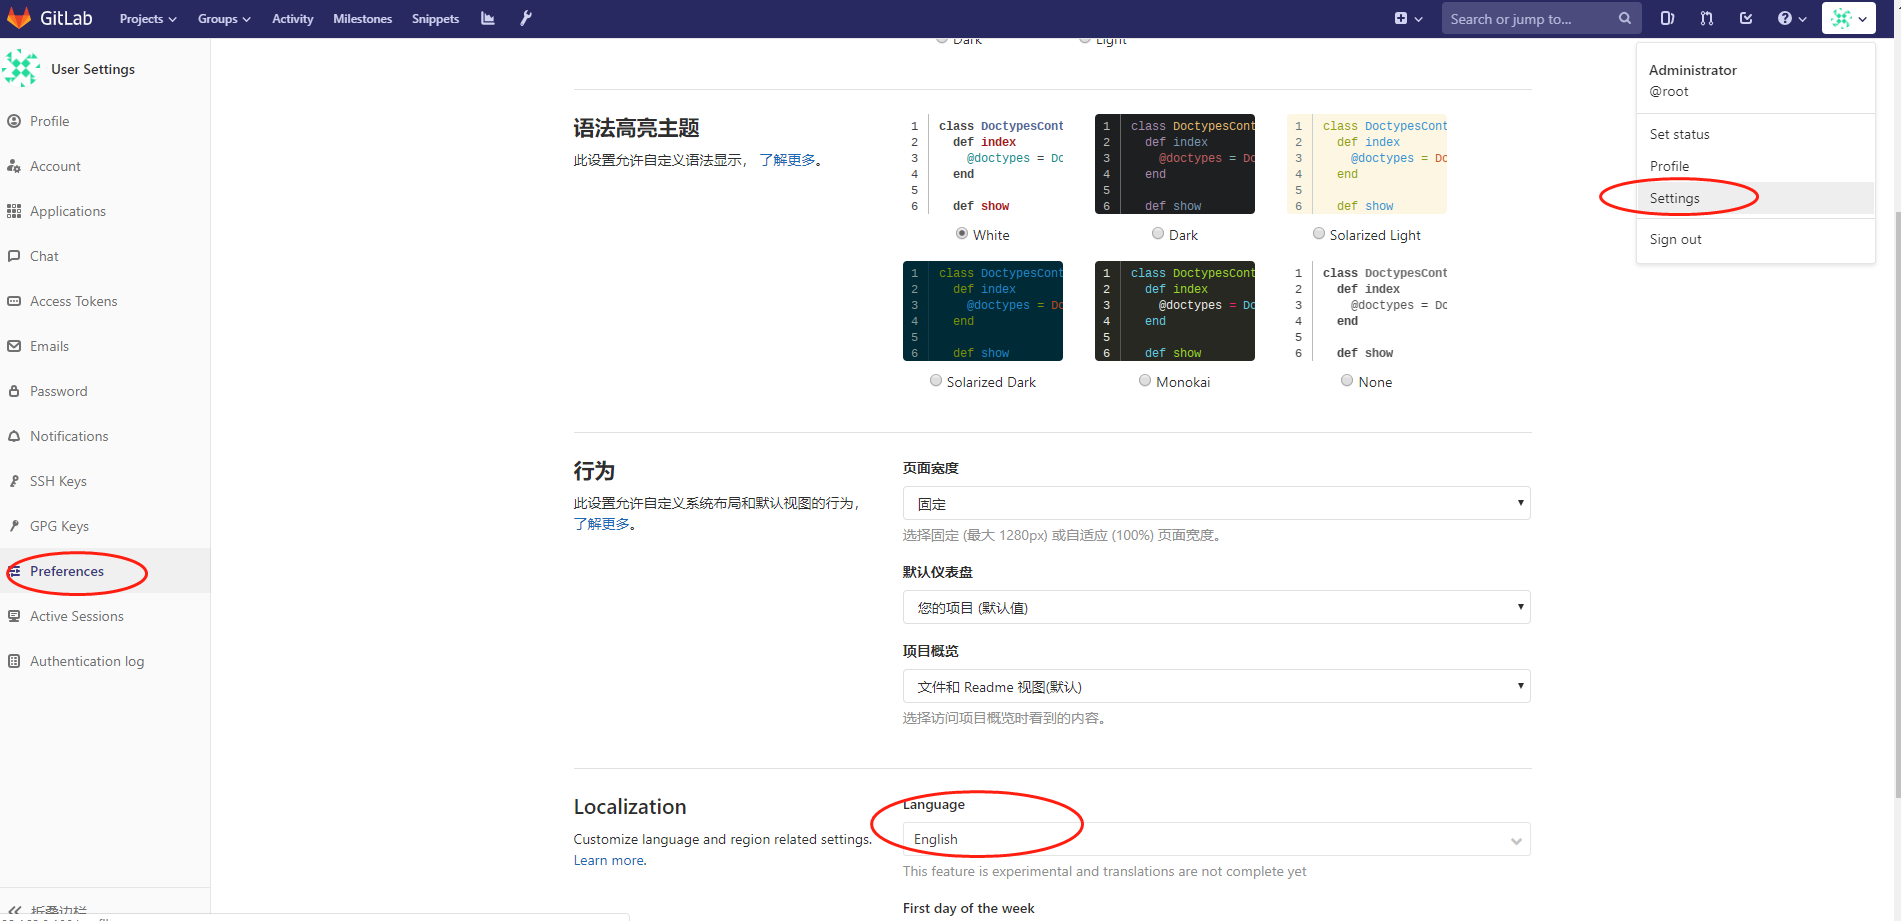
[root@localhost ~]# gitlab-ctl restart #重启gitlab服务访问192.168.0.130会有英文界面,用户名为root,首次登陆需要修改密码,修改完成后,进入页面。点击右上角的Settings进行Preferences设置,在语言项选择中文,此时刷新后,可以看到标题和右侧的导航栏是变为中文的,但是具体的项目并没有中文显示,所以会变成中文+英文的LOW爆显示。如图:
2、gitlab汉化技能
找到汉化补丁,地址如下:
https://gitlab.com/xhang/gitlab (延续Larry Li的8-8-zh中文版本 gitlab.com/larryli/gitlab 进行更新),目前该补丁最新为11.10.2的汉化补丁,所以在安装版本时最好是找到对应的版本进行安装,这里使用的版本是11.10.4,暂用未发现异常
找到对应的版本这里直接使用11.10的汉化补丁包,下载下来:
[root@localhost ~]# wget https://gitlab.com/xhang/gitlab/-/archive/11-10-stable-zh/gitlab-11-10-stable-zh.tar.gz
[root@localhost ~]# tar -zxf gitlab-11-10-stable-zh.tar.gz
[root@localhost ~]# cp -rp /opt/gitlab/embedded/service/gitlab-rails{,.bak_$(date +%F)} #备份需要汉化的目录
[root@localhost ~]# cp -rf gitlab-11-10-stable-zh/* /opt/gitlab/embedded/service/gitlab-rails/ #拷贝汉化补丁进行覆盖
这里cp会一直询问是否覆盖,可以直接用unalias cp取消掉cp的别名设置,然后加上-rf强制覆盖文件,覆盖完成后,执行重载配置
[root@localhost ~]# gitlab-ctl reconfigure
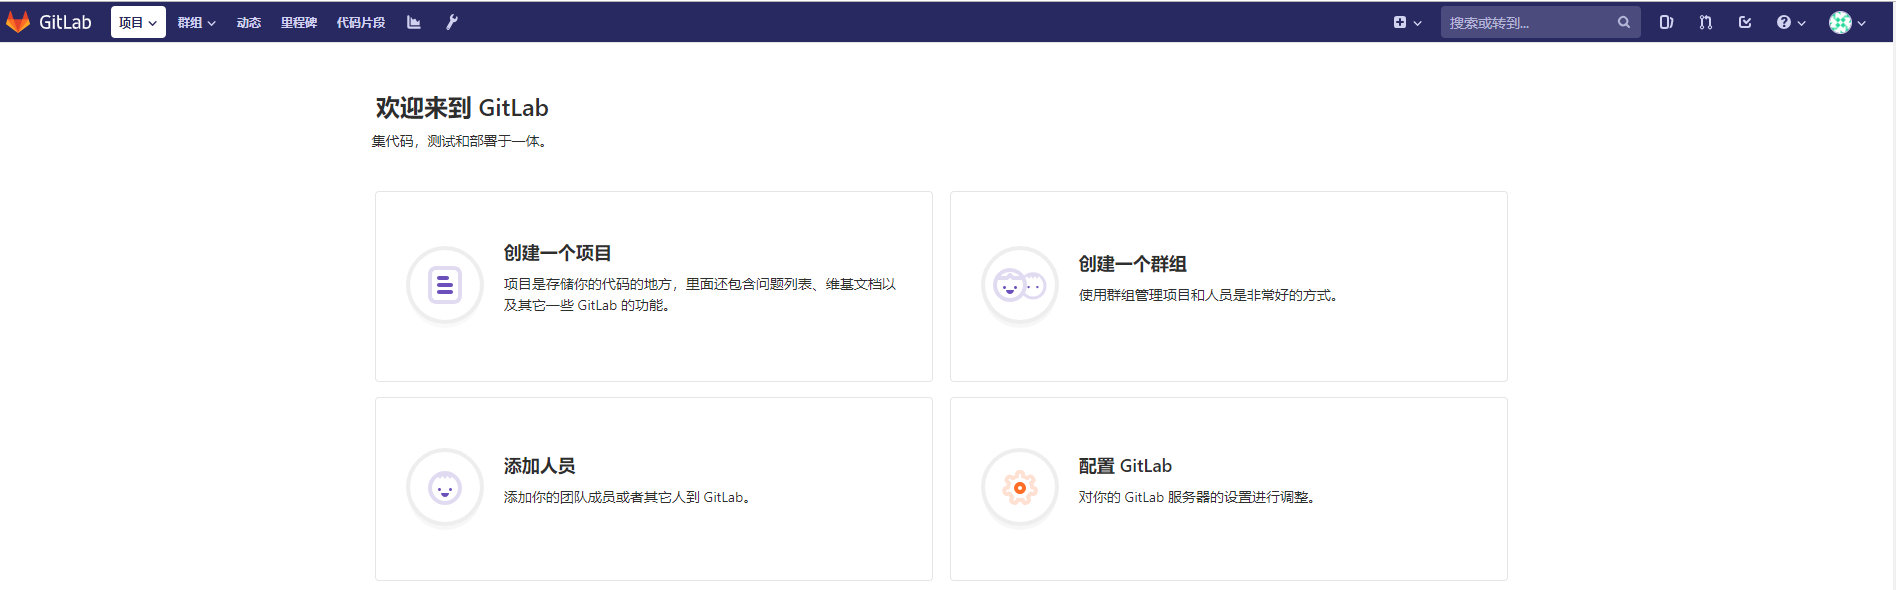
[root@localhost ~]# gitlab-ctl restart再次访问gitlab页面,已然是我们熟悉的中文啦,如图: