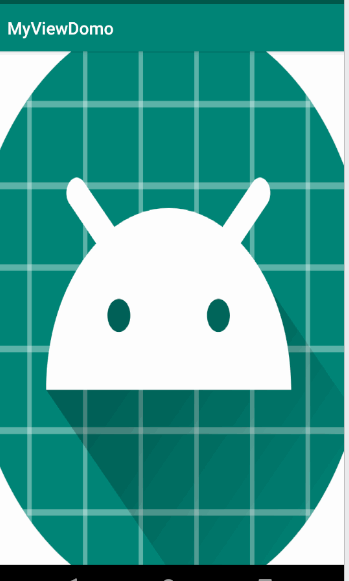
一个由远及近的动画
  ScaleAnimation scaleAnim = new ScaleAnimation(1.0f,1.2f,1.0f,1.2f,Animation.RELATIVE_TO_SELF,0.5f,
                Animation.RELATIVE_TO_SELF,0.5f);
        scaleAnim.setFillAfter(true);
        scaleAnim.setInterpolator(new BounceInterpolator());
        scaleAnim.setDuration(6000);
        img.startAnimation(scaleAnim);
效果如下:
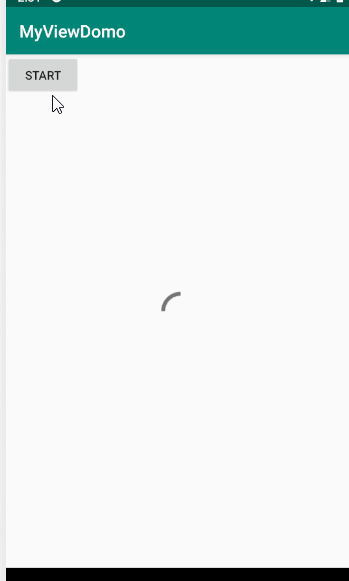
实现加载框效果
就是对圆形加载框做旋转操作…很简单,这里我加了一小小的启动时从无到弹出再旋转的效果~
对了,图片是这里找的:传送门
 findViewById(R.id.btn).setOnClickListener(new View.OnClickListener() {
             @Override
             public void onClick(View v) {
                 RotateAnimation rotateAnimation = new RotateAnimation(0,360,Animation.RELATIVE_TO_SELF,0.5f,
                         Animation.RELATIVE_TO_SELF,0.5f);
                 rotateAnimation.setRepeatCount(Animation.INFINITE);
                 rotateAnimation.setDuration(2000);
                 rotateAnimation.setInterpolator(new LinearInterpolator());

                 ScaleAnimation scaleAnimation = new ScaleAnimation(0,0.8f,0,0.8f,Animation.RELATIVE_TO_SELF,0.5f,
                         Animation.RELATIVE_TO_SELF,0.5f);
                 scaleAnimation.setDuration(500);
                 scaleAnimation.setInterpolator(new LinearInterpolator());

                 AnimationSet animationSet = new AnimationSet(true);
                 animationSet.addAnimation(scaleAnimation);
                 animationSet.addAnimation(rotateAnimation);
                 findViewById(R.id.img).startAnimation(animationSet);
             }
         });
效果如下:
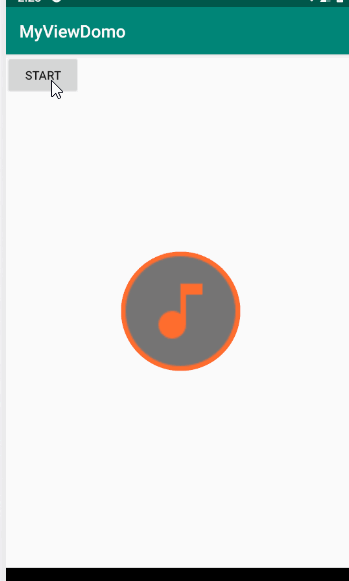
实现扫描动画
//MainActivity
        final Animation animation1 = AnimationUtils.loadAnimation(MainActivity.this,R.anim.scanner_scale);
        final Animation animation2 = AnimationUtils.loadAnimation(MainActivity.this,R.anim.scanner_scale);
        final Animation animation3 = AnimationUtils.loadAnimation(MainActivity.this,R.anim.scanner_scale);
        final Animation animation4 = AnimationUtils.loadAnimation(MainActivity.this,R.anim.scanner_scale);

        final ImageView circle1 = findViewById(R.id.circle1);
        final ImageView circle2 = findViewById(R.id.circle2);
        final ImageView circle3 = findViewById(R.id.circle3);
        final ImageView circle4 = findViewById(R.id.circle4);

        findViewById(R.id.btn).setOnClickListener(new View.OnClickListener() {
            @Override
            public void onClick(View v) {
                circle1.startAnimation(animation1);

                animation2.setStartOffset(600);
                circle2.startAnimation(animation2);

                animation3.setStartOffset(1200);
                circle3.startAnimation(animation3);

                animation4.setStartOffset(1800);
                circle4.startAnimation(animation4);
            }
        });
//R.anim.scanner_scale
<set xmlns:android="http://schemas.android.com/apk/res/android"
    android:duration="3000">
    <scale
        android:repeatCount="infinite"
        android:fromXScale="1.0"
        android:toXScale="3"
        android:fromYScale="1.0"
        android:toYScale="3"
        android:pivotX="50%"
        android:pivotY="50%"></scale>
    <alpha android:fromAlpha="0.4"
        android:toAlpha="0"
        android:repeatCount="infinite"></alpha>
</set>

//layout:
   <ImageView
        android:id="@+id/circle1"
        android:layout_width="140dp"
        android:layout_height="140dp"
        android:layout_gravity="center"
        android:src="@drawable/scan_circle"/>
    <ImageView
        android:id="@+id/circle2"
        android:layout_width="140dp"
        android:layout_height="140dp"
        android:layout_gravity="center"
        android:src="@drawable/scan_circle"/>
    <ImageView
        android:id="@+id/circle3"
        android:layout_width="140dp"
        android:layout_height="140dp"
        android:layout_gravity="center"
        android:src="@drawable/scan_circle"/>
    <ImageView
        android:id="@+id/circle4"
        android:layout_width="140dp"
        android:layout_height="140dp"
        android:layout_gravity="center"
        android:src="@drawable/scan_circle"/>

    <ImageView
        android:id="@+id/img"
        android:layout_width="155dp"
        android:layout_height="155dp"
        android:src="@drawable/ic_music"
        android:layout_gravity="center"/>
效果如下:
第三章、属性动画
之前已经写过一篇研究属性动画的Blog:属性动画详解
所以这一章基本不会写太多,就是看看样例而已。
AnimatorSet
补间动画的组合动画用AnimatonSet,而属性动画的组合动画用AnimatorSet。
这里有两个比较重要的函数,而且我们平时一般不用valueAnimation做组合动画,所以这两个函数一般用在objectAnimation比较多。
- playSequentially()
它有两个构造函数
(1)playSequentially(Animator …items);
(2)playSequentially(List< Animator> items);
依次播放参数中的动画 - playTogether()
也有两个构造函数:
(1)playTogether(Animator …items);
(2)playTogether(List< Animator> items);
一同播放参数中所有的动画
这两个函数只是激活动画,而动画动不动在于这些动画本身所设置的延迟时间、循环次数。
playSequentially是上一个控件的动画做完了,就准备做下一个动画,如果上一个动画的无限循环的播放,那么就不要指望做下一个动画了。
AnimatorSet.Builder
虽然playSequentially和playTogether两个函数能够实现全部一起动或者连着动,但却不能实现A,B,C三个动画,A先动,B跟C连着动(虽然你设两个AnimatorSet应该可以做到)
这里有个更厉害的API,就是AnimationSet.Builder。
//使用
AnimatiorSet.Builder builder = animator.play(anim1);
builder.with(anim2);

//表示播放哪个动画
public Builder play(Animator anim)
//和前面的的动画一起执行
public Builder with(Animator anim)
//先执行这个动画,再执行前面的动画
public Builder before(Animator anim)
//在执行前面的动画才执行该动画
public Builder after(Animator anim)
//延迟n毫秒后执行动画
public Builder after(long delay)
如果play(playAnim)和after(afterAnim)一起用时,是先播放after中的动画~
Animator的监听器
public void addListener(AnimatorListener lintener);
此监听器和valueAnimaotr的监听器一模一样。
有实现下面的接口:
void onAnimationStart(Animator animation);
//结束时调用
void onAnimationEnd(Animator animation);
//取消时调用
void onAnimationCancel(Animator animation);
//动画重复时被调用,但是AnimationSet没有重复函数,所以该接口永远不会被执行
void onAnimationRepeat(Animator animation);
Animator的几个API
//设置单次动画的时长,会覆盖每个动画的时长
public AnimatorSet setDuration(long duration);
//设置插值器
public void setInterpolator(TimeInterpolator interpolator);
//设置ObjectAnimtor动画目标控件,会覆盖其每个动画的目标
public void setTarget(Object object);
//设置延迟时长,但不会覆盖每个动画的时长,而是先等待延长时间,然后再去等待每个动画的延长时间
public void setStartDelay(long startDelay);
但是setStartDelay的本质其实是
AnimatorSet 真正激活时 = AnimatorSet.startDelay + 第一个动画.startDelay
也就是说,在AnimatorSet被激活之后,第一个动画绝对会开始运行,后面的动画则根据自己是否延迟自行处理。
例:
有动画A1设置延时2000ms,A2设置延时2000ms,animatorSet.play(A1).with(A2),然后animatorSet设置延时2000ms,
则开始动画时,一定会先等自己的2000ms+A1的2000ms,然后AnimatorSet激活,A1直接开始动起来,而A2要因为设置了2000ms的延迟,所以还要过2000ms A2动画才会开始。