原文地址:https://www.cnblogs.com/ysocean/p/7400987.html
SpringMVC详解(三)------基于注解的入门实例
目录
- 1、在 web.xml 文件中配置前端处理器
- 2、在 springmvc.xml 文件中配置处理器映射器,处理器适配器,视图解析器
- 3、编写 Handler
- 4、编写 视图 index.jsp
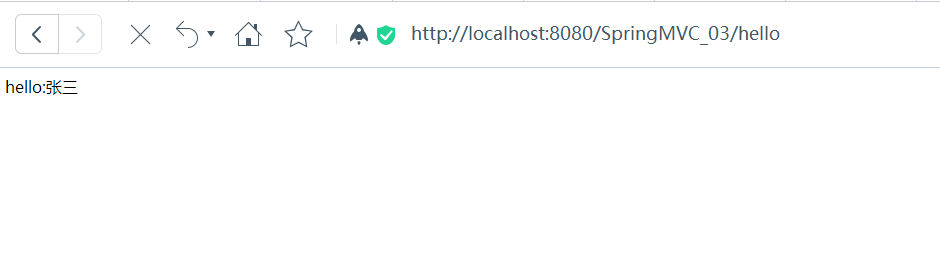
- 5、在浏览器中输入:http://localhost:8080/SpringMVC_03/hello
前两篇博客我们讲解了基于XML 的入门实例,以及SpringMVC运行的详细流程。但是我们发现基于 XML 的配置还是比较麻烦的,而且,每个 Handler 类只能有一个方法,在实际开发中肯定是不可能这样来进行开发的。那么这篇博客我们就讲解实际开发中用的最多的基于注解配置的SpringMVC配置。
本篇博客源码下载链接:http://pan.baidu.com/s/1dESLgv3 密码:vkuy
项目结构为:
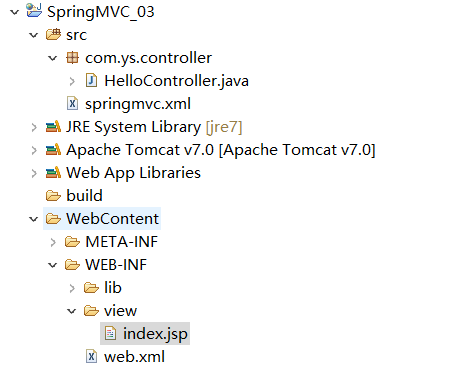
1、在 web.xml 文件中配置前端处理器
| 1 2 3 4 5 6 7 8 9 10 11 12 13 14 15 16 17 18 19 20 21 22 23 24 25 26 27 28 29 |
|
2、在 springmvc.xml 文件中配置处理器映射器,处理器适配器,视图解析器
| 1 2 3 4 5 6 7 8 9 10 11 12 13 14 15 16 17 18 19 20 21 22 23 24 25 26 27 28 29 30 31 32 33 34 35 36 37 38 39 40 41 42 43 44 |
|
3、编写 Handler
| 1 2 3 4 5 6 7 8 9 10 11 12 13 14 15 16 17 18 19 20 21 22 23 |
|
注意@Controller注解和@RequestMapping注解的用法
4、编写 视图 index.jsp
| 1 2 3 4 5 6 7 8 9 10 11 12 |
|
5、在浏览器中输入:http://localhost:8080/SpringMVC_03/hello