传统的SpringMVC应用都是基于web.xml配置的,首先使用context listener启动Spring上下文,再配置一个DispatcherServlet启动一个WebApplicationContext子上下文,它可以获取Spring上下文的bean,同时也是Controller的容器。从Servlet3.0开始支持编程式配置,SpringMVC怎么支持的呢,本文通过一个实例详解这个过程。先建一个配置类:
@Configuration
@EnableWebMvc
@ComponentScan("com.acwei.spring.mvc")
public class MvcConfiguration {

}
这个类没有任何内容,和一般的配置类不同之处是多了@EnableWebMvc注解。我们通过源码查找它做了哪个工作

我们看到,它导入了DelegatingWebMvcConfiguration配置类,而DelegatingWebMvcConfiguration类又继承了WebMvcConfigurationSupport,这两个类做了大量的默认配置工作,包括注册HandlerMapping,注册Interceptor,设置内容协商,MessageConverter等默认配置。
这个配置类的作用就相当于传统的spring mvc xml配置文件。如果想用Spring MVC其他功能,例如增加一个拦截器,可以扩展WebMvcConfigurerAdapter:
@Configuration
@EnableWebMvc
@ComponentScan("com.acwei.spring.mvc")
public class MvcConfiguration extends WebMvcConfigurerAdapter {

    @Bean
    public LogInterceptor logInterceptor() {
        return new LogInterceptor();
    }

    @Override
    public void addInterceptors(InterceptorRegistry registry) {
        registry.addInterceptor(logInterceptor()).addPathPatterns("/**");
    }
}
public class LogInterceptor extends HandlerInterceptorAdapter {

    @Override
    public boolean preHandle(HttpServletRequest request, HttpServletResponse response, Object handler) throws Exception {
        System.out.println("access " + request.getRequestURI());
        return true;
    }

}
通过扩展WebMvcConfigurerAdapter还可以配置其他更多Spring MVC相关设置,详见源码。最后一步,初始化Spring上下文,注册一个Dispatcher Servlet:
public class MvcInitializer implements WebApplicationInitializer {

    public void onStartup(ServletContext servletContext) throws ServletException {
        // 创建WebApplication上下文
        AnnotationConfigWebApplicationContext context = new AnnotationConfigWebApplicationContext();
        // WebApplication上下文需要设置ServletContext
        context.setServletContext(servletContext);
        // 注册一个配置类
        context.register(MvcConfiguration.class);

        Dynamic servlet =
                servletContext.addServlet("dispatcher", new DispatcherServlet(context));
        servlet.addMapping("/");
        servlet.setLoadOnStartup(1);
    }

}
这个类很关键,它替代了传统的web.xml配置文件。我们先是手动创建了SpringContext,替代了context listener的方式。注意,这里只有一个上下文,也就没有传统的父子上下文概念了。然后将上面的MvcConfiguration注册到上下文。最后向ServletContext注册了与SpringContext关联的DispatcherServlet。所有步骤已经完成,我们创建一个Controller测试一下:
@RestController
public class HelloController {

    @GetMapping("/hello")
    @ResponseBody
    public String hello() {
        return "hello world";
    }

}
deploy到Tomcat启动,访问http://localhost:8080/mvc/hello
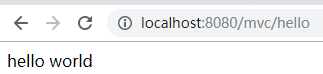
响应正常
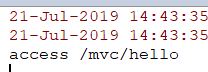

拦截器也正常。所有一切在Servlet3.0搞定。但还有一个很关键的点,ServletContext怎么来的?我们看WebApplicationInitializer这个接口,它的注释是:Interface to be implemented in Servlet 3.0+ environments in order to configure the ServletContext programmatically。也就是说这个接口就是为Servlet3.0编程式配置的方式准备的。这个接口在org.springframework.web.SpringServletContainerInitializer被用到了
再看ServletContainerInitializer接口吧,这是servlet的接口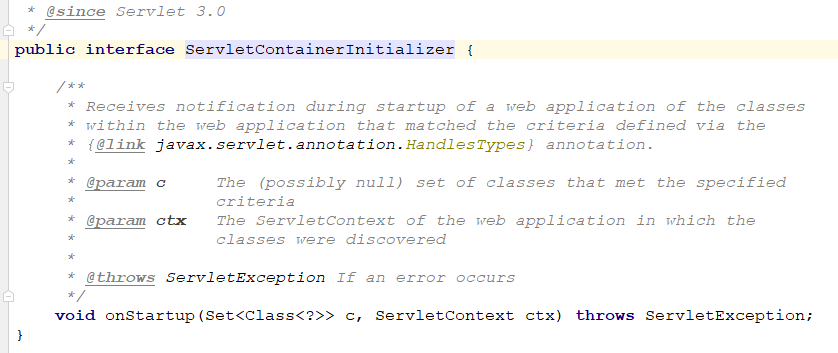
在这里看到了ServletContext来源了,在Servlet容器启动时候,会将jar包中META-INF/services/javax.servlet.ServletContainerInitializer文件注册的实现了ServletContainerInitializer接口的类实例化,并将调用其onStartup方法将ServletContext对象传给它。Spring对应的实现类是SpringServletContainerInitializer,同时加了注解@HandlesTypes(WebApplicationInitializer.class),从而Servlet容器将所有WebApplicationInitializer实现类作为参数c传给它。我们再看下Spring在onStartup方法做了啥:
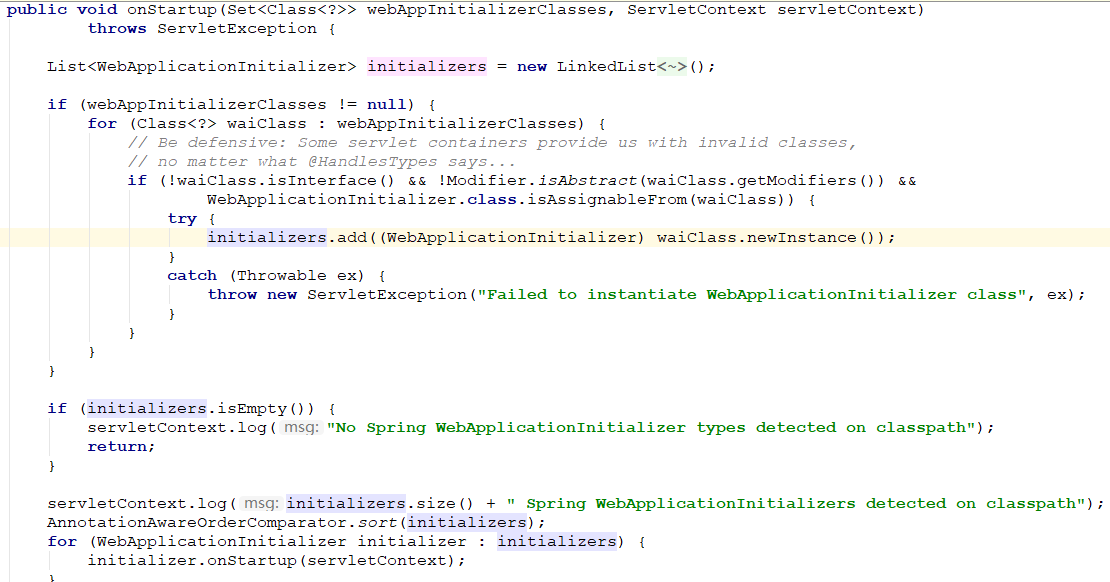
在最后执行了WebApplicationInitializer接口的onStartup方法,那么我自定义的实现MvcInitializer也就被执行了。
以上是Spring MVC对Servlet3.0+编程式配置支持分析,关键点是Servlet Api提供了ServletContainerInitializer接口,在启动容器时调用onStartup方法将ServletContext对象传给应用程序,Spring在拿到ServletContext对象后又调用了初始化接口,我们才能注册Servlet,创建SpringContext。