
我的实践:
#include<opencv2\opencv.hpp>
#include<iostream>
#include<math.h>
using namespace cv;
using namespace std;
int main()
{
//加载图像
Mat src= imread("E:\\vs2015\\opencvstudy\\2.jpg", 1);
if (!src.data)
{
cout << "could not load image!" << endl;
return -1;
}
//imshow("inputImage", src);
//初始化方法1
//Mat dst;
//dst = Mat(src.size(), src.type()); //初始化一个Mat对象
//dst = Scalar(127, 0, 255);
//imshow("outputImage", dst);
//初始化方法2
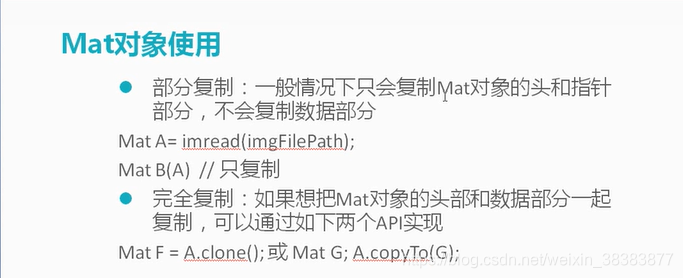
/*Mat dst = src.clone();
imshow("clone_outputImage", dst);*/
//初始化方法3
/*Mat dst;
src.copyTo(dst);
imshow("copyTo_outputImage", dst);*/
//获取图像信息
//Mat dst;
//cvtColor(src, dst, CV_BGR2GRAY);
//printf("input image channel:%d\n",src.channels());
//printf("output image channel:%d", dst.channels());
//int cols = dst.cols;
//int rows = dst.rows;
//cout << "cols:" <<cols<< endl;
//cout << "rows:" << rows << endl;
//const uchar* firstRow=dst.ptr<uchar>(0); //定义为指针,获取第一行的第一的像素的值
//printf("firstRow pixel:%d", *firstRow);
//初始化方法4
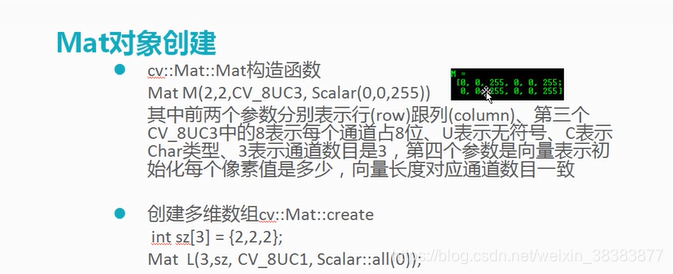
/*Mat M(3, 3, CV_8UC3, Scalar(0, 0, 255));
cout << "M:" <<endl<< M << endl;*/
//Mat M(100, 100, CV_8UC3, Scalar(0, 0, 255)); //Scalar和前面的CV_8UC3的3相对应
//imshow("Mat_初始化", M);
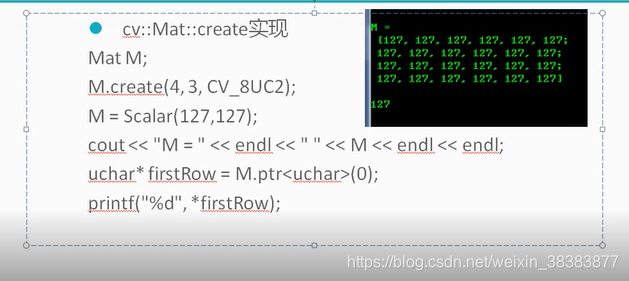
//Mat M2(100, 100, CV_8UC1, Scalar(127));
//imshow("Mat2_初始化", M2);
//初始化方法5
/*Mat M3;
M3.create(src.size(), src.type());
M3 = Scalar(0, 0, 255);
imshow("Mat3_初始化", M3);*/
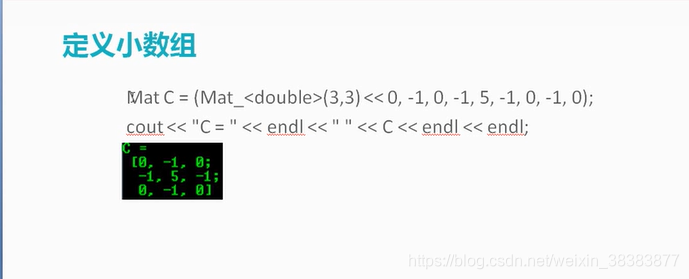
//定义小数组
Mat M4,dst;
M4 =( Mat_<char>(3, 3) << 0, -1, 0, -1, 5, -1, 0, -1, 0);
filter2D(src, dst, -1, M4); //depth可以默认为-1,不影响
imshow("dst", dst);
Mat M5 = Mat::zeros(src.size(), src.type());
Mat M6 = Mat::zeros(2,2, src.type());
Mat M7 = Mat::eye(2, 2, src.type());
cout << M6 << endl;
cout << M7 << endl;
waitKey(0);
return 0;
}