由于前后端分离的工作模式将面向接口编程,所以接口文档非常重要。使用swagger可是很便捷的生成接口API,并且可以通过接口界面实时查看接口,测试接口。配置也十分简单。
1.配置增加依赖springfox-swagger2,springfox-swagger-ui
 <dependency>
            <groupId>io.springfox</groupId>
            <artifactId>springfox-swagger2</artifactId>
            <version>2.8.0</version>
        </dependency>
        <dependency>
            <groupId>io.springfox</groupId>
            <artifactId>springfox-swagger-ui</artifactId>
            <version>2.8.0</version>
        </dependency>
2.在Application.java即项目启动入口类中使用注解@EnableSwagger2,如
package helloworld;

import org.springframework.boot.SpringApplication;
import org.springframework.boot.autoconfigure.SpringBootApplication;

import springfox.documentation.swagger2.annotations.EnableSwagger2;

@SpringBootApplication
@EnableSwagger2
public class Application {

    public static void main(String[] args) {
        SpringApplication.run(Application.class, args);
    }
}
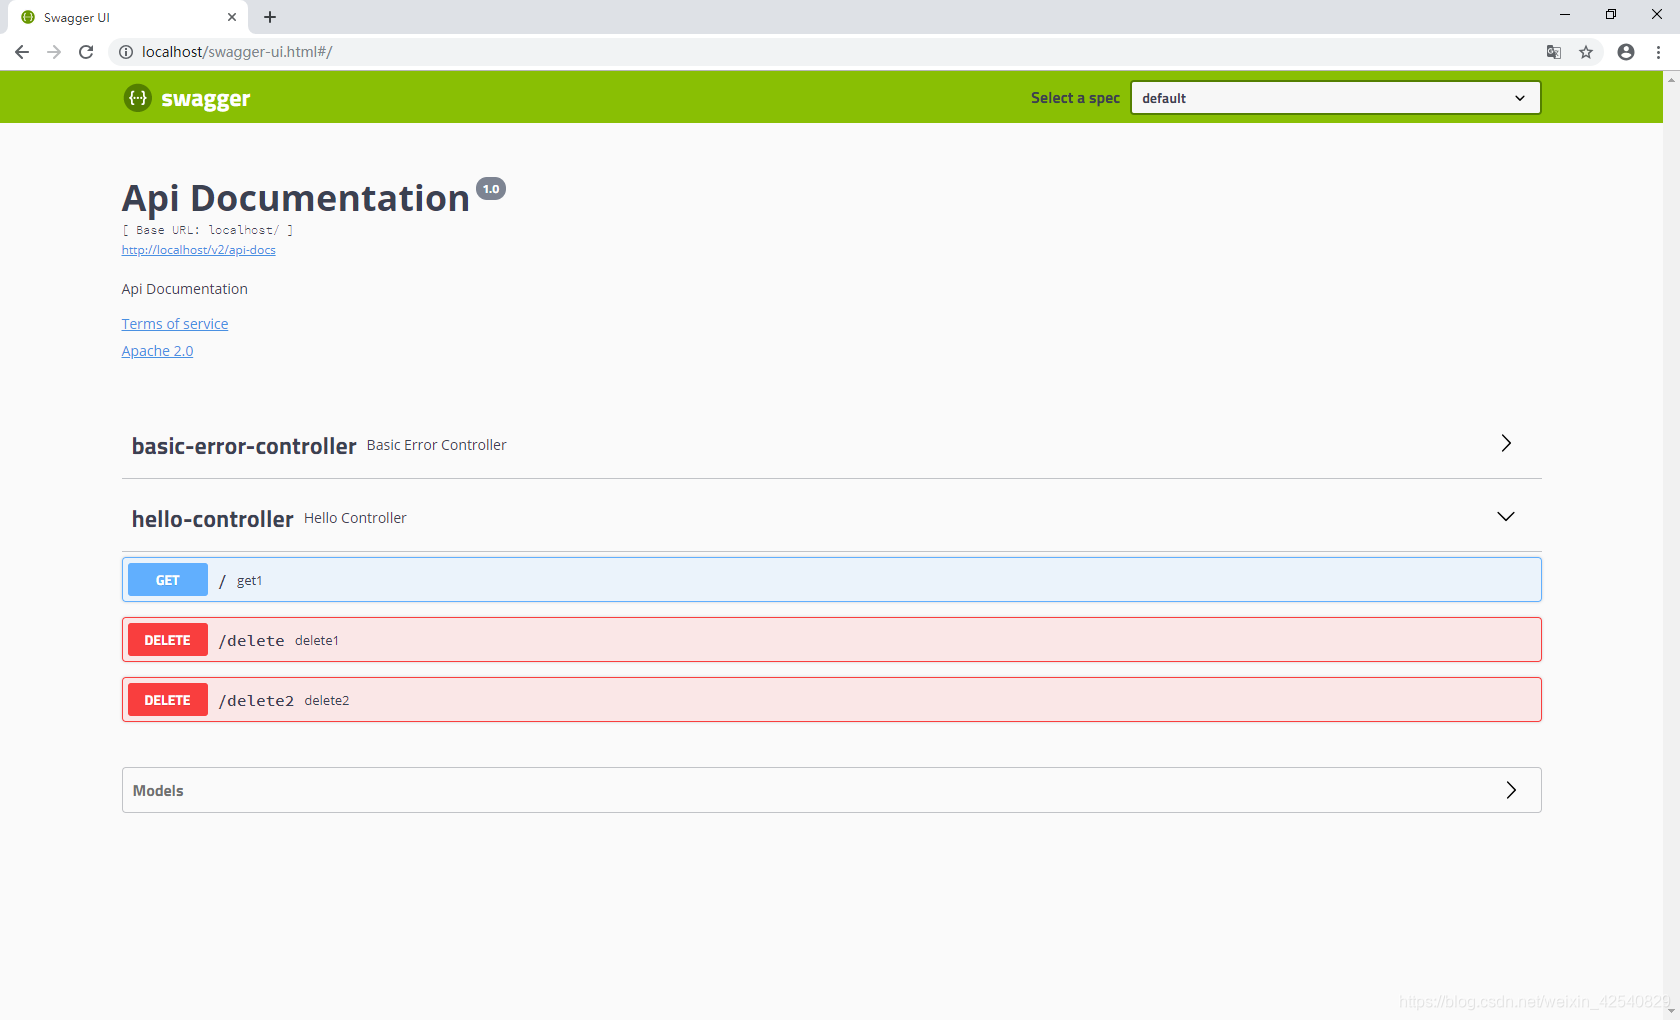
配置好之后启动项目,然后输入地址:http://localhost/swagger-ui.html
即可访问swagger界面,查看项目 中的所有RESTFULL接口
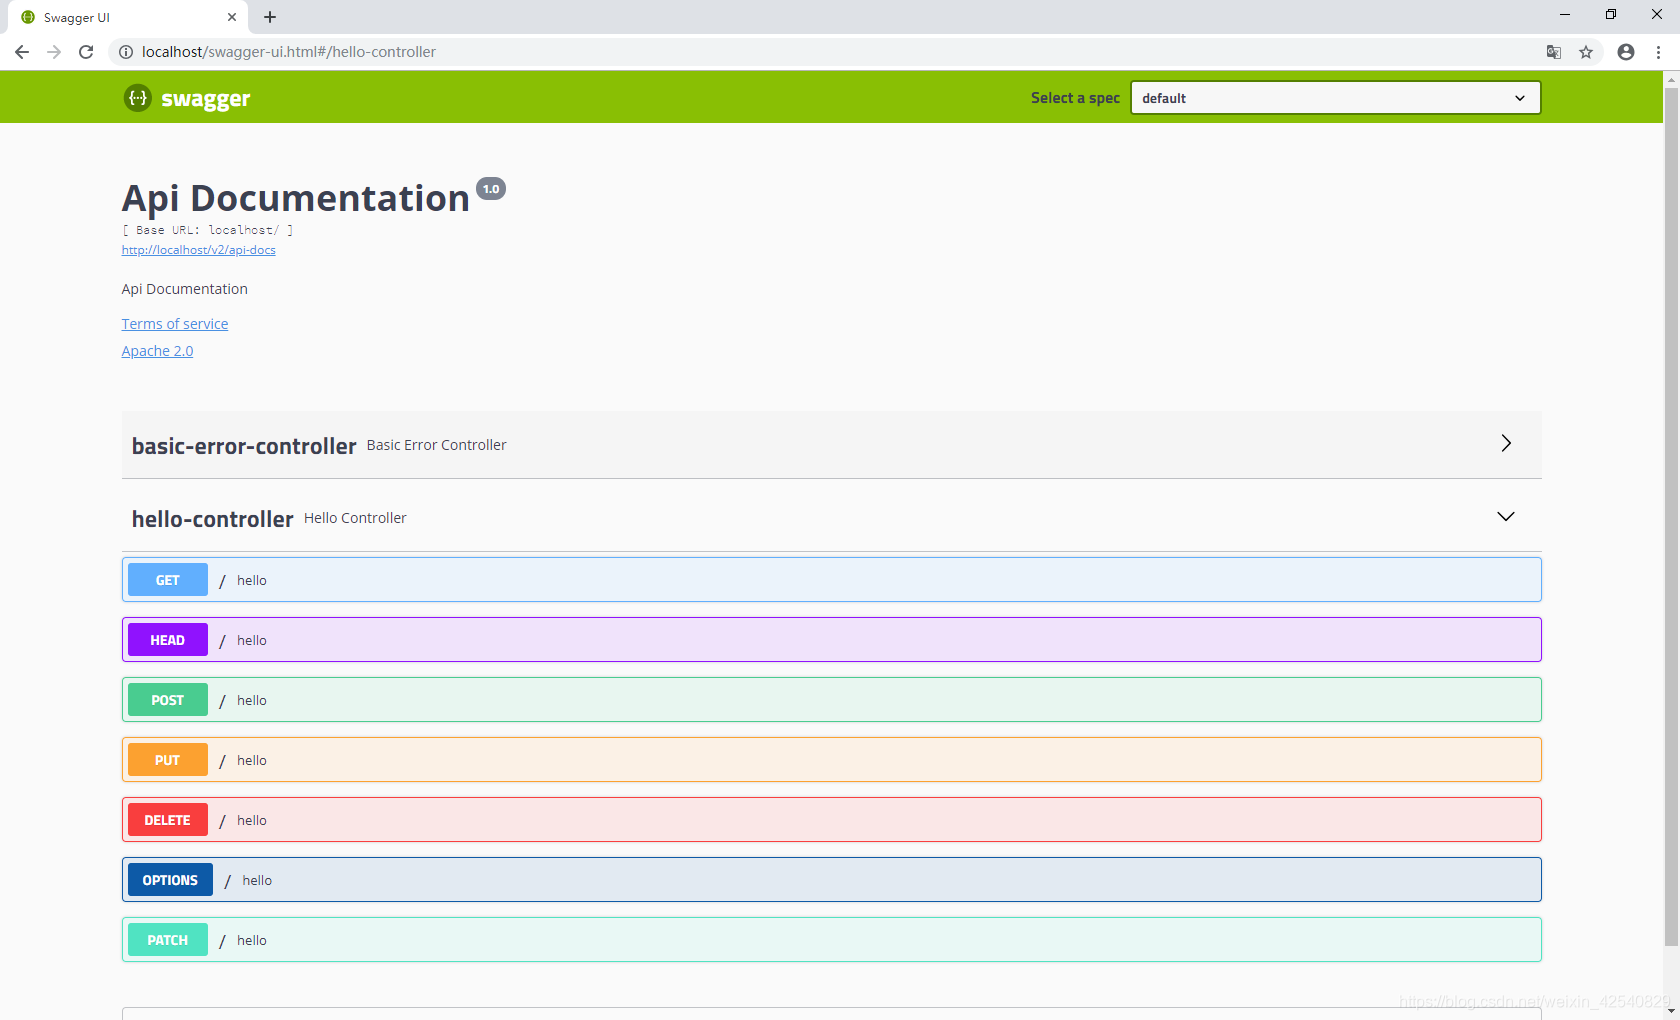
编码时使用@DeleteMapping @GetMapping @PutMapping @PostMapping 代替
@RequestMapping 可以对接口进行规范分类。