版权声明:博客版权所有,转载注明出处。 https://blog.csdn.net/qq_33083551/article/details/82459782
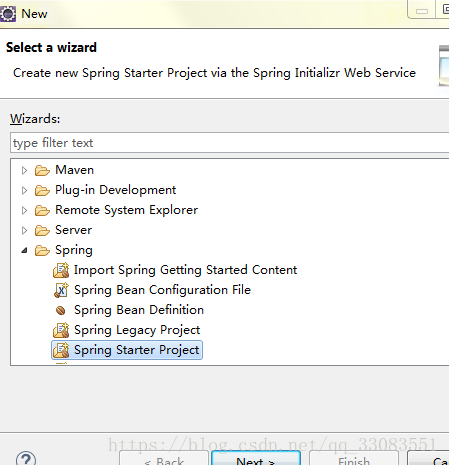
1.打开eclipse,新建-others-选择Spring StarterProject。
2.在选择的时候选择web和mysql,一路下路一步。
3.进项目的pom.xml文件,配置依赖,添加代码如下
        <dependency>
			<groupId>mysql</groupId>
			<artifactId>mysql-connector-java</artifactId>
			<scope>runtime</scope>
		</dependency>
		<dependency>
			<groupId>org.mybatis.spring.boot</groupId>
			<artifactId>mybatis-spring-boot-starter</artifactId>
			<version>${mybatis.spring.boot.version}</version>
		</dependency>
		<dependency>
			<groupId>com.alibaba</groupId>
			<artifactId>druid</artifactId>
			<version>${druid.version}</version>
		</dependency>
这个时候会报错。
别急,仍在同一个文件,上面的<properties>中添加版本信息
<mybatis.spring.boot.version>1.3.0</mybatis.spring.boot.version>
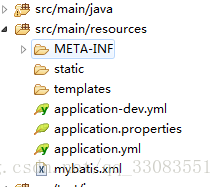
<druid.version>1.0.28</druid.version>4.进入resources文件,新建 mybatis.xml文件
<?xml version="1.0" encoding="UTF-8" ?>
<!DOCTYPE configuration PUBLIC "-//mybatis.org//DTD Config 3.0//EN"
        "http://mybatis.org/dtd/mybatis-3-config.dtd">
<configuration>
    <settings>
        <setting name="mapUnderscoreToCamelCase" value="true" />
    </settings>
</configuration>

 <environments default="local">
        <environment id="local">
            <transactionManager type="JDBC"></transactionManager>
            <dataSource type="POOLED">
                <property name="driver" value="com.mysql.jdbc.Driver"/>
                <property name="url" value="jdbc:mysql://localhost:3306/orcl"/>
                <property name="username" value="username"/>
                <property name="password" value="password"/>
            </dataSource>
        </environment>
    </environments>