版权声明:转载请附上链接 https://blog.csdn.net/qq_37684859/article/details/88764022
-
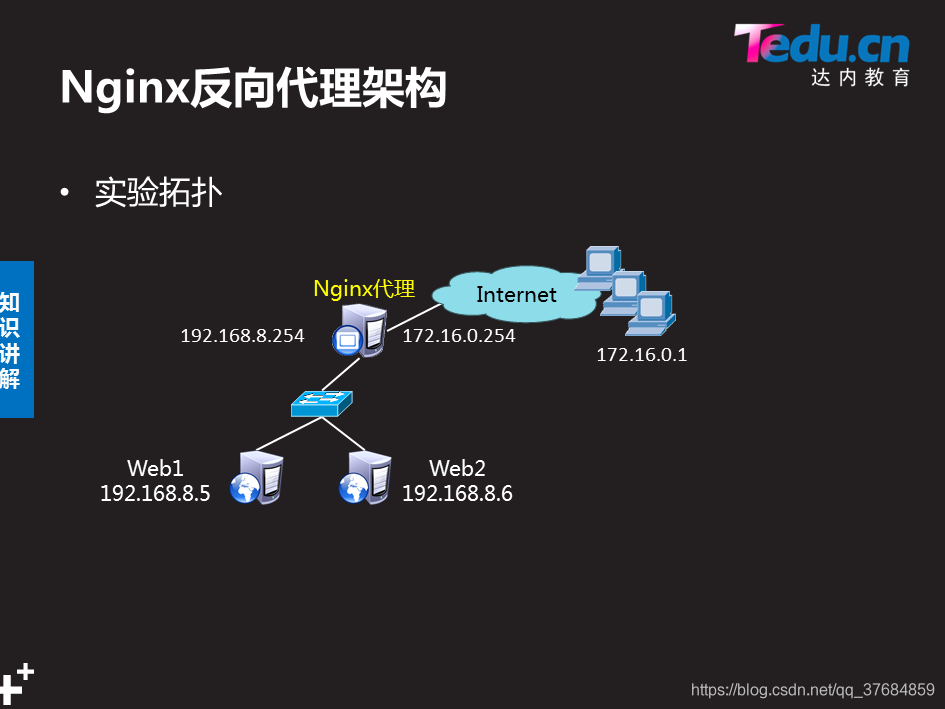
步骤一:配置Nginx服务器,添加服务器池,实现反向代理功能
-
1)修改/usr/local/nginx/conf/nginx.conf配置文件
[root@svr5 ~]# vim /usr/local/nginx/conf/nginx.conf
.. ..
http {
.. ..
upstream webserver {
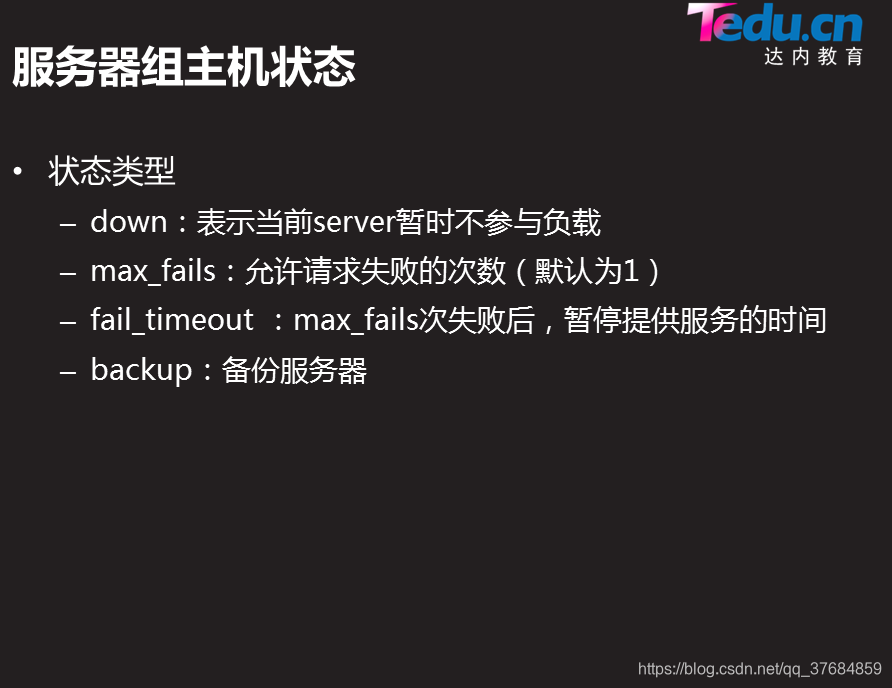
server 192.168.2.100 weight=1 max_fails=2 fail_timeout=10;
server 192.168.2.200 weight=2 max_fails=2 fail_timeout=10;
}
.. ..
server {
listen 80;
server_name www.tarena.com;
location / {
proxy_pass http://webserver;
}
}
- 2)重启nginx服务
-[root@svr5 ~]# /usr/local/nginx/sbin/nginx –s reload
-
步骤二:部署实施后端Web服务器
-
1)部署后端Web1服务器
-
后端Web服务器可以简单使用yum方式安装httpd实现Web服务,为了可以看出后端服务器的不同,可以将- 两-台后端服务器的首页文档内容设置为不同的内容。
    [root@web1 ~]# yum  -y  install  httpd
    [root@web1 ~]# echo “192.168.2.100” > /var/www/html/index.html
    [root@web1 ~]# systemctl restart httpd
- 2)部署后端Web2服务器
    [root@web2 ~]# yum  -y  install  httpd
    [root@web2 ~]# echo “192.168.2.200” > /var/www/html/index.html
    [root@web2 ~]# systemctl restart httpd
-
步骤三:客户端测试
-
1)修改客户端hosts文件
    [root@client ~]# vim /etc/hosts
    .. ..
    192.168.4.5        www.tarena.com
- 2)使用浏览器访问代理服务器测试轮询效果
[root@client ~]# curl http://www.tarena.com #使用该命令多次访问查看效果