一、django新建项目和应用
参考:https://segmentfault.com/a/1190000016049962#articleHeader2
1、创建项目
django-admin startproject dj_e
2、数据库配置
DATABASES = {
    'default': {
        'ENGINE': 'django.db.backends.mysql',    #数据库引擎
        'NAME': 'dj_e_db',  #数据库名
        'USER': 'root',   #账户名
        'PASSWORD': 'password', #密码
        'HOST': 'localhost', #主机
        'PORT': '3306', #端口
    }

}
3、在_init_.py添加如下代码
import pymysql
pymysql.install_as_MySQLdb()
4、数据库迁移命令
python manage.py makemigrations
python manage.py migrate
5、创建应用,编写views
ajax与get的后台接口
创建应用register(在这个应用实现get):
python manage.py startapp register
6、在views.py下创建接口,我们先举个简单的例子——hello接口
from django.shortcuts import render, render_to_response
from django.http import JsonResponse


# Create your views here.
def hello(request):
    return JsonResponse({'result': 200, 'msg': '连接成功'})
7、register目录中新建一个urls.py文件,输入以下代码
from django.conf.urls import url
from . import views

urlpatterns = [
    url(r'^helloApi$', views.hello, name='hello'),
    url(r'^registerPage$', views.registerPage, name='registerPage'),
]
8、在dj_e/urls.py中修改
from django.conf.urls import include, url
from django.contrib import admin

urlpatterns = [
    url(r'^admin/', include(admin.site.urls)),
    url(r'^', include('register.urls')),
    url(r'^register/', include("register.urls")),
]
9、最后打开django的开发服务器,测试一下接口
python manage.py runserver
二、原生js实现异步的get请求
1、进行前后端的分离(ajax的get请求异步)
在根目录创建一个html文件夹,并在里面创建register.html
<script>
    function ajaxResponse(xhr, successFunction, falseFunction) {
        xhr.onreadystatechange = function () {
            if (xhr.readyState === 4) {
                console.log(xhr.status);
                if ((xhr.status >= 200 && xhr.status < 300) || xhr.status === 304) {
                    alert("成功");
                    successFunction();
                } else {
                    alert("失败" + xhr.status);
                    falseFunction();
                }
            }
        }
    }
</script>
<div id="getHelloApiDiv" style="background: aqua;height: 100px;width: 100px"></div>
<script>
    getApiDiv = document.querySelector('#getHelloApiDiv');
    xhr = new XMLHttpRequest();
{#    getApiDiv.onclick = function () {#}
    window.onload = function () {
        ajaxResponse(
            xhr,
            function () {
                helloText = JSON.parse(xhr.responseText);
                getApiDiv.innerText = helloText.msg;
            }, function () {
            }
        );
        xhr.open('get', 'http://localhost:8000/register/helloApi'); //接口写在这里
        xhr.setRequestHeader('Content-type', 'application/x-www-form-urlencoded;charset=utf-8;');
        xhr.send(null);
    };
</script>
2、在register/views.py中编写一个返回html的接口,代码如下,注意import了render_to_response方法
from django.shortcuts import render, render_to_response
from django.http import JsonResponse


# Create your views here.
def hello(request):
    return JsonResponse({'result': 200, 'msg': '连接成功'})


def registerPage(request):
    return render_to_response("register.html")
三、解决一些问题
1、django的相关配置
# 注册应用和允许跨域
INSTALLED_APPS = (
    ...
    'register',
    'corsheaders',
)

# 允许django跨域请求的配置
MIDDLEWARE_CLASSES = (
    ...
    'corsheaders.middleware.CorsMiddleware',
    ...
)
CORS_ORIGIN_ALLOW_ALL = True
CORS_ALLOW_CREDENTIALS = True

#  设置模板路径
TEMPLATES = [
    {
        'BACKEND': 'django.template.backends.django.DjangoTemplates',
        'DIRS': [os.path.join(BASE_DIR, 'html')],
		...

# 数据库配置
DATABASES = {
    'default': {
        # 'ENGINE': 'django.db.backends.sqlite3',
        # 'NAME': os.path.join(BASE_DIR, 'db.sqlite3'),
        'ENGINE': 'django.db.backends.mysql',  # 数据库引擎
        'NAME': 'dj_e_db',  # 数据库名
        'USER': 'root',  # 账户名
        'PASSWORD': 'root',  # 密码
        'HOST': 'localhost',  # 主机
        'PORT': '3306',  # 端口
    }
}

# 语言和时区配置
LANGUAGE_CODE = 'zh-Hans'
TIME_ZONE = 'Asia/Shanghai'
2、跨域请求
参考:https://www.jianshu.com/p/24945ee1ec05
pip安装django-cors-headers,解决异步跨域被禁言的问题。
需要settings.py 进行配置。
四、效果截图
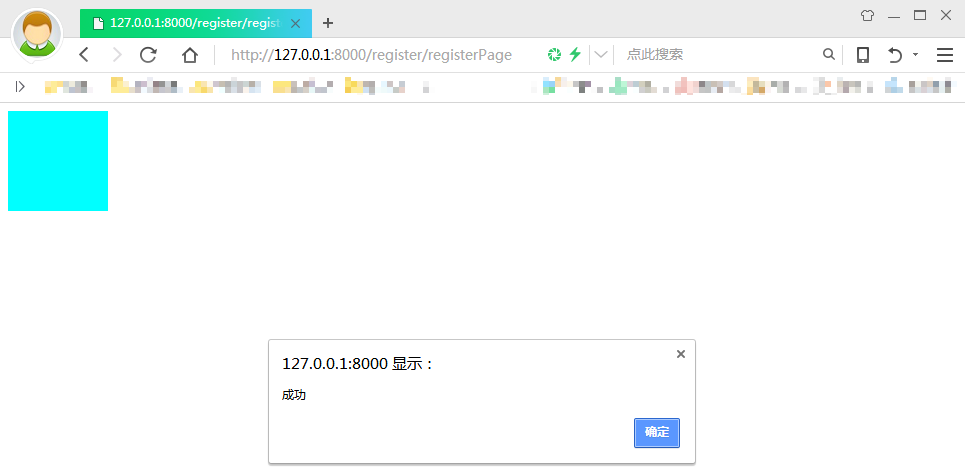
确定后,
