5.设置应用程序的样式
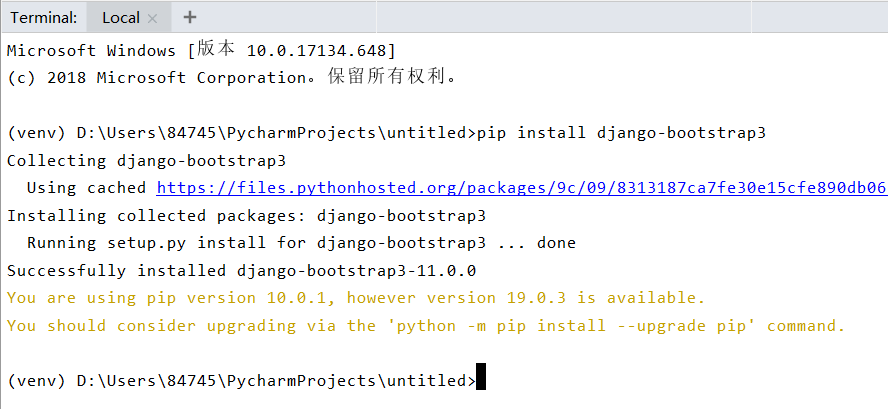
安装django-bootstrap3。
# untitled/untitled/settings.py
# ···

INSTALLED_APPS = [
    'django.contrib.admin',
    'django.contrib.auth',
    'django.contrib.contenttypes',
    'django.contrib.sessions',
    'django.contrib.messages',
    'django.contrib.staticfiles',

    # 第三方应用程序
    'bootstrap3',

    # 我的应用程序
    'learning_logs',
    'users'
]

# ···

BOOTSTRAP3 = {
    'include_jquery' : True
}
<!-- untitled/templates/learning_logs/base.html -->
{% load bootstrap3 %}

<!DOCTYPE html>
<html lang="en">
  <head>
    <meta charset="utf-8">
    <meta http-equiv="X-UA-Compatible" content="IE=edge">
    <meta name="viewport" content="width=device-width, initial-scale=1">

    <title>Learning Log</title>

    {% bootstrap_css %}
    {% bootstrap_javascript %}

  </head>

  <body>

    <!-- Static navbar -->
    <nav class="navbar navbar-default navbar-static-top">
      <div class="container">

        <div class="navbar-header">
          <button type="button" class="navbar-toggle collapsed"
              data-toggle="collapse" data-target="#navbar"
              aria-expanded="false" aria-controls="navbar">
          </button>
          <a class="navbar-brand" href="{% url 'learning_logs:index' %}">
              Learning Log</a>
        </div>

        <div id="navbar" class="navbar-collapse collapse">
          <ul class="nav navbar-nav">
            <li><a href="{% url 'learning_logs:topics' %}">Topics</a></li>
          </ul>

          <ul class="nav navbar-nav navbar-right">
            {% if user.is_authenticated %}
              <li><a>Hello, {{ user.username }}.</a></li>
              <li><a href="{% url 'users:logout' %}">log out</a></li>
            {% else %}
              <li><a href="{% url 'users:register' %}">register</a></li>
              <li><a href="{% url 'users:login' %}">log in</a></li>
            {% endif %}
          </ul>
        </div><!--/.nav-collapse -->

      </div>
    </nav>

    <div class="container">

      <div class="page-header">
        {% block header %}{% endblock %}
      </div>
      <div>
        {% block content %}{% endblock %}
      </div>

    </div> <!-- /container -->

  </body>
</html>
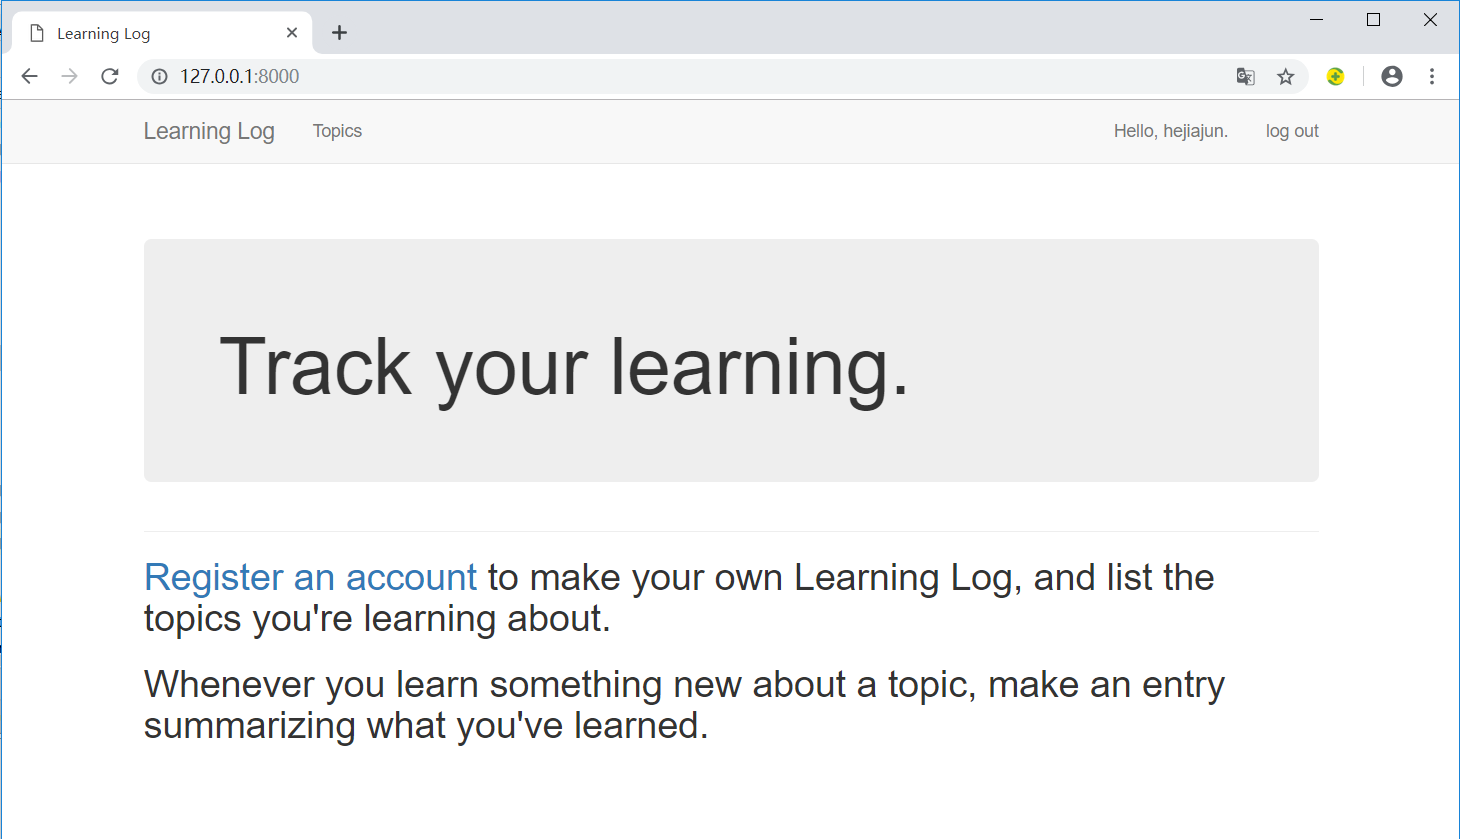
使用jumbotron设置主页的样式。
<!-- untitled/templates/learning_logs/index.html -->
{% extends "learning_logs/base.html" %}

{% block header %}
  <div class='jumbotron'>
      <h1>Track your learning.</h1>
  </div>
{% endblock %}

{% block content %}
  <h2>
    <a href="{% url 'users:register' %}">Register an account</a> to make
     your own Learning Log, and list the topics you're learning about.
  </h2>
  <h2>
    Whenever you learn something new about a topic, make an entry
    summarizing what you've learned.
  </h2>
{% endblock %}
6.部署应用程序到Heroku
我们将项目部署到Heroku的服务器并对其进行管理。
- 首先需要到官网https://dashboard.heroku.com注册账号。
- 接着安装Heroku客户端,请访问https://devcenter.heroku.com/articles/heroku-cli。
注意:访问Heroku官网需要VPN,注册账号需要用国外的邮箱,我试过outlook邮箱可以注册。
6.1 安装必要的包
在PyCharm的Terminal窗口逐个执行以下几个命令:
pip install dj-database-urlpip install dj-staticpip install static3pip install gunicorn
6.2 创建requirements.txt
执行pip freeze > requirements.txt命令,将项目当前安装的所有包的名称都写入到文件requirements.txt中。
dj-database-url==0.5.0
dj-static==0.0.6
Django==2.1.7
django-bootstrap3==11.0.0
gunicorn==19.9.0
pytz==2018.9
static3==0.7.0
psycopg2>=2.6.1我们在包列表中添加psycopg2,它帮助Heroku管理活动数据库。
6.3 指定Python版本
runtime.txt
python-3.6.36.4 修改settings.py
# untitled/untitled/settings.py

# ···

STATIC_ROOT = os.path.join(BASE_DIR, 'static')

# Heroku settings
if os.getcwd() == '/app':
    import dj_database_url

    DATABASES = {
        'default': dj_database_url.config(default='postgres://localhost')
    }

    # Honor the 'X-Forwarded-Proto' header for request.is_secure().
    SECURE_PROXY_SSL_HEADER = ('HTTP_X_FORWARDED_PROTO', 'https')

    # Only allow heroku to host the project.
    ALLOWED_HOSTS = ['learning-log-final.herokuapp.com']
    DEBUG = True

    # Static asset configuration
    BASE_DIR = os.path.dirname(os.path.abspath(__file__))
    # STATIC_ROOT = 'staticfiles'
    STATICFILES_DIRS = (
        os.path.join(BASE_DIR, 'static'),
    )
注意STATIC_ROOT = os.path.join(BASE_DIR, 'static')这行代码,它写在if测试外面。
6.5 创建启动进程的Procfile
Procfile
web: gunicorn learning_log.wsgi --log-file -6.6 修改wsgi.py
# untitled/untitled/wsgi.py
import os

from dj_static import Cling
from django.core.wsgi import get_wsgi_application

os.environ.setdefault('DJANGO_SETTINGS_MODULE', 'untitled.settings')

application = Cling(get_wsgi_application())
6.7 创建用于存储静态文件的目录
untitled/untitled/static/placeholder.txt
This file ensures that learning_log/static/ will be added to the project.
Django will collect static files and place them in learning_log/static/.
6.8 使用Git跟踪项目文件
我们无需让Git跟踪项目中的每个文件,因此将让Git忽略一些文件。
.gitignore
venv/
__pycache__/
*.sqlite3
提交项目


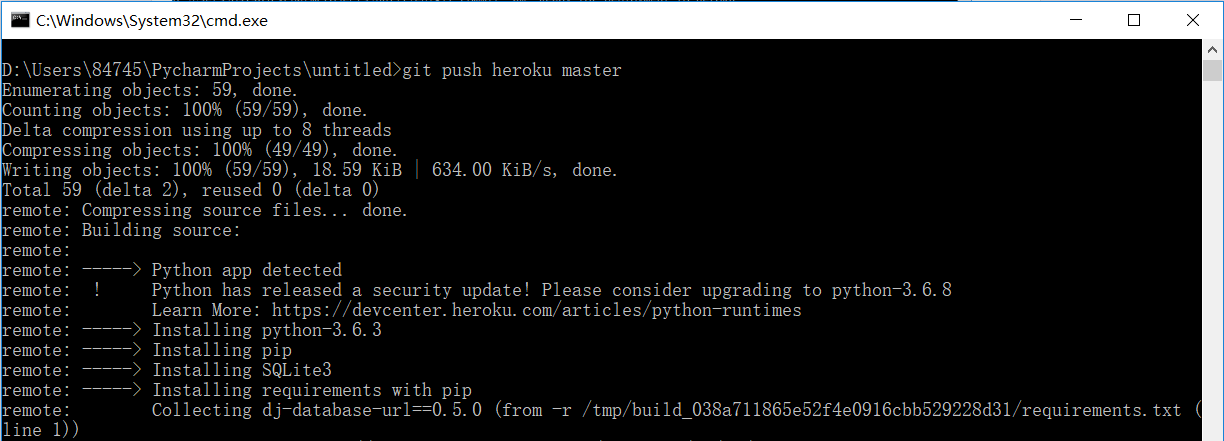
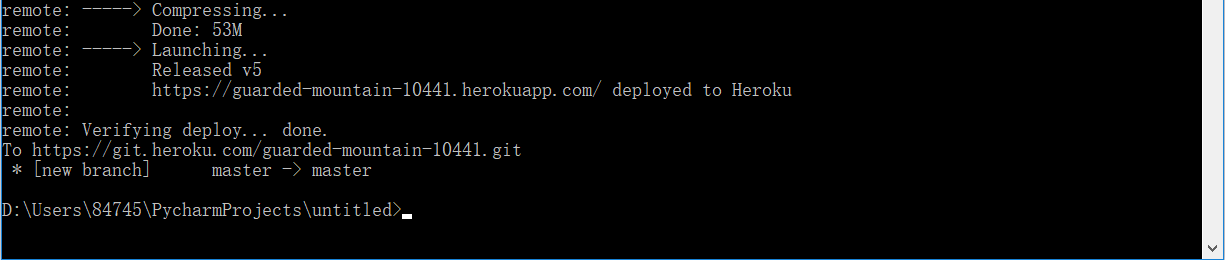
推送到Heroku


项目源码地址:https://github.com/gorgeous-h/learning_log.git
注意:这个项目是在Windows环境下做的。
参考资料:《Python编程从入门到实践》—【美】Eric Matthes 著