Ubuntu 16 安装TensorFlow及Jupyter notebook
本文主要讲述Windows上VMware虚拟机中Ubuntu16.04(最小化安装版,没有安装界面环境) 安装TensorFlow及Jupyter notebook的过程
1. 软件版本
| 软件 | 版本 | 备注 |
|---|---|---|
| Windows | win10 | |
| VMware | 11.0.0 build-2305329 | |
| Ubuntu | 16.04.5 LTS | |
| Python | 3.5.2 | Ubuntu自带 |
| 机器名 | node200 | 192.168.128.200 |
| Pip | 8.1.1-2ubuntu0.4 | Python3-pip |
2. 安装过程
命令行运行如下命令:
- 安装pip:
apt install python3-pip
- 安装tensorflow
pip3 install tensorflow
- 安装ipython、Jupyter
pip3 install ipython
pip3 install jupyter
- 安装其他软件(可选)
pip3 install matplotlib # 用于画图
pip3 install opencv-python  ## 分割图像
apt-get install libsm6 libxrender-dev ##  opencv需要的依赖,参考(https://stackoverflow.com/questions/47113029/importerror-libsm-so-6-cannot-open-shared-object-file-no-such-file-or-directo)
3. 测试
- 启动Jupyter:
jupyter notebook --ip node200 --port 9999 --allow-root
启动后,发现报错:
connecting to kernel…
同时,并不能运行任何代码。
- 修复问题
问题是因为tornado的版本不对造成的,参考juipiter notebook server “connecting to kernel” problem
直接解决,可以通过降低tornado的版本来解决:
pip3 install tornado==4.5.3
- 再次测试:
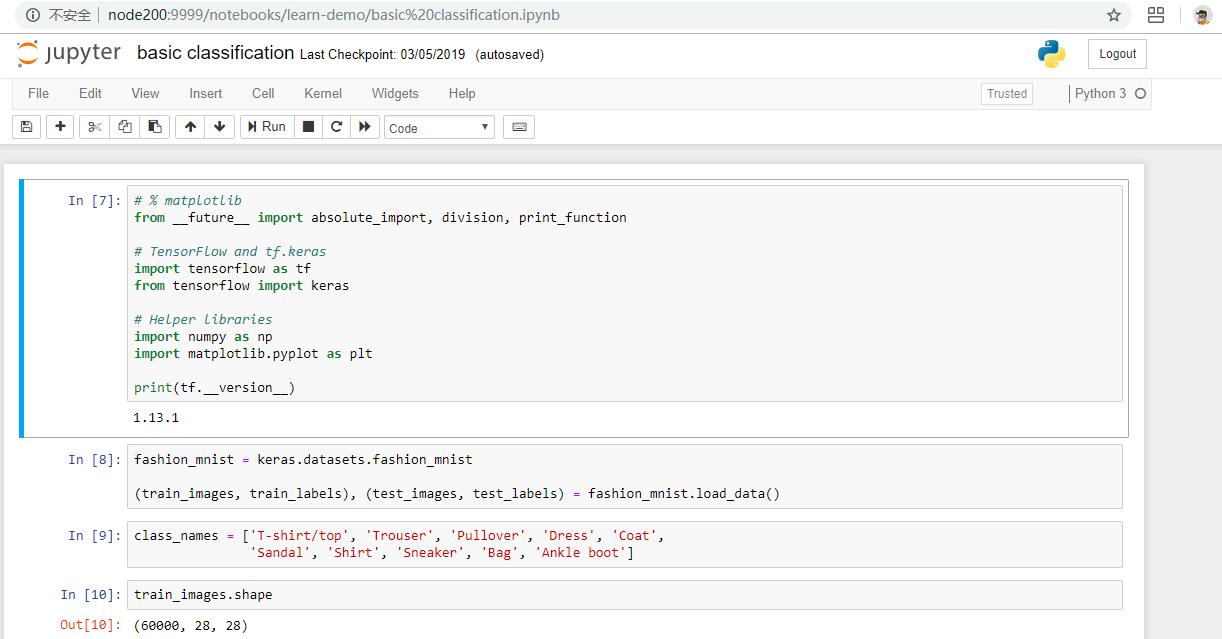
具体运行结果,点击测试结果查看。
部分截图如下: