上一节讲到user微服务和order微服务和eureka注册中心一起使用,那么问题来了如何注册中心挂了怎么办?ok, 注册中心集群就来了。
原理图:
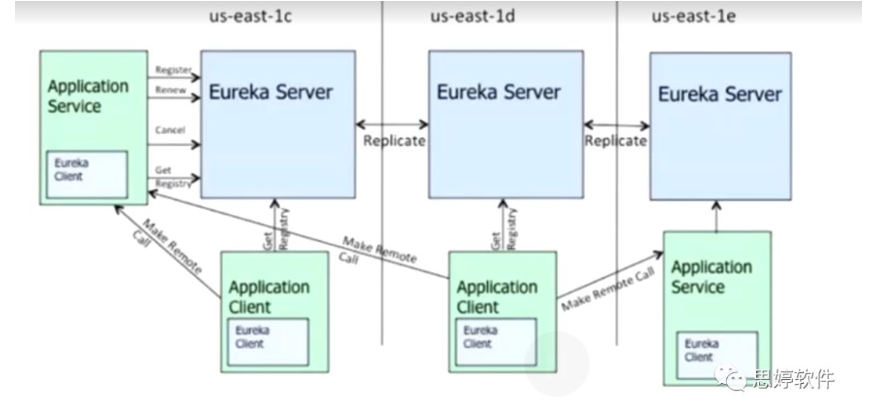
注意euraka 之间是通过复制(replicate) 来统一地址的。
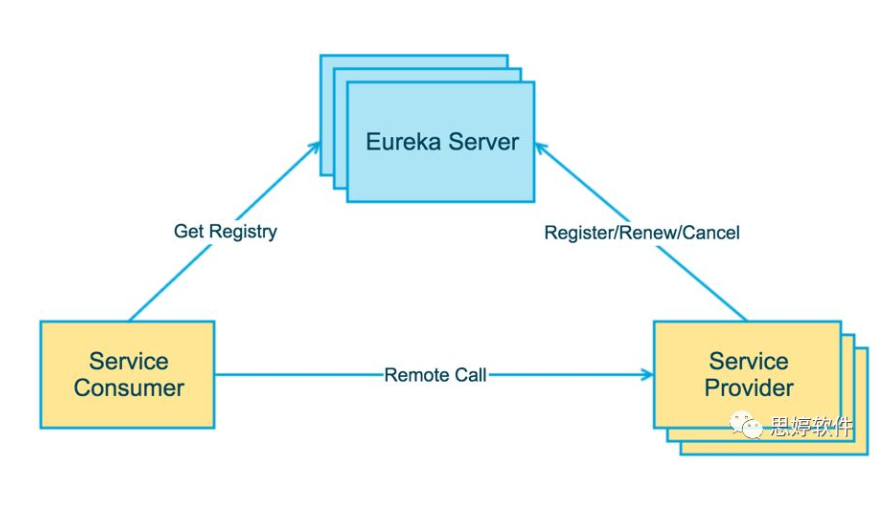
上图简要描述了Eureka的基本架构,由3个角色组成:
1、Eureka Server
-
提供服务注册和发现
2、Service Provider
-
服务提供方
-
将自身服务注册到Eureka,从而使服务消费方能够找到
3、Service Consumer
-
服务消费方
-
从Eureka获取注册服务列表,从而能够消费服务
代码实现:
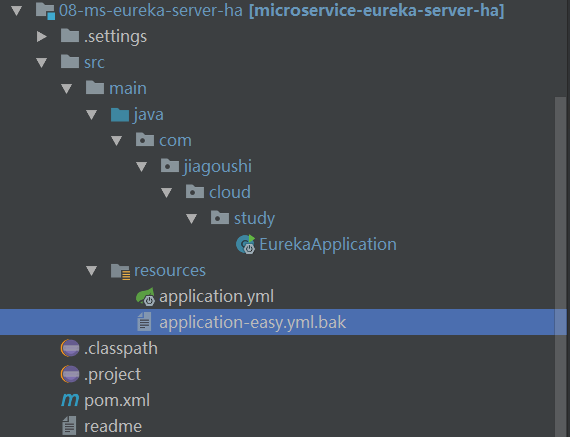
EurekaApplication:
package com.jiagoushi.cloud.study;

import org.springframework.boot.SpringApplication;
import org.springframework.boot.autoconfigure.SpringBootApplication;
import org.springframework.cloud.netflix.eureka.server.EnableEurekaServer;

/**
 * 使用Eureka做服务发现.
 */
@SpringBootApplication
@EnableEurekaServer
public class EurekaApplication {
  public static void main(String[] args) {
    SpringApplication.run(EurekaApplication.class, args);
  }
}
伪集群application.yml:
spring:
  application:
    name: microservice-eureka-server-ha
---
spring:
  profiles: peer1                                 # 指定profile=名称peer1
server:
  port: 8761
eureka:
  instance:
    hostname: peer1                               # 指定eureka实列名称peer1,交互都用它
  client:
    serviceUrl:
      defaultZone: http://peer2:8762/eureka/      # 将自己注册到peer2这个Eureka上面去,本地测试通过host文件,真实环境是域名或者IP

---
spring:
  profiles: peer2
server:
  port: 8762
eureka:
  instance:
    hostname: peer2
  client:
    serviceUrl:
      defaultZone: http://peer1:8761/eureka/
host文件:
127.0.0.1 peer1
127.0.0.1 peer2
分别以peer1、peer2的配置参数启动eureka注册中心
java -jar spring-cloud-eureka-0.0.1-SNAPSHOT.jar --spring.profiles.active=peer1
java -jar spring-cloud-eureka-0.0.1-SNAPSHOT.jar --spring.profiles.active=peer2
依次启动完成后,浏览器输入:http://localhost:8000/ 效果图如下:

到此注册中心集群已经启动。
接下来就是微服务 链接 这个注册中心,需要修改每个微服务的application.xml
eureka:
  client:
    serviceUrl:
      defaultZone: http://peer1:8761/eureka/,http://peer2:8762/eureka/ 注册中心2个地址