Eureka集群搭建
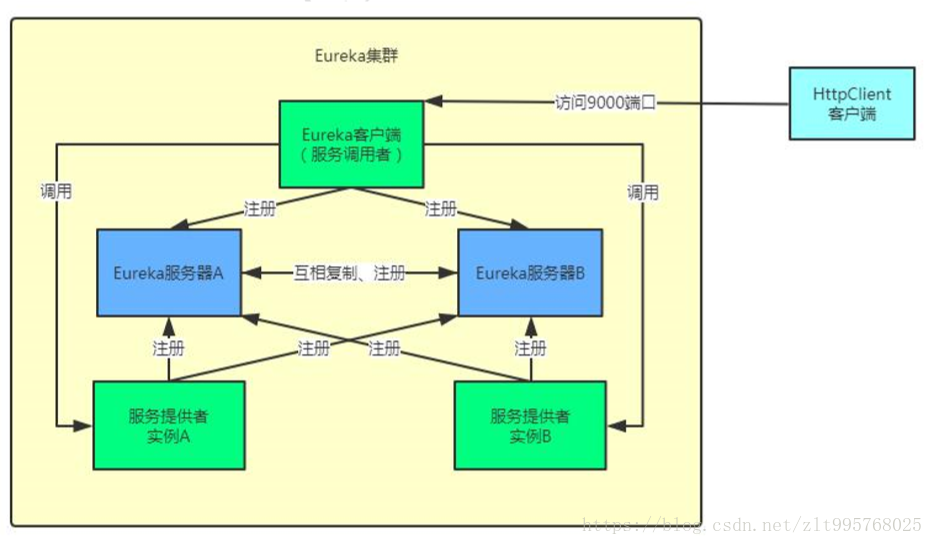
为了突出Eureka的高可用性,对其进行集群部署
两个服务器实例、两个服务提供者实例
在本机的“C:\Windows\System32\drivers\etc”下的hosts文件中添加如下配置:
127.0.0.1 slave1 slave2Eureka服务注册中心
server:
  port: 8761
spring:
  application:
    name: cloud-114
  profiles: slave1
eureka:
  client:
    serviceUrl:
      defaultZone: http://slave2:8762/eureka
---
server:
  port: 8762
spring:
  application:
    name: cloud-114
  profiles: slave2
eureka:
  client:
    serviceUrl:
      defaultZone: http://slave1:8761/eureka
Eureka注册中心启动类:
@SpringBootApplication
@EnableEurekaServer
public class ServerApp {

    public static void main(String[] args) {
        Scanner scan = new Scanner(System.in);
        String profiles = scan.nextLine();
        new SpringApplicationBuilder(ServerApp.class).profiles(profiles).run(args);
    }

}
若idea不能对同一个程序启动多次,做如下配置:

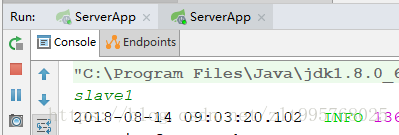
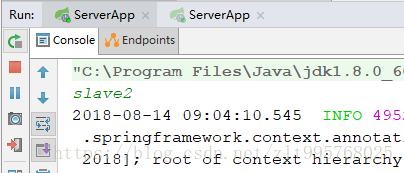
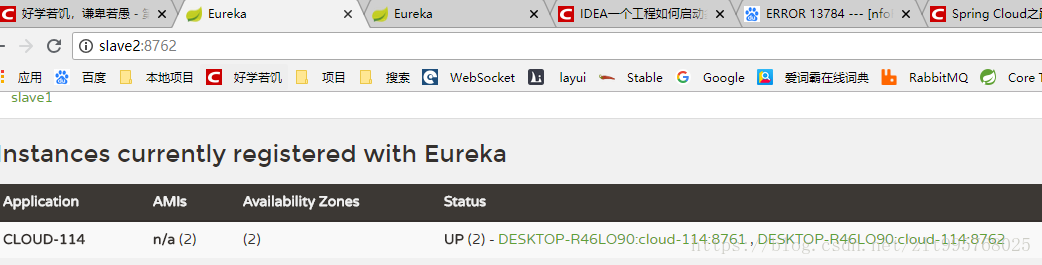
分别启动Eureka
启动过程中会报如下错误,不用管:
2018-08-14 09:03:29.794 ERROR 13664 --- [ main] c.n.d.s.t.d.RedirectingEurekaHttpClient : Request execution error
com.sun.jersey.api.client.ClientHandlerException: java.net.ConnectException: Connection refused: connect
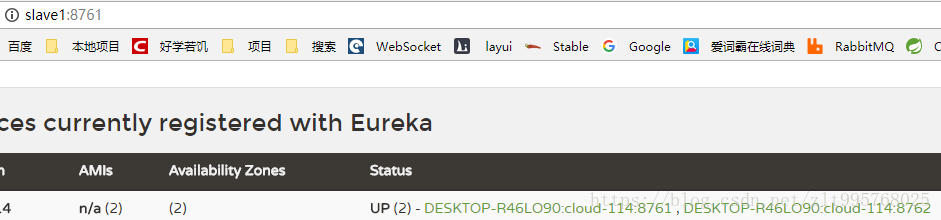
at com.sun.jersey.client.apache4.ApacheHttpClient4Handler.handle(ApacheHttpClient4Handler.java:187) ~[jersey-apache-client4-1.19.1.jar:1.19.1]启动成功效果图:
若服务注册中心不想注册自己,可以修改配置如下:
server:
  port: 8761
spring:
  application:
    name: cloud-114
  profiles: slave1
eureka:
  client:
    serviceUrl:
      defaultZone: http://slave2:8762/eureka
    register-with-eureka: false
    fetch-registry: false
---
server:
  port: 8762
spring:
  application:
    name: cloud-114
  profiles: slave2
eureka:
  client:
    serviceUrl:
      defaultZone: http://slave1:8761/eureka
    register-with-eureka: false
    fetch-registry: false
修改服务注册者配置,分别注册到两个服务注册中心:
spring:
  application:
    name: cloud-police
eureka:
  client:
    serviceUrl:
      defaultZone: http://localhost:8761/eureka/, http://localhost:8762/eureka/
修改服务调用者配置
server:
  port: 9000
spring:
  application:
    name: cloud-person
eureka:
  client:
    serviceUrl:
      defaultZone: http://localhost:8761/eureka/, http://localhost:8762/eureka/
以上为疯狂SpringCloud微服务架构实战学习笔记
感谢杨恩雄老师:https://my.oschina.net/JavaLaw