版权声明:本文为博主原创文章,未经博主允许不得转载。 https://blog.csdn.net/hju22/article/details/87868576
springboot内置了tomcat服务器。这样在web项目中,不需要把项目部署到tomcat中了,只需要运行main方法就可以了。所以运行springboot和运行java项目一样简单。
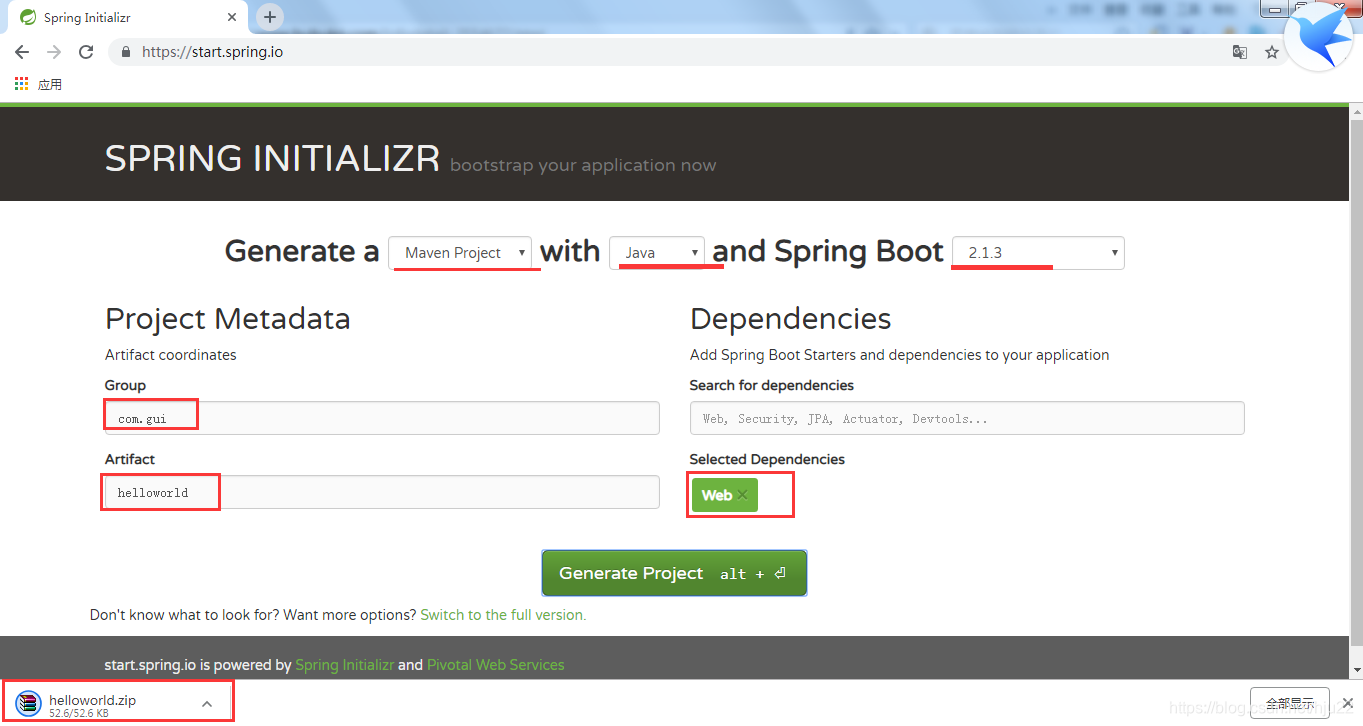
一、从 http://start.spring.io 生成maven项目
1、打开 http://start.spring.io
2、group(域名)填写com.gui
artifact(项目名)填写helloworld
selected dependencies(选择的依赖)选择web
点击generate project,生成项目
3、解压文件


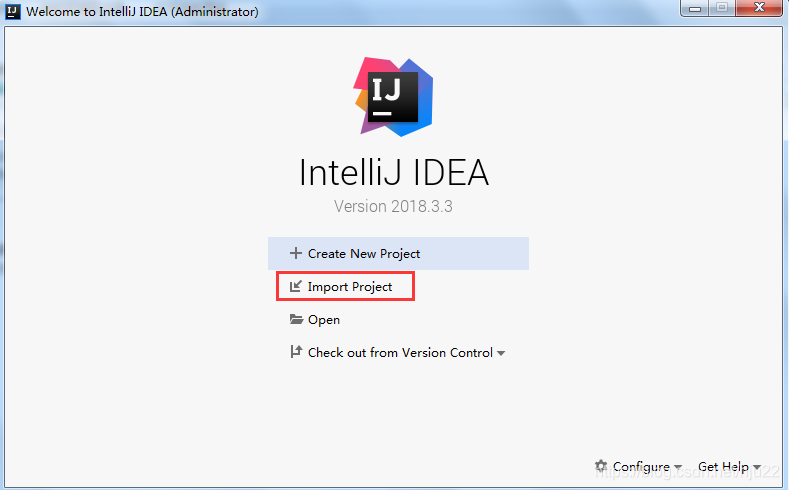
二、导入maven项目
1、点击import project
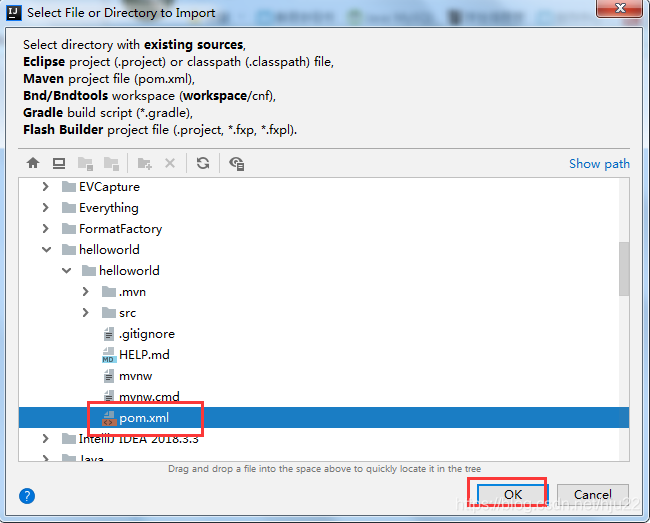
2、选择helloworld文件中的pom.xml,点击ok
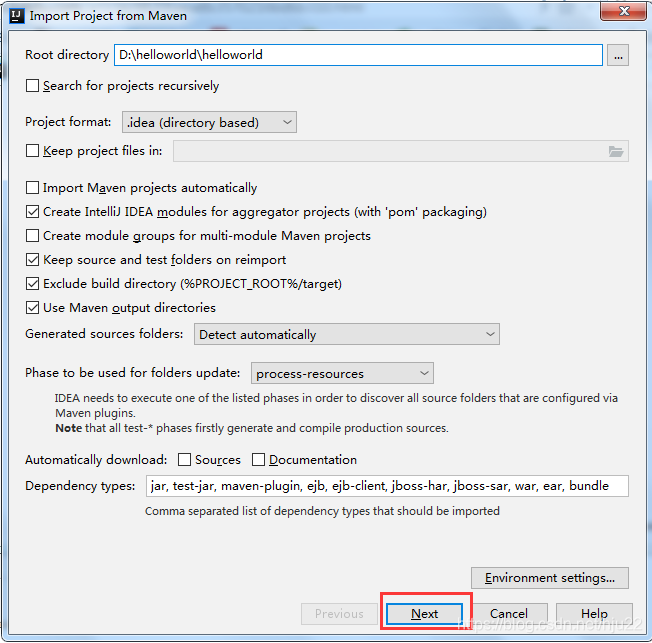
3、点击next
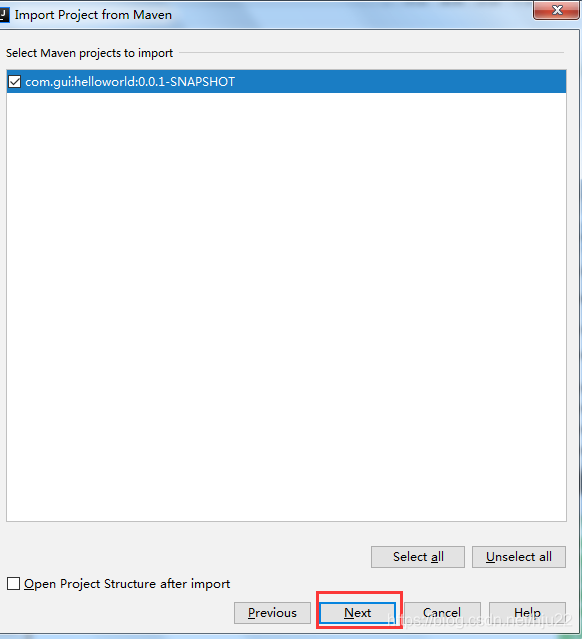
4、点击next
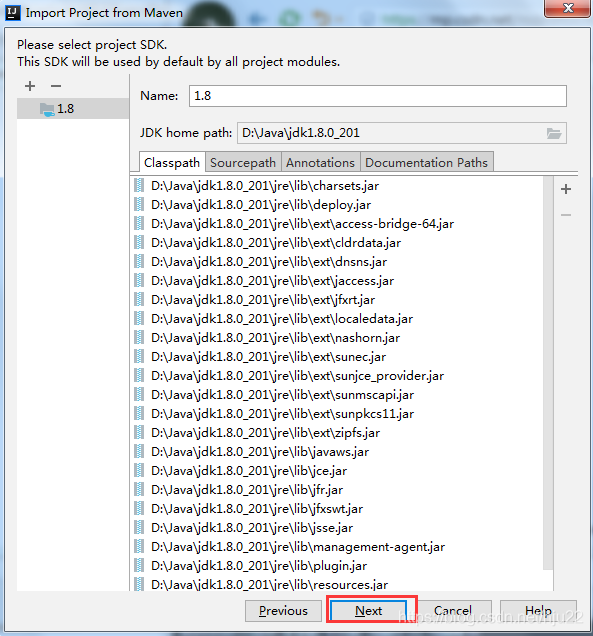
5、next
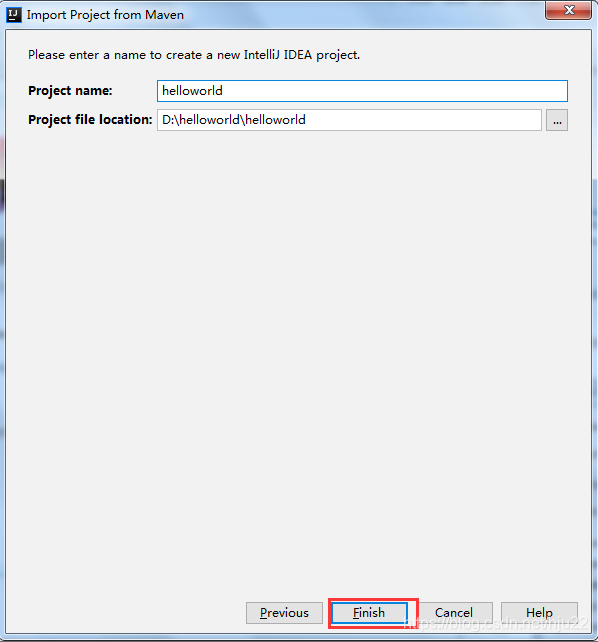
6、finish
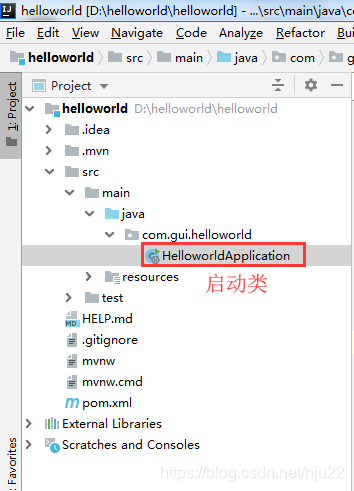
三、maven项目目录结构
查看目录结构,发现里面有一个类HelloworldApplication.java,里面有main方法,运行这个类,就能运行整个项目。

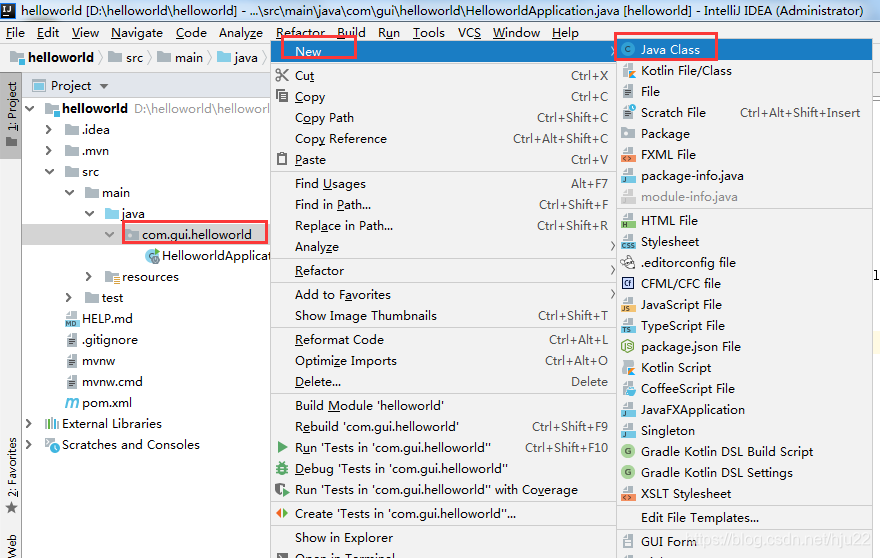
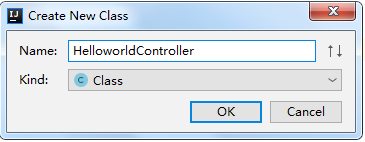
四、创建controller
1、在com.gui.helloworld下新建一个controller类,类名叫HelloworldController
2、HelloworldController.java
添加RestController注解;方法hello返回“Hello World!”
package com.gui.helloworld;

import org.springframework.web.bind.annotation.RequestMapping;
import org.springframework.web.bind.annotation.RestController;

@RestController
@RequestMapping("/mytest")
public class HelloworldController {
    @RequestMapping("/hello")
    public String hello(){
        return"Hello World!";
    }
}
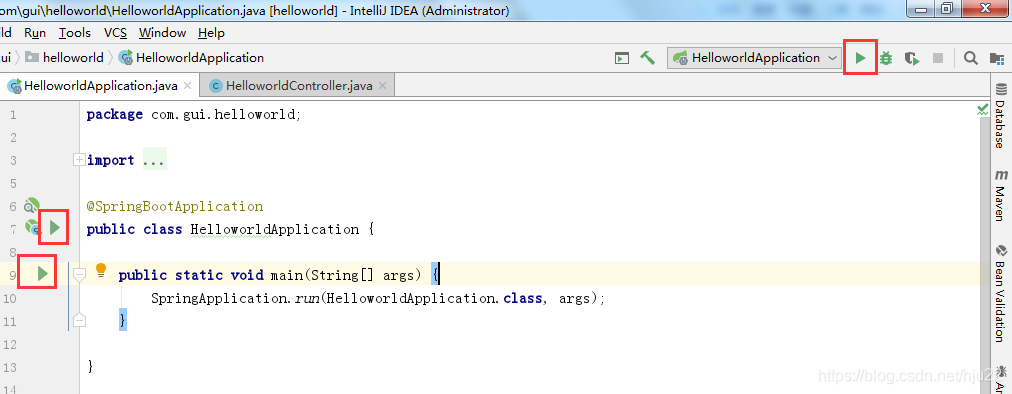
五、运行项目
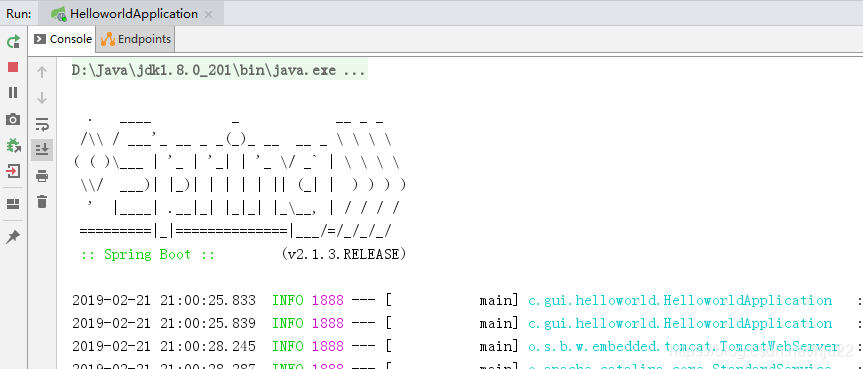
点击这三个绿色箭头,都能运行项目
项目运行中…
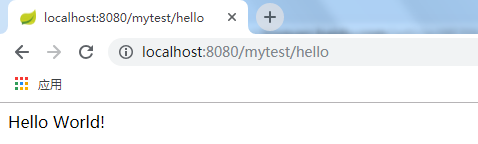
打开浏览器,访问:http://localhost:8080/mytest/hello
运行结果为:
这样就实现了一个简单的spring boot的web应用