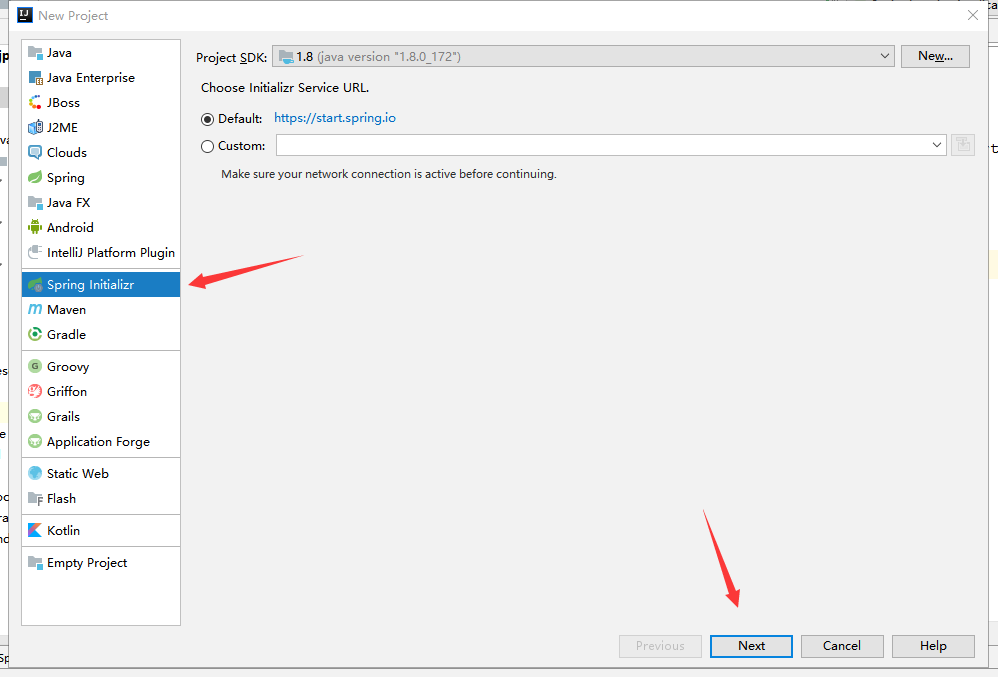
第一步快速搭建springboot项目:在你建立的工程下创建 Module 选择Spring initializr创建。
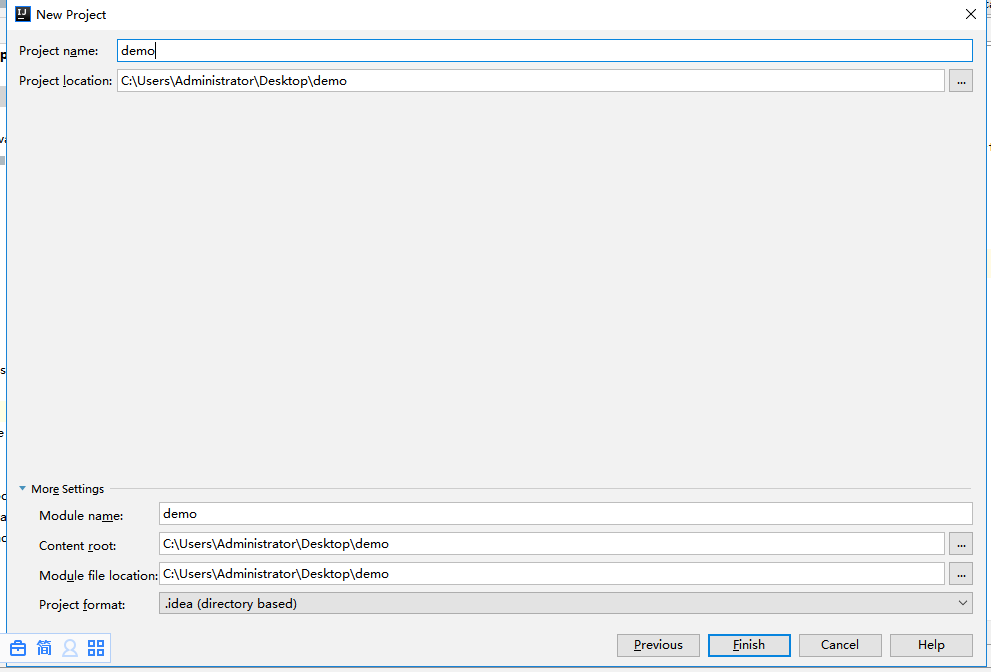
第二步:修改包名、项目名、web项目打成war包、在Type处选择: Maven Project(项目的构建工具)

第三步:选择你项目需要的基本依赖

第四步:结束
springboot项目的结构:
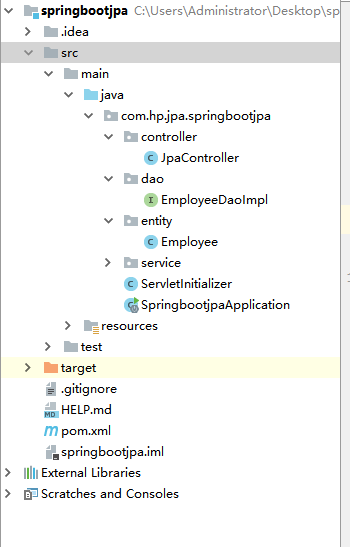
注意点:
1、.mvn文件、mvnw、mvnw.cmd可以删掉
2、程序启动类必须在所有接口类的上一层,才能被扫描到

配置数据库连接文件:(两种文件形式的:properties、yml)默认扫描:application开头的文件
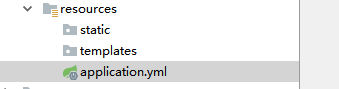
具体类容:yml文件形式
spring:
  datasource:
    driver-class-name: com.mysql.cj.jdbc.Driver
    url:  jdbc:mysql://localhost:3306/xxx?useSSL=true&verifyServerCertificate=false&useUnicode=true&characterEncoding=utf8&characterSetResults=utf8&serverTimezone=GMT%2B8
    username: xxx
    password: xxx
创建实体类:
@Entity    --需要导入jpa依赖包
@Table(name="employee")    ---指向数据库的表名
public class Employee {
    @Id            --表中的主键、自增长形式
    @GeneratedValue(strategy = GenerationType.IDENTITY)
    private Integer empNo;
    private String empName;
    private String empSex;
    private Integer empAge;
    private Double sal;
    private Date history;
    public Employee() {
    }

    public Employee(Integer empNo, String empName, String empSex, Integer empAge, Double sal, Date history) {
        this.empNo = empNo;
        this.empName = empName;
        this.empSex = empSex;
        this.empAge = empAge;
        this.sal = sal;
        this.history = history;
    }

    public Integer getEmpNo() {
        return empNo;
    }

    public void setEmpNo(Integer empNo) {
        this.empNo = empNo;
    }

    public String getEmpName() {
        return empName;
    }

    public void setEmpName(String empName) {
        this.empName = empName;
    }

    public String getEmpSex() {
        return empSex;
    }

    public void setEmpSex(String empSex) {
        this.empSex = empSex;
    }

    public Integer getEmpAge() {
        return empAge;
    }

    public void setEmpAge(Integer empAge) {
        this.empAge = empAge;
    }

    public Double getSal() {
        return sal;
    }

    public void setSal(Double sal) {
        this.sal = sal;
    }

    public Date getHistory() {
        return history;
    }

    public void setHistory(Date history) {
        this.history = history;
    }

    @Override
    public String toString() {
        return "Employee{" +
                "empNo=" + empNo +
                ", empName='" + empName + '\'' +
                ", empSex='" + empSex + '\'' +
                ", empAge=" + empAge +
                ", sal=" + sal +
                ", history=" + history +
                '}';
    }
}
数据层:直接继承JpaRepositoryAPI类
public interface EmployeeDaoImpl extends JpaRepository<Employee,Integer> {


}

注意此处省略service层、是为了测试小demo
控制层:
@RestController        ---rest分格
@RequestMapping("/jpa")   ----请求模块分层
public class JpaController {
    @Autowired         ----注入
    private EmployeeDaoImpl employeeDaoImpl;
    @RequestMapping(value = "/select",method = RequestMethod.GET)
    public List<Employee> selectUser(){//查
        return employeeDaoImpl.findAll();
    }
    @RequestMapping(value = "/add",method = RequestMethod.POST)
    public String addUser(Employee emp){//增
        Employee employee=new Employee();
        employee.setEmpName(emp.getEmpName());
        employee.setEmpAge(emp.getEmpAge());
        employee.setEmpSex(emp.getEmpSex());
        employee.setHistory(new Date());
        employee.setSal(emp.getSal());
        Employee employee1=employeeDaoImpl.save(employee);
        return employee1.toString();
    }
    @RequestMapping(value = "/delete",method = RequestMethod.DELETE)
    public void deleteUser(@RequestParam(value = "id")Integer id){//删
        employeeDaoImpl.deleteById(id);
    }
    @RequestMapping(value="/{id}" ,method=RequestMethod.GET)
    public Optional<Employee> getAccountById(@PathVariable("id") int id){
        return employeeDaoImpl.findById(id);
    }
    @RequestMapping(value = "/update",method = RequestMethod.PUT)
    public Employee updateUser(Employee emp){//修
       return employeeDaoImpl.save(emp);
    }

}
postman测试:CRUD

---不足之处,请多指教