准备材料:
Nexus下载地址:https://www.sonatype.com/download-oss-sonatype
IntelliJ IDEA下载地址:https://www.jetbrains.com/idea/download/
Maven配置:
settings.xml配置:(参考https://blog.csdn.net/u013631223/article/details/79082491)


  1 <?xml version="1.0" encoding="UTF-8" ?>
  2 <settings xmlns="http://maven.apache.org/SETTINGS/1.0.0"
  3           xmlns:xsi="http://www.w3.org/2001/XMLSchema-instance"
  4           xsi:schemaLocation="http://maven.apache.org/SETTINGS/1.0.0 http://maven.apache.org/xsd/settings-1.0.0.xsd">
  5
  6     <!--自定义本地仓库路径-->
  7     <localRepository>D:\Users\59403\repository</localRepository>
  8
  9     <!--Maven是否需要和用户交互以获得输入。如果Maven需要和用户交互以获得输入,则设置成true,反之则应为false。默认为true。 -->
 10     <interactiveMode>true</interactiveMode>
 11
 12     <!--Maven是否需要使用plugin-registry.xml文件来管理插件版本。  -->
 13     <!--如果设置为true,则在{user.home}/.m2下需要有一个plugin-registry.xml来对plugin的版本进行管理  -->
 14     <!--默认为false。 -->
 15     <usePluginRegistry>false</usePluginRegistry>
 16
 17     <!--表示Maven是否需要在离线模式下运行。如果构建系统需要在离线模式下运行,则为true,默认为false。  -->
 18     <!--当由于网络设置原因或者安全因素,构建服务器不能连接远程仓库的时候,该配置就十分有用。  -->
 19     <offline>false</offline>
 20
 21     <!--
 22     当插件的组织Id(groupId)没有显式提供时,供搜寻插件组织Id(groupId)的列表。
 23     该元素包含一个pluginGroup元素列表,每个子元素包含了一个组织Id(groupId)。
 24     当我们使用某个插件,并且没有在命令行为其提供组织Id(groupId)的时候,Maven就会使用该列表。
 25     默认情况下该列表包含了org.apache.maven.plugins。
 26     <pluginGroups>
 27         plugin的组织Id(groupId)
 28         <pluginGroup>org.codehaus.mojo</pluginGroup>
 29     </pluginGroups>
 30     -->
 31     <!--
 32     用来配置不同的代理,多代理profiles可以应对笔记本或移动设备的工作环境:通过简单的设置profile id就可以很容易的更换整个代理配置。
 33     <proxies>
 34         代理元素包含配置代理时需要的信息
 35         <proxy>
 36             代理的唯一定义符,用来区分不同的代理元素
 37             <id>myproxy</id>
 38             该代理是否是激活的那个。true则激活代理。当我们声明了一组代理,而某个时候只需要激活一个代理的时候,该元素就可以派上用处。
 39             <active>true</active>
 40             代理的协议。 协议://主机名:端口,分隔成离散的元素以方便配置。
 41             <protocol>http://…</protocol>
 42             代理的主机名。协议://主机名:端口,分隔成离散的元素以方便配置。
 43             <host>proxy.somewhere.com</host>
 44             代理的端口。协议://主机名:端口,分隔成离散的元素以方便配置。
 45             <port>8080</port>
 46             代理的用户名,用户名和密码表示代理服务器认证的登录名和密码。
 47             <username>proxyuser</username>
 48             代理的密码,用户名和密码表示代理服务器认证的登录名和密码。
 49             <password>somepassword</password>
 50             不该被代理的主机名列表。该列表的分隔符由代理服务器指定;例子中使用了竖线分隔符,使用逗号分隔也很常见。
 51             <nonProxyHosts>*.google.com|ibiblio.org</nonProxyHosts>
 52         </proxy>
 53     </proxies>
 54     -->
 55
 56     <!--配置服务端的一些设置。一些设置如安全证书不应该和pom.xml一起分发。这种类型的信息应该存在于构建服务器上的settings.xml文件中。 -->
 57     <servers>
 58         <server>
 59             <!--这是server的id(注意不是用户登陆的id),该id与distributionManagement中repository元素的id相匹配。 -->
 60             <id>nexus-releases</id>
 61             <!--鉴权用户名。鉴权用户名和鉴权密码表示服务器认证所需要的登录名和密码。  -->
 62             <username>admin</username>
 63             <!--鉴权密码 。鉴权用户名和鉴权密码表示服务器认证所需要的登录名和密码。  -->
 64             <password>admin123</password>
 65             <!--
 66             将来passphrase和password元素可能会被提取到外部,但目前它们必须在settings.xml文件以纯文本的形式声明。
 67             <privateKey>${usr.home}/.ssh/id_dsa</privateKey>
 68             鉴权时使用的私钥密码。
 69             <passphrase>some_passphrase</passphrase>
 70             文件被创建时的权限。如果在部署的时候会创建一个仓库文件或者目录,这时候就可以使用权限(permission)。
 71             这两个元素合法的值是一个三位数字,其对应了unix文件系统的权限,如664,或者775。
 72             <filePermissions>664</filePermissions>
 73             -->
 74         </server>
 75         <server>
 76             <id>nexus-snapshot</id>
 77             <username>admin</username>
 78             <password>admin123</password>
 79         </server>
 80     </servers>
 81
 82     <!--为仓库列表配置的下载镜像列表。  -->
 83     <mirrors>
 84         <!--给定仓库的下载镜像。  -->
 85         <mirror>
 86             <!--该镜像的唯一标识符。id用来区分不同的mirror元素。  -->
 87             <id>nexus</id>
 88             <!--镜像名称  -->
 89             <name>internal nexus repository</name>
 90             <!--该镜像的URL。构建系统会优先考虑使用该URL,而非使用默认的服务器URL。  -->
 91             <url>http://192.168.0.107:8081/repository/maven-public/</url>
 92             <!--被镜像的服务器的id。例如,如果我们要设置了一个Maven中央仓库(http://repo1.maven.org/maven2)的镜像,-->
 93             <!--就需要将该元素设置成central。这必须和中央仓库的id central完全一致。 -->
 94             <mirrorOf>*</mirrorOf>
 95         </mirror>
 96     </mirrors>
 97
 98     <profiles>
 99         <!--根据环境参数来调整的构件的配置 -->
100         <profile>
101             <!--该配置的唯一标识符。  -->
102             <id>nexus</id>
103             <!--远程仓库列表,它是Maven用来填充构建系统本地仓库所使用的一组远程项目。  -->
104             <repositories>
105                 <!--包含需要连接到远程仓库的信息  -->
106                 <repository>
107                     <!--远程仓库唯一标识 -->
108                     <id>my-nexus</id>
109                     <!--远程仓库名称  -->
110                     <name>Nexus</name>
111                     <!--远程仓库URL,按protocol://hostname/path形式  -->
112                     <url>http://192.168.0.107:8081/repository/maven-public/</url>
113                     <!--如何处理远程仓库里发布版本的下载 -->
114                     <releases>
115                         <!--true或者false表示该仓库是否为下载某种类型构件(发布版,快照版)开启。   -->
116                         <enabled>true</enabled>
117                     </releases>
118                     <!--如何处理远程仓库里快照版本的下载。有了releases和snapshots这两组配置,POM就可以在每个单独的仓库中,为每种类型的构件采取不同的策略。-->
119                     <!--例如,可能有人会决定只为开发目的开启对快照版本下载的支持。参见repositories/repository/releases元素 -->
120                     <snapshots>
121                         <enabled>true</enabled>
122                     </snapshots>
123                 </repository>
124             </repositories>
125         </profile>
126     </profiles>
127     <!--手动激活profiles的列表,按照profile被应用的顺序定义activeProfile。 该元素包含了一组activeProfile元素,每个activeProfile都含有一个profile id。-->
128     <!--任何在activeProfile中定义的profile id,不论环境设置如何,其对应的 profile都会被激活。-->
129     <!--如果没有匹配的profile,则什么都不会发生。例如,env-test是一个activeProfile,则在pom.xml(或者profile.xml)中对应id的profile会被激活。-->
130     <!--如果运行过程中找不到这样一个profile,Maven则会像往常一样运行。  -->
131     <activeProfiles>
132         <activeProfile>nexus</activeProfile>
133     </activeProfiles>
134 </settings>
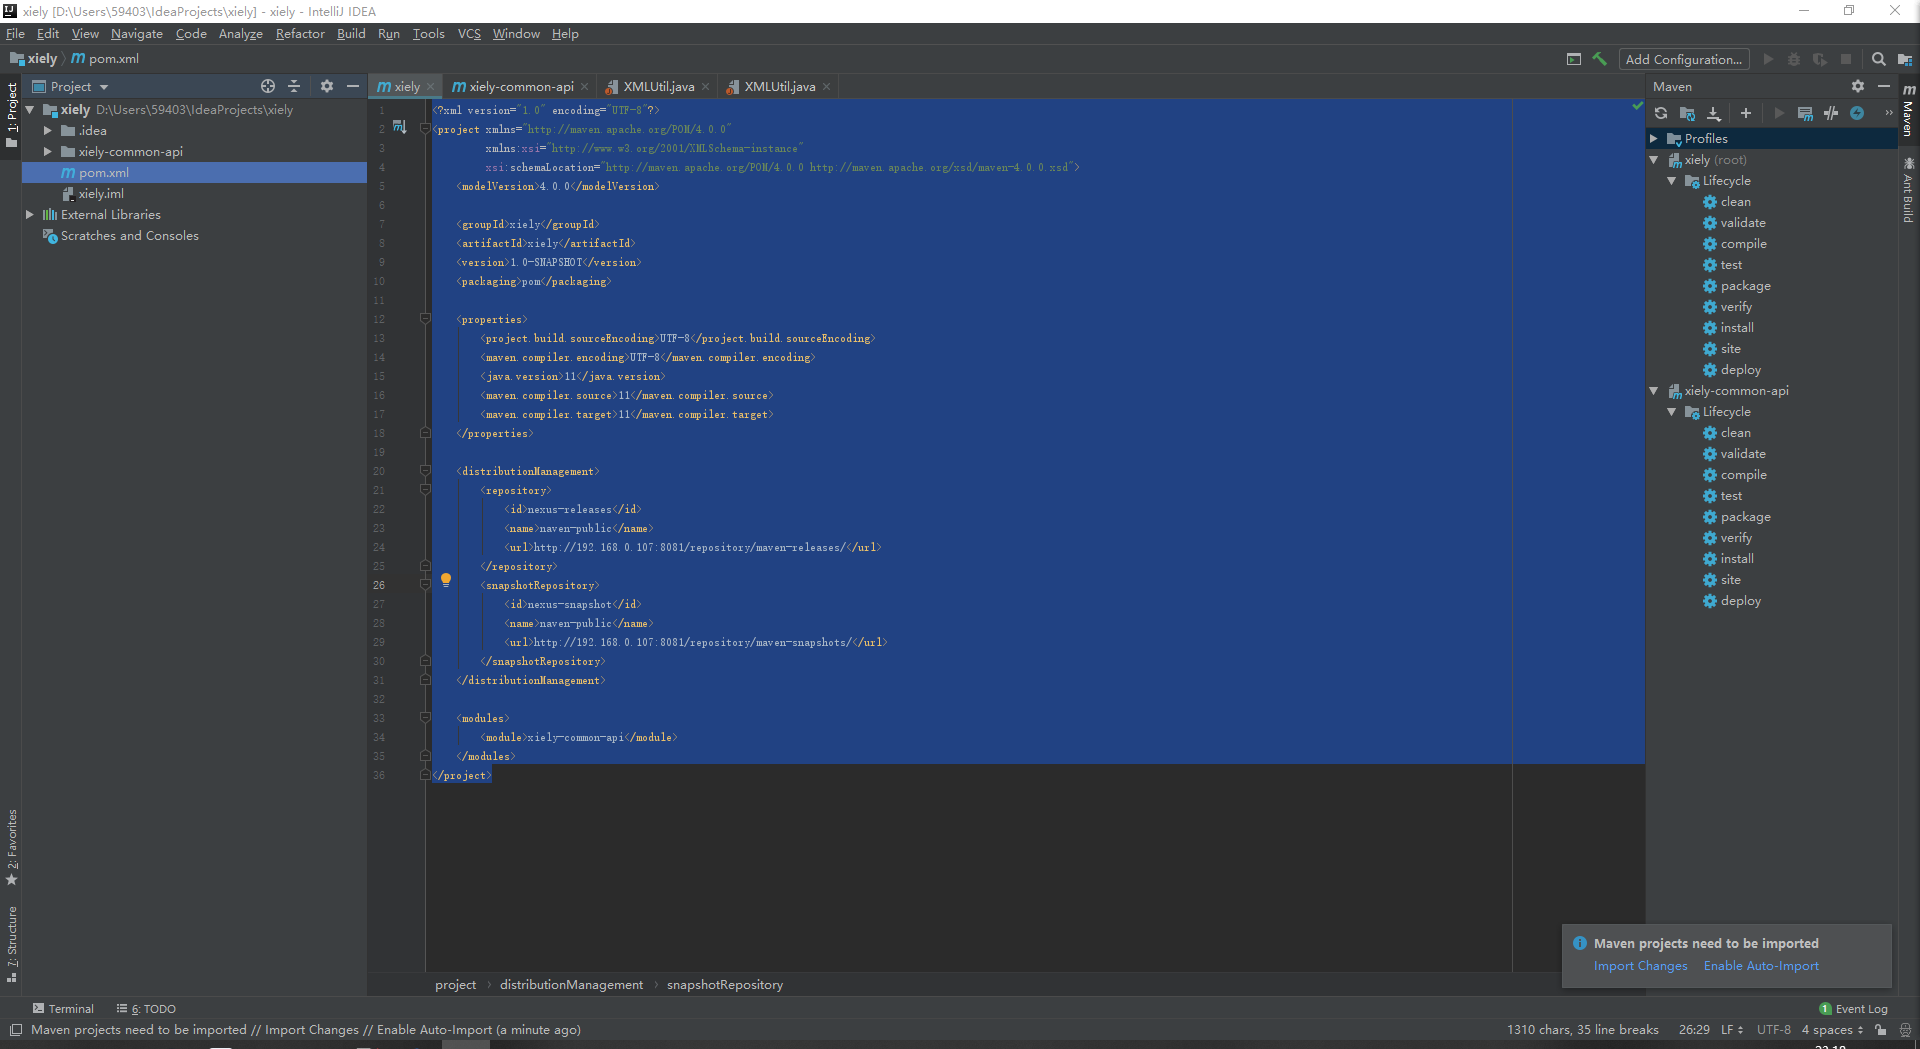
父pom.xml:
 1 <?xml version="1.0" encoding="UTF-8"?>
 2 <project xmlns="http://maven.apache.org/POM/4.0.0"
 3          xmlns:xsi="http://www.w3.org/2001/XMLSchema-instance"
 4          xsi:schemaLocation="http://maven.apache.org/POM/4.0.0 http://maven.apache.org/xsd/maven-4.0.0.xsd">
 5     <modelVersion>4.0.0</modelVersion>
 6
 7     <groupId>xiely</groupId>
 8     <artifactId>xiely</artifactId>
 9     <version>1.0-SNAPSHOT</version>
10     <packaging>pom</packaging>
11
12     <properties>
13         <project.build.sourceEncoding>UTF-8</project.build.sourceEncoding>
14         <maven.compiler.encoding>UTF-8</maven.compiler.encoding>
15         <java.version>11</java.version>
16         <maven.compiler.source>11</maven.compiler.source>
17         <maven.compiler.target>11</maven.compiler.target>
18     </properties>
19
20     <distributionManagement>
21         <repository>
22             <id>nexus-releases</id>
23             <name>naven-public</name>
24             <url>http://192.168.0.107:8081/repository/maven-releases/</url>
25         </repository>
26         <snapshotRepository>
27             <id>nexus-snapshot</id>
28             <name>naven-public</name>
29             <url>http://192.168.0.107:8081/repository/maven-snapshots/</url>
30         </snapshotRepository>
31     </distributionManagement>
32
33     <modules>
34         <module>xiely-common-api</module>
35     </modules>
36 </project>
子pom.xml:
 1 <?xml version="1.0" encoding="UTF-8"?>
 2 <project xmlns="http://maven.apache.org/POM/4.0.0"
 3          xmlns:xsi="http://www.w3.org/2001/XMLSchema-instance"
 4          xsi:schemaLocation="http://maven.apache.org/POM/4.0.0 http://maven.apache.org/xsd/maven-4.0.0.xsd">
 5     <modelVersion>4.0.0</modelVersion>
 6
 7     <parent>
 8         <groupId>xiely</groupId>
 9         <artifactId>xiely</artifactId>
10         <version>1.0-SNAPSHOT</version>
11     </parent>
12
13     <groupId>xiely-common-api</groupId>
14     <artifactId>xiely-common-api</artifactId>
15     <version>1.0-SNAPSHOT</version>
16     <packaging>jar</packaging>
17     <name>xiely-common-api</name>
18
19     <dependencies>
20         <dependency>
21             <groupId>junit.4.10</groupId>
22             <artifactId>junit.4.10</artifactId>
23             <version>4.10</version>
24         </dependency>
25         <dependency>
26             <groupId>jaxb-api.2.2.7</groupId>
27             <artifactId>jaxb-api.2.2.7</artifactId>
28             <version>2.2.7</version>
29         </dependency>
30         <dependency>
31             <groupId>lombok.1.18.6</groupId>
32             <artifactId>lombok.1.18.6</artifactId>
33             <version>1.18.6</version>
34         </dependency>
35     </dependencies>
36 </project>
启动Nexus:
win+r;D:\Nexus\nexus-3.15.2-01\bin>nexus.exe/run(可配置环境变量简化运行,配置方式如jdk)
D:\Nexus\nexus-3.15.2-01\bin>nexus.exe/run
如图为启动成功:

登陆maven库,浏览器输入:http://{本机ip}:8081/
默认账号:admin/admin123
上传jar包:

创建Maven工程:

填写一些id后,Next就可以了。
配置父pom.xml:
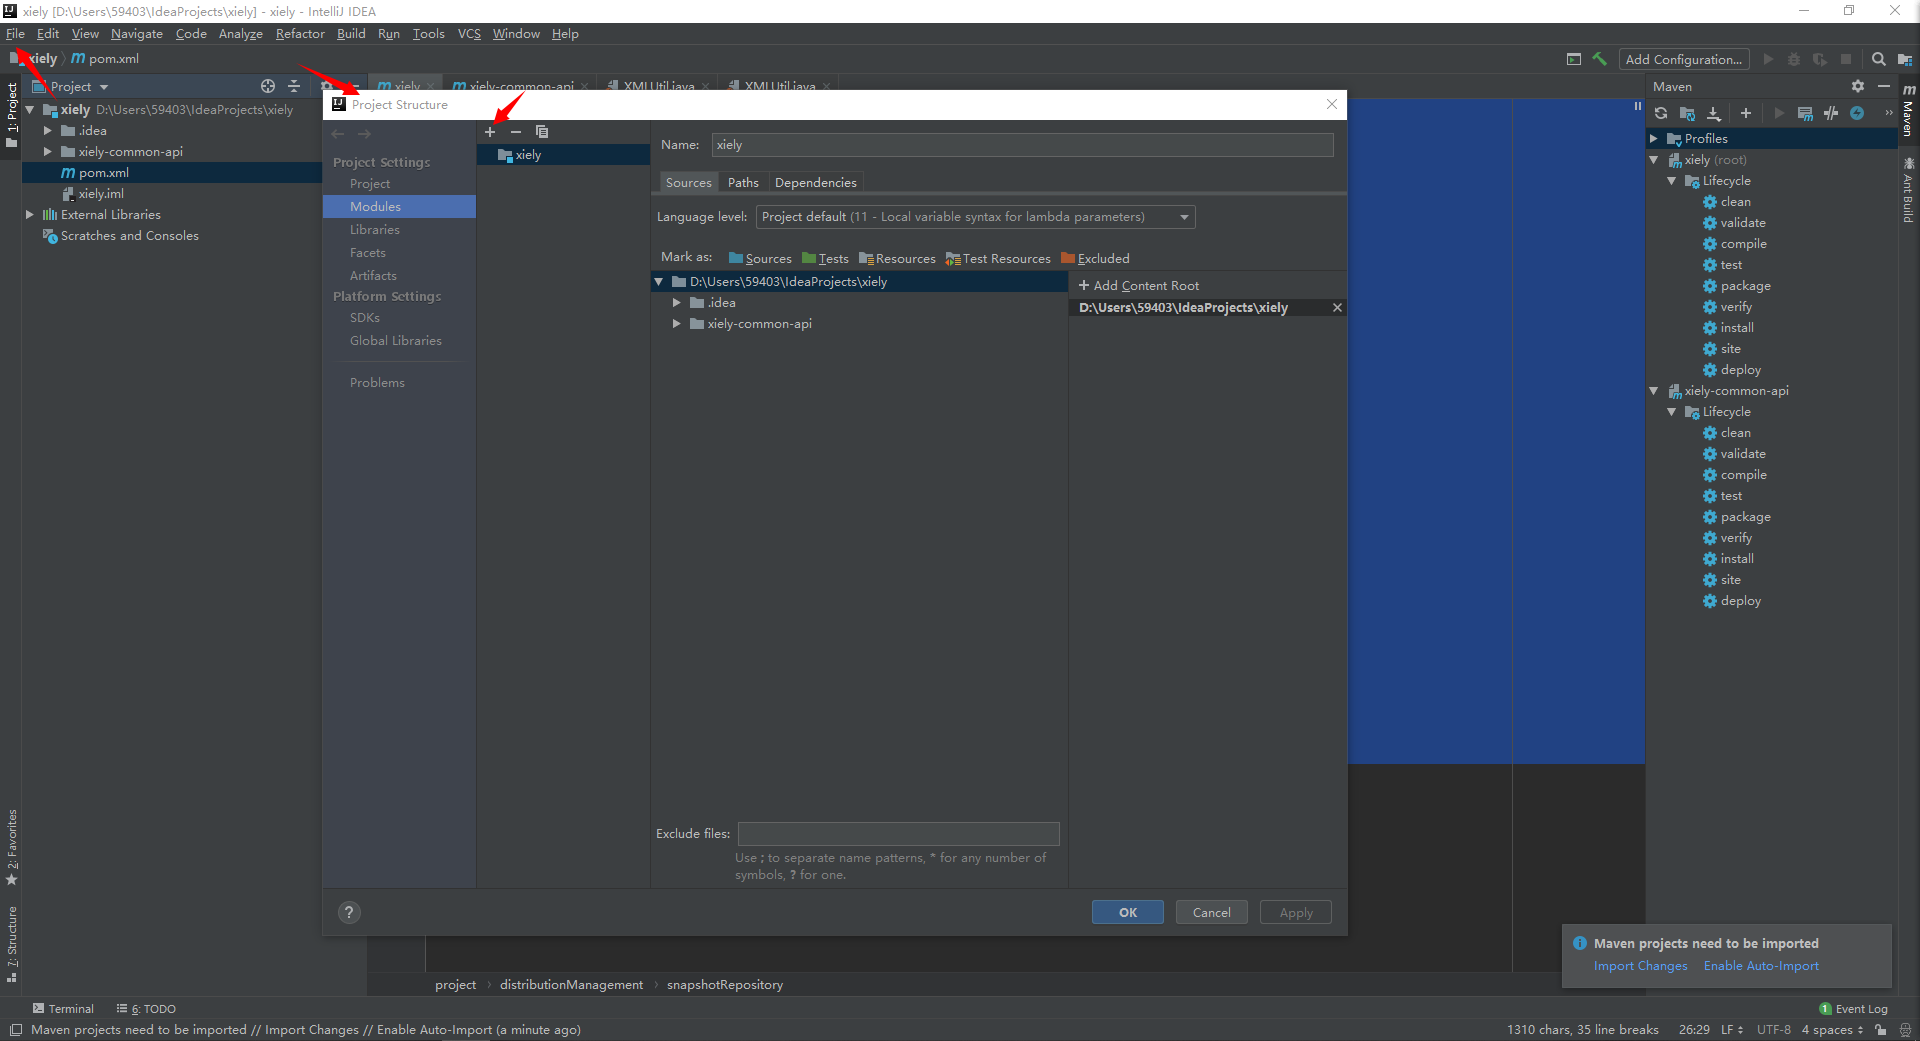
创建子模块:
File->Project Structure->+添加子模块,然后配置子模块的pom.xml