内容回顾:


补充反向解析
Html:{% url ‘别名’ 参数 %}

Views:reverse(‘别名’,args=(参数,))

模板渲染

变量  {{ 变量名 }}
逻辑相关 {% %}

过滤器:
{{ 变量|过滤器方法:’参数’ }}

标签:
{% for i in list%}   for k,v in dict.items
{{ i }}
{% endfor %}

{% if 条件 %}

{%elif%}

{%else%}

{% endif %}

据点符 . 可以做深度查询

{% with 变量名=变量.属性.属性.. %}
{% with 变量.属性.属性..  as 变量名%}


{% endwith %}

母板继承
先写一个母板,大家共用的地方
母板预留钩子:
{% block ‘名字’ %}

母板里面的可以被替换的内容
{%Endblock 名字%}


再写子页面

子页面里面第一行  {% extends ‘母板名称’ %}
{% block ‘名字’ %}
{{ block.super }}
子页面的内容

{%Endblock 名字%}

Csrf_token :

{% csrf_token %}
1.模板渲染组件
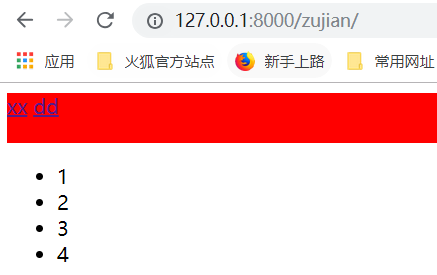
可以将常用的页面内容如导航条,页尾信息等组件保存在单独的文件中,然后在需要使用的地方,文件的任意位置按如下语法导入即可。
{% include 'navbar.html' %}
例如:有个如下的导航栏,nav.html
<!DOCTYPE html>
<html lang="en">
<head>
    <meta charset="UTF-8">
    <title>Title</title>
    <style>
        .c1{
            background-color: red;
            height: 40px;
        }
    </style>
</head>
<body>

<div class="c1">
    <div>
        <a href="">xx</a>
        <a href="">dd</a>
    </div>
</div>

</body>
</html>
嵌入导航栏的页面,test.html
<!DOCTYPE html>
<html lang="en">
<head>
    <meta charset="UTF-8">
    <title>Title</title>
</head>
<body>
{% include 'nav.html' %}
<h1>xxxxxxxxxx</h1>
</body>
</html>
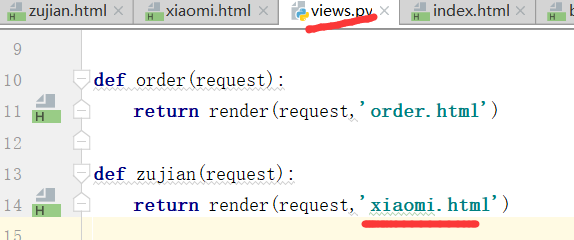

from django.conf.urls import url
from django.contrib import admin
from app01 import views
urlpatterns = [
    # url(r'^admin/', admin.site.urls),
    url(r'^index/', views.index),
    url(r'^user/', views.user),
    url(r'^order/', views.order),
    url(r'^zujian/', views.zujian),
]
from django.shortcuts import render

# Create your views here.
def index(request):
    return render(request,'index.html')

def user(request):
    return render(request,'usercenter.html')

def order(request):
    return render(request,'order.html')

def zujian(request):
    return render(request,'xiaomi.html')
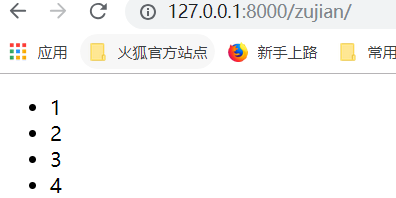
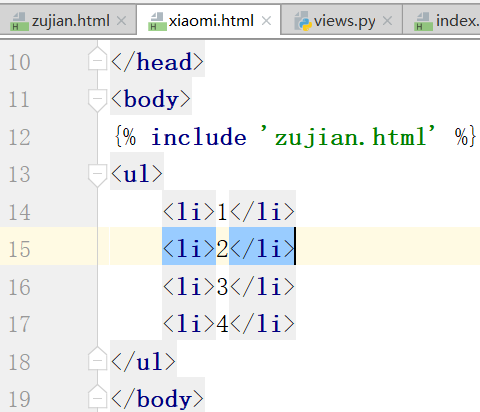
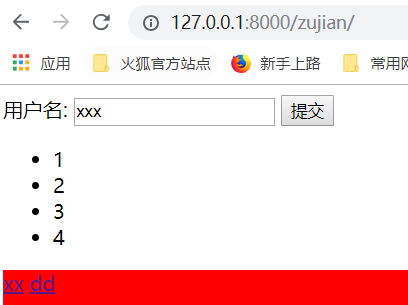
<!DOCTYPE html>
<html lang="zh-CN">
<head>
    <meta http-equiv="content-Type" charset="UTF-8">
    <meta http-equiv="x-ua-compatible" content="IE=edge">
    <meta name="viewport" content="width=device-width" ,initial-scale="1">
    <!--上边这个表示手机版的调整尺寸-->
    <!--上述2个meta标签"必须"放在最前面,任何其他内容都必须跟随其后-->
    <title>Title</title>
</head>
<body>
{% include 'zujian.html' %}
<ul>
    <li>1</li>
    <li>2</li>
    <li>3</li>
    <li>4</li>
</ul>
</body>
</html>
<!DOCTYPE html>
<html lang="en">
<head>
    <meta charset="UTF-8">
    <title>Title</title>
    <style>
        .c1{
            background-color: red;
            height: 40px;
        }
    </style>
</head>
<body>

<div class="c1">
    <div>
        <a href="">xx</a>
        <a href="">dd</a>
    </div>
</div>

</body>
</html>
根据位置进行引入.
2.CBV和FBV=>dispatch方法
开发的两种模式:
FBV:(function base views)就是在视图里使用函数处理请求
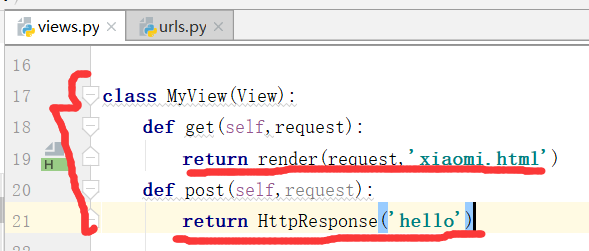
CBV:(class base views) 就是在视图里使用类处理请求
Python是一个面向对象的编程语言,如果只用函数来开发,有很多面向对象的优点就错失了(继承、封装、多态)。所以Django在后来加入了Class-Based-View。可以让我们用类写View。这样做的优点主要下面两种:
- 提高了代码的复用性,可以使用面向对象的技术,比如Mixin(多继承)
- 可以用不同的函数针对不同的HTTP方法处理,而不是通过很多if判断,提高代码可读性
平时我们写的是FBV,下面我们说一下基于类的视图
首先导入模块,才能让django找到对应的方法:
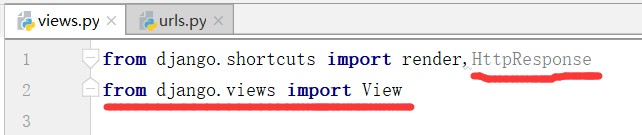
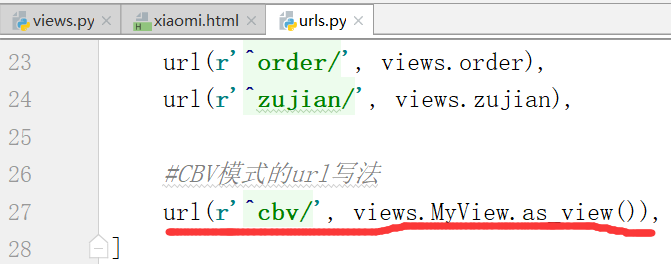
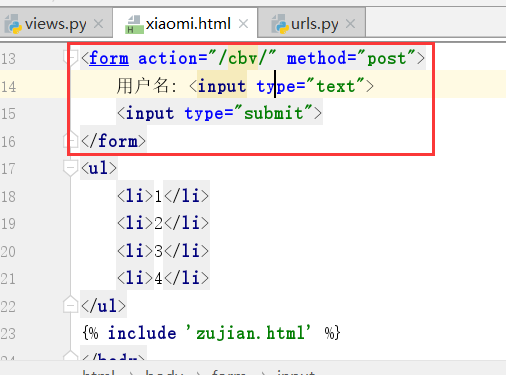
CBV模式的url写法:
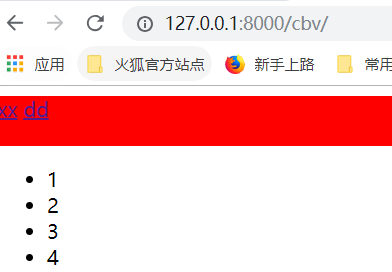
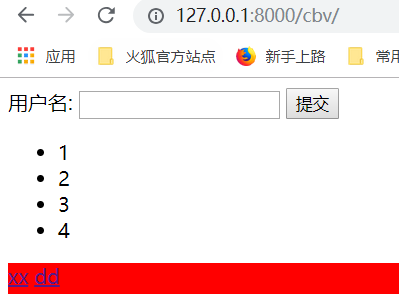
运行,得到结果:
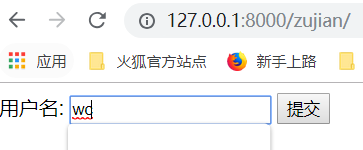
刷新,拿到表单
输入用户名,提交
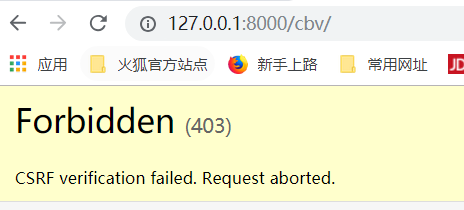
应该在form表单输入:
{% csrf_token %}
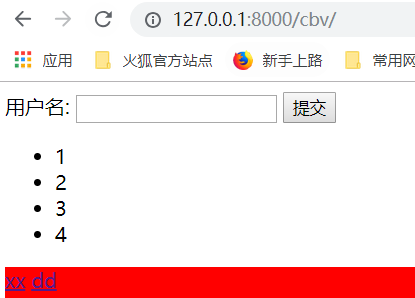
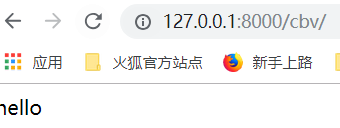
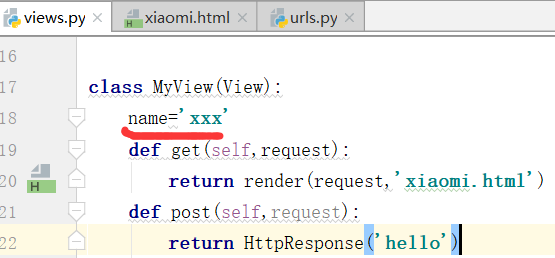
再次提交得到如上结果,这就是cbv,可拓展性强,fbv写起来更简单一些,
get和post接收的参数,要进行对应.
注意:urls.py里边有name

view.py必须有name属性
FBV版的装饰器
def wrapper(func):
    def inner(*args, **kwargs):
        start_time = time.time()
        ret = func(*args, **kwargs)
        end_time = time.time()
        print("used:", end_time-start_time)
        return ret
    return inner


# FBV版添加班级
@wrapper
def add_class(request):
    if request.method == "POST":
        class_name = request.POST.get("class_name")
        models.Classes.objects.create(name=class_name)
        return redirect("/class_list/")
    return render(request, "add_class.html")
装饰器表达
装饰器的本质:一个闭包函数
装饰器的功能:在不修改原函数及其调用方式的情况下对原函数功能进行扩展
CBV版的装饰器
from django.views import View
from django.utils.decorators import method_decorator

class AddClass(View):

    @method_decorator(wrapper)
    def get(self, request):
        return render(request, "add_class.html")

    def post(self, request):
        class_name = request.POST.get("class_name")
        models.Classes.objects.create(name=class_name)
        return redirect("/class_list/")
扩展:
# 使用CBV时要注意,请求过来后会先执行dispatch()这个方法,如果需要批量对具体的请求处理方法,
如get,post等做一些操作的时候,
这里我们可以手动改写dispatch方法,这个dispatch方法就和在FBV上加装饰器的效果一样。

class Login(View):

    def dispatch(self, request, *args, **kwargs):
        print('before')
        obj = super(Login,self).dispatch(request, *args, **kwargs)
        print('after')
        return obj

    def get(self,request):
        return render(request,'login.html')

    def post(self,request):
        print(request.POST.get('user'))
        return HttpResponse('Login.post')
3.input标签值补充
从数据库调用各种参数,进行页面的处理,怎样通过django处理数据库
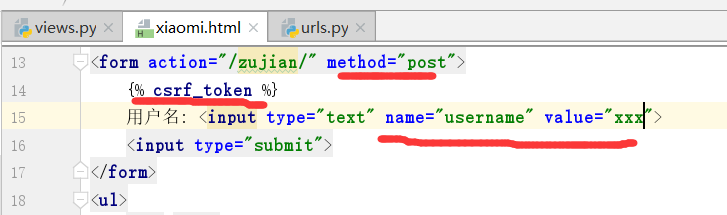
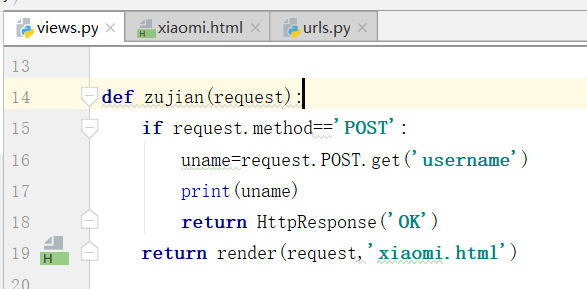

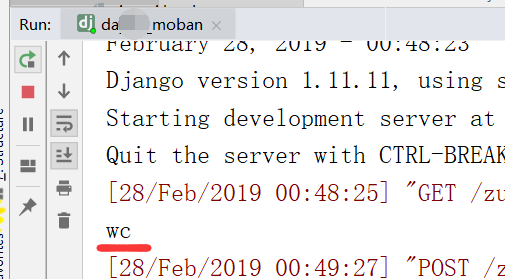
最终得到的结果是,用户输入的名字
<!DOCTYPE html>
<html lang="zh-CN">
<head>
    <meta http-equiv="content-Type" charset="UTF-8">
    <meta http-equiv="x-ua-compatible" content="IE=edge">
    <meta name="viewport" content="width=device-width" ,initial-scale="1">
    <!--上边这个表示手机版的调整尺寸-->
    <!--上述2个meta标签"必须"放在最前面,任何其他内容都必须跟随其后-->
    <title>Title</title>
</head>
<body>

<form action="/zujian/" method="post">
    {% csrf_token %}
    用户名: <input type="text" name="username" value="xxx">
    <input type="submit">
</form>
<ul>
    <li>1</li>
    <li>2</li>
    <li>3</li>
    <li>4</li>
</ul>
{% include 'zujian.html' %}
</body>
</html>
"""day53_moban URL Configuration

The `urlpatterns` list routes URLs to views. For more information please see:
    https://docs.djangoproject.com/en/1.11/topics/http/urls/
Examples:
Function views
    1. Add an import:  from my_app import views
    2. Add a URL to urlpatterns:  url(r'^$', views.home, name='home')
Class-based views
    1. Add an import:  from other_app.views import Home
    2. Add a URL to urlpatterns:  url(r'^$', Home.as_view(), name='home')
Including another URLconf
    1. Import the include() function: from django.conf.urls import url, include
    2. Add a URL to urlpatterns:  url(r'^blog/', include('blog.urls'))
"""
from django.conf.urls import url
from django.contrib import admin
from app01 import views
urlpatterns = [
    # url(r'^admin/', admin.site.urls),
    url(r'^index/', views.index),
    url(r'^user/', views.user),
    url(r'^order/', views.order),
    url(r'^zujian/', views.zujian),

    #CBV模式的url写法
    url(r'^cbv/', views.MyView.as_view(name='sss')),
]
from django.shortcuts import render,HttpResponse
from django.views import View

# Create your views here.
def index(request):
    return render(request,'index.html')

def user(request):
    return render(request,'usercenter.html')

def order(request):
    return render(request,'order.html')

def zujian(request):
    if request.method=='POST':
        uname=request.POST.get('username')
        print(uname)
        return HttpResponse('OK')
    return render(request,'xiaomi.html')

class MyView(View):
    name='xxx'
    def get(self,request):
        return render(request,'xiaomi.html')
    def post(self,request):
        return HttpResponse('hello')
4.ORM创建表
怎样通过数据库调用各种参数?
5.pycharm连接mysql
6.图书管理系统增加和查询
7.图书管理系统删除和更改操作的ORM演示