Image
一个用于显示多种不同类型图片的React组件,包括网络图片、静态资源、临时的本地图片、以及本地磁盘上的图片(如相册)等,使用方式如下:
return (
    <View>
      <Image
        style={styles.icon}
        source={require('./icon.png')}
      />
      <Image
        style={styles.logo}
        source={{uri: 'http://facebook.github.io/react/img/logo_og.png'}}
      />
    </View>
  );
属性
source {uri: string}, number
uri是一个表示图片的资源标识的字符串,它可以是一个http地址或是一个本地文件路径(使用require(相对路径)来引用)。
style style
- Flexbox… 布局
- width 设置图片的宽度
- height 设置图片的高度
- Shadow… 阴影
- Transforms… 动画变换
- backfaceVisibility ReactPropTypes.oneOf([‘visible’, ‘hidden’]) 隐藏被旋转的图片的背面
- resizeMode Object.keys(ImageResizeMode) 下方会有介绍
- backgroundColor color 设置背景色(有些图片是透明背景时,一般会用到这个属性)
- borderBottomLeftRadius ReactPropTypes.number 设置图片左下角的圆角
- borderBottomRightRadius ReactPropTypes.number 设置 图片右下角的圆角
- borderColor color 设置边框的颜色
- borderRadius number 设置圆角
- borderTopLeftRadius ReactPropTypes.number 设置图片左上角的圆角
- borderTopRightRadius ReactPropTypes.number 设置图片右上角的圆角
- borderWidth number 设置图片的边框宽度
- overflow enum(‘visible’, ‘hidden’) 设置图片尺寸超过容器可以设置显示或隐藏
- tintColor color 给图片着色,这个属性用处较多,如,一个黑白图片,常常会点击时变成其他颜色图片,此时可用此属性
- opacity number 不透明度,值在0到1之间,1表示不透明,0表示透明。
- androidoverlayColor ReactPropTypes.string
当图片有圆角的时候,指定一个颜色用于填充圆角处的空白。虽然一般情况下圆角处是透明的,但在某些情况下,Android并不支持圆角透明,比如:
某些resize模式比如’contain’
GIF动画
常见的用法就是在不能圆角透明时,设置overlayColor和背景色一致。
详细说明可参考 http://frescolib.org/docs/rounded-corners-and-circles.html
onLayout function
当元素挂载或者布局改变的时候调用,参数为:{nativeEvent: {layout: {x, y, width, height}}}.
onLoad function
加载成功完成时调用此回调函数。
onLoadEnd function
加载结束后,不论成功还是失败,调用此回调函数。
onLoadStart function
加载开始时调用。
resizeMode enum(‘cover’, ‘contain’, ‘stretch’, ‘repeat’, ‘center’)
决定当组件尺寸和图片尺寸不成比例的时候如何调整图片的大小。
- cover: 在保持图片宽高比的前提下缩放图片,直到宽度和高度都大于等于容器视图的尺寸(如果容器有padding内衬的话,则相应减去)。译注:这样图片完全覆盖甚至超出容器,容器中不留任何空白。
- contain: 在保持图片宽高比的前提下缩放图片,直到宽度和高度都小于等于容器视图的尺寸(如果容器有padding内衬的话,则相应减去)。译注:这样图片完全被包裹在容器中,容器中可能留有空白
- stretch: 拉伸图片且不维持宽高比,直到宽高都刚好填满容器。
- repeat: 重复平铺图片直到填满容器。图片会维持原始尺寸。仅iOS可用。
- center: 居中不拉伸。 下方是例子:
import React, { Component } from 'react';
import {
AppRegistry,
StyleSheet,
Text,
View,
Dimensions,
Image
} from 'react-native';
export default class FengApp extends Component {
render() {
return (
<View style={styles.container}>
<Text style={styles.welcome}>
Welcome to React Native!
</Text>
<Text style={styles.instructions}>
图片的填充效果
</Text>
<Image
style={styles.icon}
source={require('./imgs/dg.jpg')}
/>
</View>
);
}
}
const styles = StyleSheet.create({
container: {
flex: 1,
justifyContent: 'center',
alignItems: 'center',
backgroundColor: '#F5FCFF',
},
welcome: {
fontSize: 20,
textAlign: 'center',
margin: 10,
},
instructions: {
textAlign: 'center',
color: '#333333',
marginBottom: 5,
},
icon:{
backgroundColor:'red',
width:Dimensions.get('window').width,
height:200,
// resizeMode:'cover',
// resizeMode:'contain',
// resizeMode:'stretch',
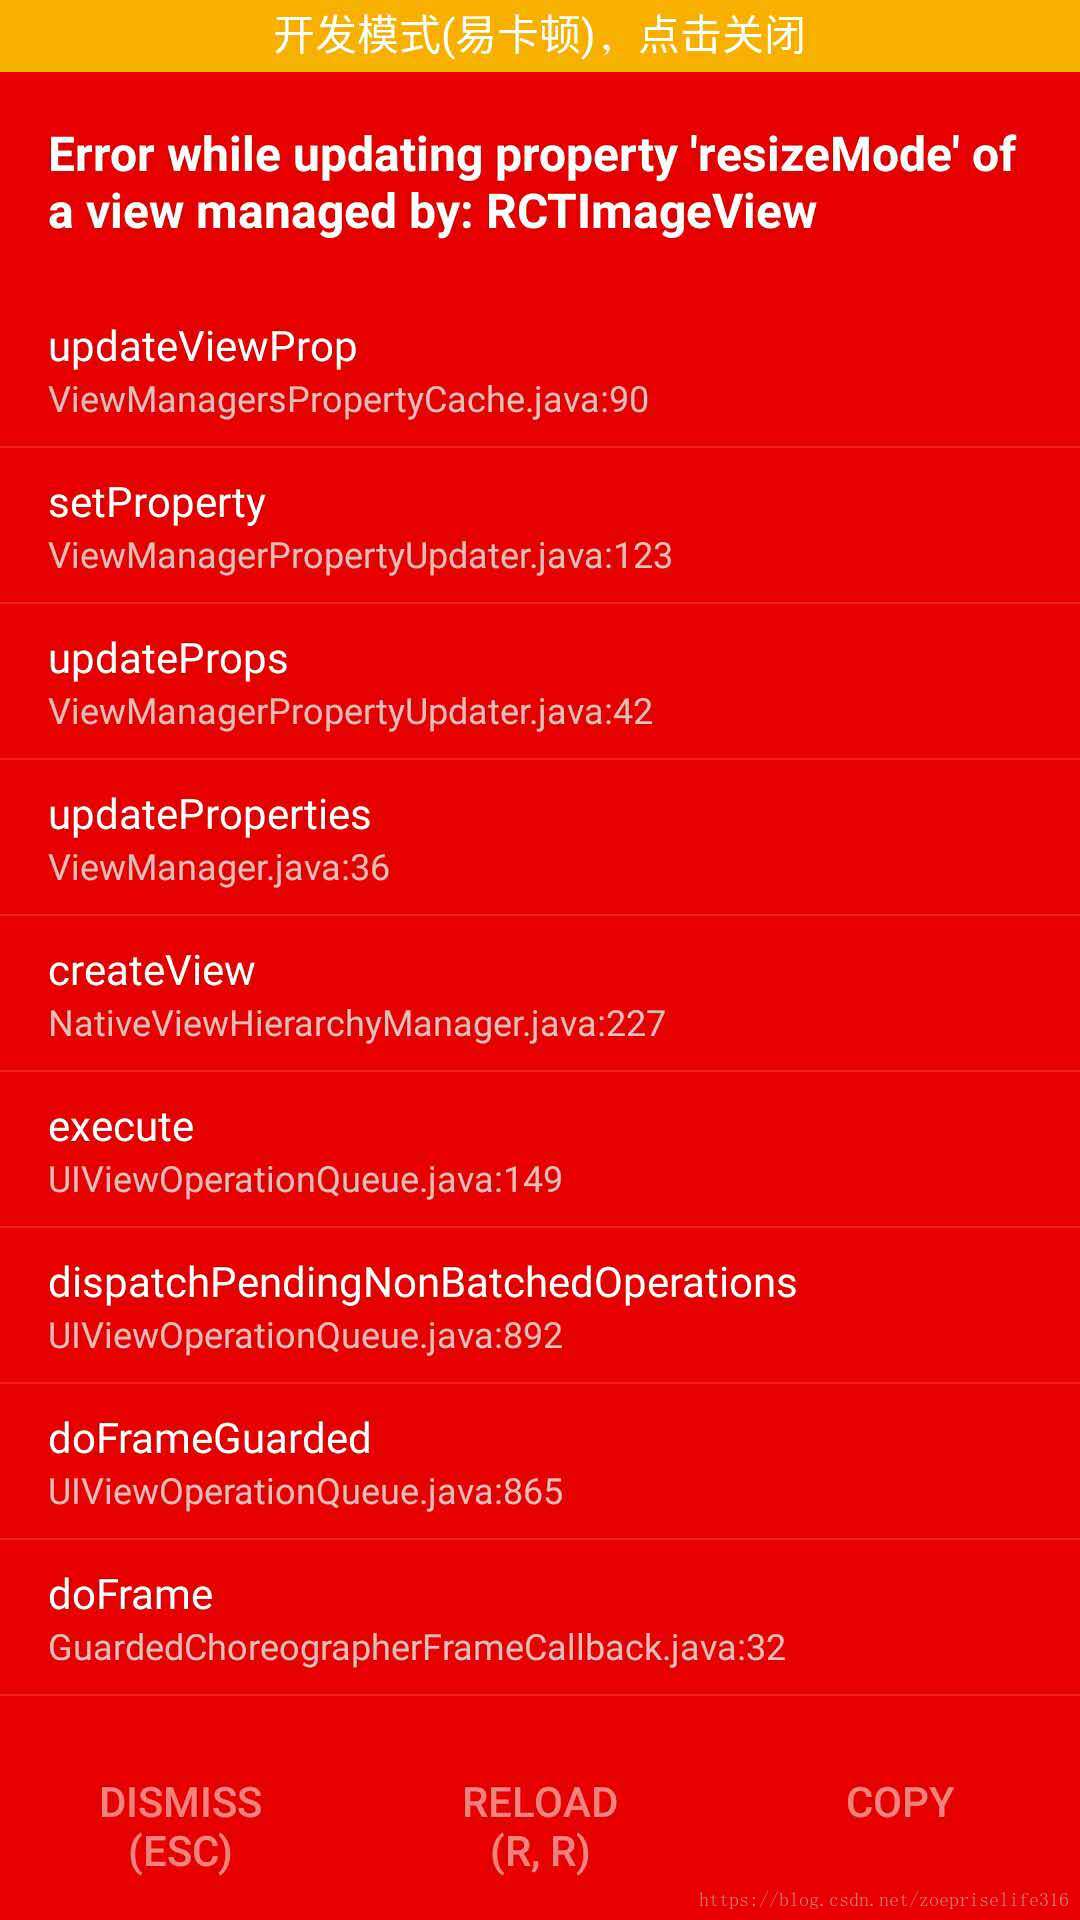
// resizeMode:'repeat', //ios可用,Android会报错
resizeMode:'center',
},
});
AppRegistry.registerComponent('FengApp', () => FengApp);
这是repeat的,我的是安卓手机,所以会报错
cover:( 默认):图片居中显示且不拉伸图片,超出的部分剪裁掉

contain:容器完全容纳图片,图片等比例进行拉伸

stretch: 图片被拉伸至与容器大小一致,可能会发生变形

center:

在实际的开发中,我们经常将图片作为背景,然后再其上面添加其他组件以丰富项目内容,让项目更美观,那在React Native中,
用<Image style={{backgroundColor:'red',justifyContent:'center',width:Dimensions.get('window').width, height:200, resizeMode:'cover',}} source={require('./imgs/dg.jpg')}> <Text style={{textAlign: 'center', color: '#333',fontSize:25, marginBottom: 5,}}> 图片的填充效果</Text> </Image>,使用<Image></Image>双标签就可以做到。
效果是这样的:

方法
static getSize(uri: string, success: (width: number, height: number) => void, failure: (error: any) => void) #
在显示图片前获取图片的宽高(以像素为单位)。如果图片地址不正确或下载失败,此方法也会失败。
要获取图片的尺寸,首先需要加载或下载图片(同时会被缓存起来)。这意味着理论上你可以用这个方法来预加载图片,虽然此方法并没有针对这一用法进行优化,而且将来可能会换一些实现方案使得并不需要完整下载图片即可获取尺寸。所以更好的预加载方案是使用下面那个专门的预加载方法。
static prefetch(url: string) #
预加载一个远程图片(将其下载到本地磁盘缓存)。
在官网告诉我们一个点那就是,在Android上支持GIF和WebP格式图片的方法如下:
默认情况下Android是不支持GIF和WebP格式的。你需要在android/app/build.gradle文件中根据需要手动添加以下模块:
dependencies {
// 如果你需要支持Android4.0(API level 14)之前的版本
compile ‘com.facebook.fresco:animated-base-support:0.11.0’
// 如果你需要支持GIF动图
compile ‘com.facebook.fresco:animated-gif:0.11.0’
// 如果你需要支持WebP格式,包括WebP动图
compile ‘com.facebook.fresco:animated-webp:0.11.0’
compile ‘com.facebook.fresco:webpsupport:0.11.0’
// 如果只需要支持WebP格式而不需要动图
compile ‘com.facebook.fresco:webpsupport:0.11.0’
}
如果你在使用GIF的同时还使用了ProGuard,那么需要在proguard-rules.pro中添加如下规则 :
-keep class com.facebook.imagepipeline.animated.factory.AnimatedFactoryImpl {
public AnimatedFactoryImpl(com.facebook.imagepipeline.bitmaps.PlatformBitmapFactory, com.facebook.imagepipeline.core.ExecutorSupplier);
}
Image组件就写到这里,如果有写的有问题的或者不清楚的,请留下宝贵意见,记录下学习进程,喜欢的话可以关注点赞,给前行的小白加个油!谢谢!