版权声明:本文为博主原创文章,未经博主允许不得转载。 https://blog.csdn.net/ouyang111222/article/details/87862194
这个年代不学习spring boot已经落伍了,今天搭建了一下springboot demo,记录一下!
1. 本地搭建与测试
1.1 构建项目
IDEA 构建一个普通maven工程
1.2 配置pom.xml
<parent>
        <groupId>org.springframework.boot</groupId>
        <artifactId>spring-boot-starter-parent</artifactId>
        <version>2.0.2.RELEASE</version>
        <relativePath/>
    </parent>

    <properties>
        <project.build.sourceEncoding>UTF-8</project.build.sourceEncoding>
        <project.reporting.outputEncoding>UTF-8</project.reporting.outputEncoding>
    </properties>

    <dependencies>
        <dependency>
            <groupId>org.springframework.boot</groupId>
            <artifactId>spring-boot-starter-web</artifactId>
        </dependency>

        <dependency>
            <groupId>org.springframework.boot</groupId>
            <artifactId>spring-boot-starter-test</artifactId>
            <scope>test</scope>
        </dependency>
    </dependencies>

    <build>
        <plugins>
            <plugin>
                <groupId>org.springframework.boot</groupId>
                <artifactId>spring-boot-maven-plugin</artifactId>
            </plugin>
        </plugins>
    </build>
1.3 创建Application启动类
package com.demo;

import org.springframework.boot.SpringApplication;
import org.springframework.boot.autoconfigure.SpringBootApplication;
import org.springframework.context.annotation.ComponentScan;

@SpringBootApplication
@ComponentScan("com.demo")
public class SpringBootdemoApplication {

	public static void main(String[] args) {
	    SpringApplication.run(SpringBootdemoApplication.class, args);
	}
}
1.4 创建一个简单的controller
package com.demo.controller;

import org.springframework.stereotype.Controller;
import org.springframework.web.bind.annotation.RequestMapping;
import org.springframework.web.bind.annotation.ResponseBody;

@Controller
@RequestMapping("/app")
public class TestController {

    @RequestMapping("/test")
    @ResponseBody
    public String testDemo() {
        return "Hello World!";
    }
}
1.5 运行Application启动类
springboot 已经启动内嵌的是tomcat 默认的端口是8080,如下所示
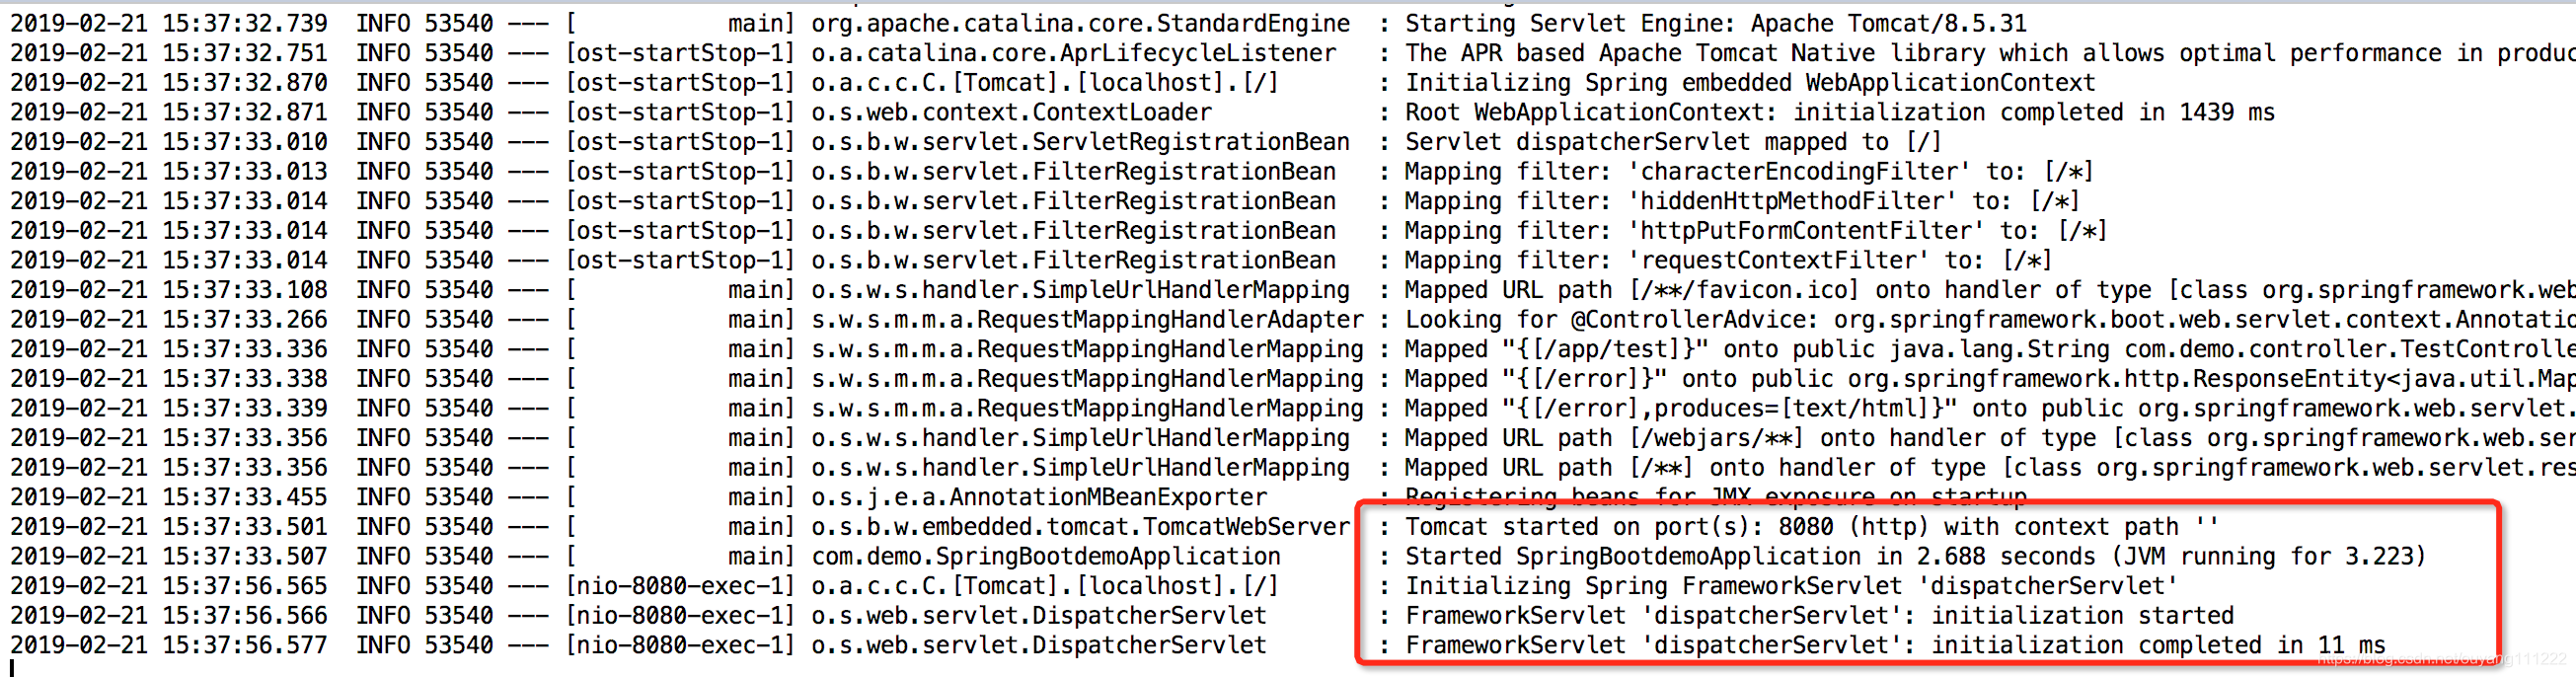
启动成功后即可在浏览器中访问http://127.0.0.1:8080/app/test
2 部署spring boot应用
在当前应用的目录下运行mvn package进行打包,打包之后的文件在工程目录的target目录会生成对应的jar文件,将jar拷贝到服务器下用java的原生命令执行生成的jar文件
java -jar springboot-demo-1.0-SNAPSHOT.jar