Angular 父子组件传值 @Input @Output @ViewChild
新建一个头部组件 newsheader

在主组件引用 news 组件,在news组件添加 newsheader 组件。
设置newsheader组件样式
设置newsheader组件的内容,添加一个class属性
<h2 class="header">这是一个头部组件</h2>
如果需要全局设置,则在 style.css 中设置。

如果单独设置自己的,则在自己组件的css中设置。

此项目案例设置全局的。
/* You can add global styles to this file, and also import other style files */

.header{
    height: 44px;
    line-height: 44px;
    text-align: center;
    background-color: #000;
    color: #fff;
    text-align: center;
}

把新闻页面的数据传给头组件(父组件向子组件传值) @Input
首先在新闻界组件定义一个数据(在父组件定义一个数据)
在父组件中创建一个变量,用于传递给子组件:
public message = "这是新闻组件的MSG"
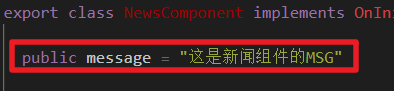
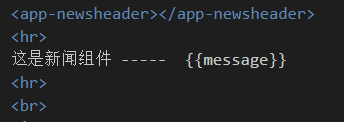
这个 message 属性属于新闻组件(父组件),我们可以在新闻组件上打印出来。
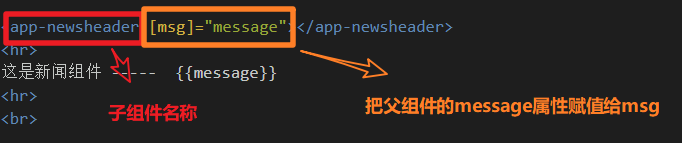
<app-newsheader></app-newsheader>
<hr>
这是新闻组件 -----  {{message}}
<hr>
<br>

在头部组件(子组件)中并没有定义 message 属性,我们在头部(子组件)是拿不到数据的,他们数据不能共享,因此我们需要通过父组件把需要的值(message)传给子组件。
1.父组件调用子组件的时候传入数据
<app-newsheader [msg]="message"></app-newsheader>
2.子组件引入 Input 模块
import { Component, OnInit,Input } from '@angular/core';

3.接收父组件传进的数据
@Input() msg:string; /**通过Input接收父组件传进的msg */

4.在头部(子组件)使用父组件传进的数据 msg
<h2 class="header">这是一个头部组件 -- {{msg}}</h2>


如果多个变量就添加多个HTML属性
假如 父组件 ts 文件有两个属性需要传给子组件

父组件调用子组件的HTML代码也传入两个属性

子组件在去接收父组件传进的两个值
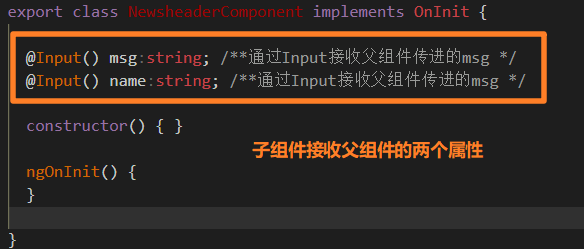
子组件就可以使用了


子组件执行父组件的方法 @Input
创建一个新的组件 home

创建一个新的组件 footer

通过 home 组件和 footer 组件来讲解子组件执行父组件的方法。
在 根组件 引入 home 组件,在 home组件 引入 footer 组件。
1.在home组件(父组件)创建一个 run 方法
ts文件
import { Component, OnInit } from '@angular/core';
@Component({
selector: 'app-home',
templateUrl: './home.component.html',
styleUrls: ['./home.component.css']
})
export class HomeComponent implements OnInit {
public msg = "我是home组件的msg"
constructor() { }
ngOnInit() {
}
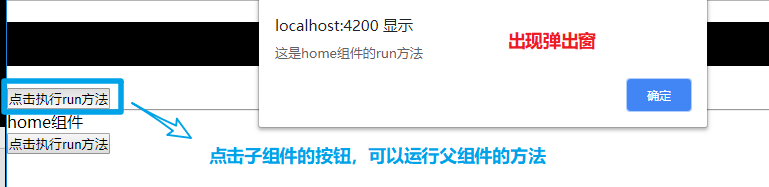
run(){
alert('这是home组件的run方法')
}
}
html 文件
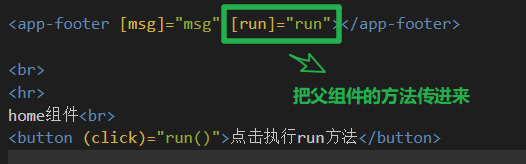
<app-footer [msg]="msg" [run]="run"></app-footer>

<br>
<hr>
home组件<br>
<button (click)="run()">点击执行run方法</button>
2.子组件接收父组件传进的数据和方法
ts 文件
import { Component, OnInit,Input } from '@angular/core';

@Component({
  selector: 'app-footer',
  templateUrl: './footer.component.html',
  styleUrls: ['./footer.component.css']
})
export class FooterComponent implements OnInit {


  @Input() msg:string;

  @Input() run;

  constructor() { }

  ngOnInit() {
  }

}

html 文件
<h2 class="header">footer子组件 -- {{msg}}</h2>
<br>
<button (click)="run()">点击执行run方法</button>

父组件接收子组件返回的数据
在父组件创建一个方法,用于接收子组件数据
  // 接收子组件的数据
  getDataFromChild(childData){
    alert(childData)
  }

把 getDataFromChild 方法在调用子组件的时候传给子组件
<app-footer [msg]="msg" [run]="run" [getDataFromChild]="getDataFromChild"></app-footer>

<br>
<hr>
home组件<br>
<button (click)="run()">点击执行run方法</button>

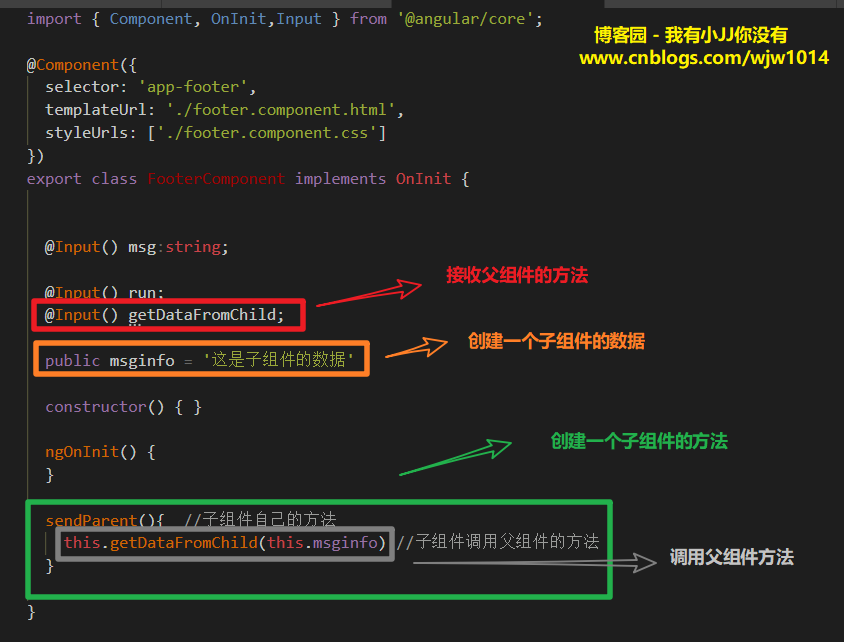
子组件接收父组件传进来的方法,并且创建方法返回给父组件数据
import { Component, OnInit,Input } from '@angular/core';

@Component({
  selector: 'app-footer',
  templateUrl: './footer.component.html',
  styleUrls: ['./footer.component.css']
})
export class FooterComponent implements OnInit {


  @Input() msg:string;

  @Input() run;
  @Input() getDataFromChild;

  public msginfo = '这是子组件的数据'

  constructor() { }

  ngOnInit() {
  }

  sendParent(){  //子组件自己的方法
    this.getDataFromChild(this.msginfo) //子组件调用父组件的方法
  }

}
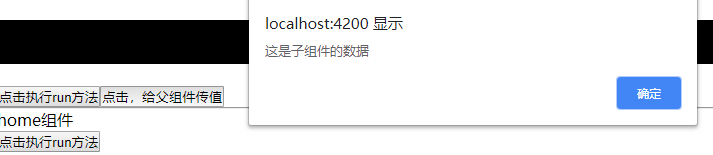
给子组件添加一个按钮给父组件传数据
<h2 class="header">footer子组件 -- {{msg}}</h2>
<br>
<button (click)="run()">点击执行run方法</button>
<button (click)="sendParent()">点击,给父组件传值</button>

子组件用 @Output 的方法执行父组件方法
使用最开始的 news 组件 和 newsheader 组件。
子组件引入 Output 和 EventEmitter
import { Component, OnInit ,Input,Output,EventEmitter} from '@angular/core';

子组件中实例化 EventEmitter
@Output() private outer=new EventEmitter<string>();

 /*用 EventEmitter 和 output 装饰器配合使用 <string>指定类型变量*/

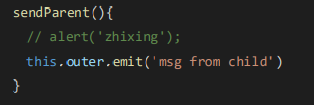
子组件通过 EventEmitter 对象 outer 实例广播数据
sendParent(){
 // alert('zhixing');
 this.outer.emit('msg from child')
 }
父组件调用子组件的时候,定义接收事件 , outer 就是子组件的 EventEmitter 对象 outer
<app-header (outer)="runParent($event)"></app-header>

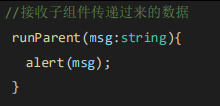
父组件接收到数据会调用自己的 runParent 方法,这个时候就能拿到子组件的数据
//接收子组件传递过来的数据
 runParent(msg:string){
 alert(msg);
 }