SpringBoot是基于spring的一套非常方便的Web项目开发框架,真正做到了开箱即用,我们只要导入SpringBoot的依赖,然后甚至连tomcat等服务器都不需要安装就可以编写并运行起来一个web项目。然而,SpringBoot并不推荐使用jsp,而是推荐使用thymeleaf。有人可能会说了,这个thymeleaf是个什么东西?为什么那么好用的jsp spring都不推荐使用,反而推荐使用这个东西呢?因为这个thymeleaf实在是非常好用,就简单来说,它同时具有jsp,jstl的功能,还支持el表达式,而且使用thymeleaf,可以实现很好的前后端分离开发,在后端没有实现具体功能的时候,前端就可以使用假数据进行同步开发。
下面就让我们来亲手搭建一个SpringBoot+thymeleaf开发环境
首先,需要先使用idea搭建一个SpringBoot,非常简单,具体步骤请参加此篇博客:
https://blog.csdn.net/qq_37856300/article/details/86223134
引入thymeleaf的maven依赖:
<dependency>
	<groupId>org.springframework.boot</groupId>
	<artifactId>spring-boot-starter-thymeleaf</artifactId>
</dependency>
配置application.properties
#配置html文件路径前缀
spring.thymeleaf.prefix=classpath:/templates/
#配置html文件路径后缀
spring.thymeleaf.suffix=.html
#开发时关闭网页缓存,否则没法看到实时页面
spring.thymeleaf.cache=false
#模板模式
spring.thymeleaf.mode=HTML5
#编码格式
spring.thymeleaf.encoding=UTF-8
#返回模板类型
spring.thymeleaf.servlet.content-type=text/html
#检查模板位置是否正确
spring.thymeleaf.check-template-location=true
至此,我们已经配置好了thymeleaf,下面让我们来实验一下
建立一个controller:
@Controller
public class Test {
    @RequestMapping("/test")
    public String test()
    {
        return "hello";
    }
}
建立一个页面:

<!DOCTYPE html>
<html lang="en">
<head>
    <meta charset="UTF-8">
    <title>Title</title>
</head>
<body>
    <h1>Hello World!</h1>
</body>
</html>
按理来说,如果我们的thymeleaf正常的话,在上面的controller中return一个页面对应的字符串就可以跳转到对应页面了,下面让我们试试行不行:
运行springBoot主方法,然后按路径访问controller映射路径:

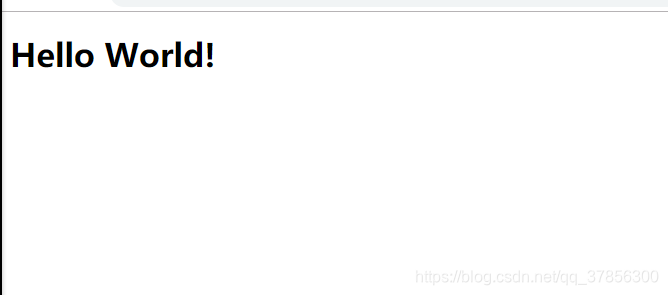
可以发现,我们访问到了对应页面:

thymeleaf运转成功!