新建一个Maven项目,我只是用于写接口,所以选择了create a simple project,这样自动生成的项目就不包含webapp的包。

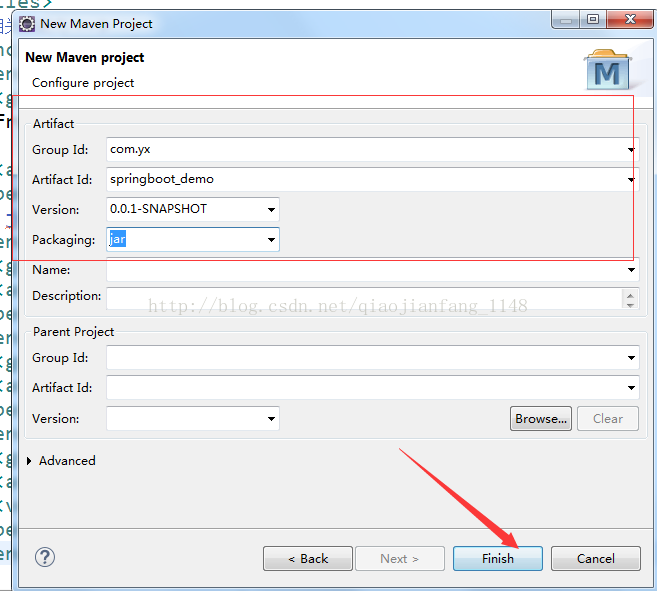
这样就完成了简单的创建。
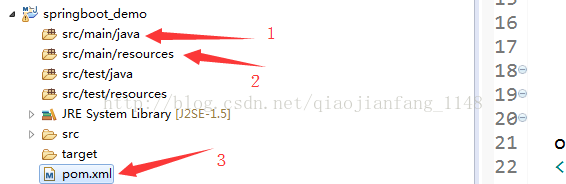
java主要是用于放类文件
resources用于放资源文件
pom.xml是配置文件。在此处引入依赖包。
<project xmlns="http://maven.apache.org/POM/4.0.0" xmlns:xsi="http://www.w3.org/2001/XMLSchema-instance"
	xsi:schemaLocation="http://maven.apache.org/POM/4.0.0 http://maven.apache.org/xsd/maven-4.0.0.xsd">
	<modelVersion>4.0.0</modelVersion>
	<groupId>com.yx</groupId>
	<artifactId>springboot_hello</artifactId>
	<version>0.0.1-SNAPSHOT</version>
	<!-- 将当前项目作为springboot-starter的一个子模块 -->
	<parent>
		<groupId>org.springframework.boot</groupId>
		<artifactId>spring-boot-starter-parent</artifactId>
		<version>1.4.1.RELEASE</version>
	</parent>
	<!-- 完成全局配置的替换,覆盖 -->
	<properties>
		<java.version>1.8</java.version>
	</properties>
	<!-- 引入相关的能力 -->
	<dependencies>
		<dependency>
			<groupId>
  org.springframework.boot
  </groupId>
			<artifactId>spring-boot-starter-web</artifactId>
		</dependency>
	</dependencies>
</project>
刚加完配置包,项目就出现了小红叉。这样的错误处理方式,window----show view
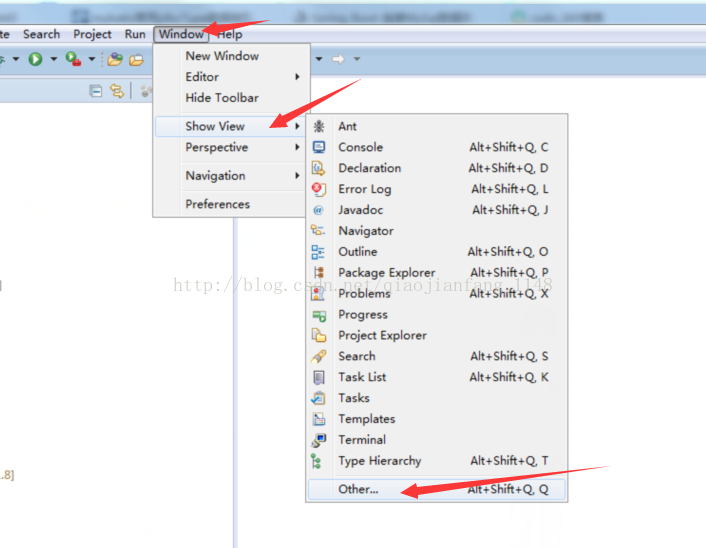


根据提示修正错误。
接下来,开始写代码。
新建一个Controller类
package com.yx.springboot_demo.controller;
import java.util.ArrayList;
import java.util.List;
import org.springframework.web.bind.annotation.RequestMapping;
import org.springframework.web.bind.annotation.RestController;
import com.yx.springboot_demo.model.User;
@RestController
public class HelloController {
@RequestMapping("/hello")
public User hello(){
User user=new User();
user.setUserid(1001);
user.setUsername("dawn");
return user;
}
@RequestMapping("/listhello")
public List<User> listhello(){
List<User> list=new ArrayList<User>();
User user=new User();
user.setUserid(1001);
user.setUsername("dawn");
list.add(user);
User user1=new User();
user1.setUserid(1002);
user1.setUsername("charles");
list.add(user1);
return list;
}
}
User类代码:
package com.yx.springboot_demo.model;
public class User {
private int userid;
private String username;
public int getUserid() {
return userid;
}
public void setUserid(int userid) {
this.userid = userid;
}
public String getUsername() {
return username;
}
public void setUsername(String username) {
this.username = username;
}
}
最后写启动类:
package com.yx.springboot_demo;
import org.springframework.boot.SpringApplication;
import org.springframework.boot.autoconfigure.SpringBootApplication;
@SpringBootApplication
public class App {
//启动类
public static void main(String[] args) {
SpringApplication.run(App.class, args);
}
}
然后在resources里新建一个文件 application.properties,没有后缀名。加上这一句:
server.port=8080
最后,直接选中启动类 APP , run as Java Application
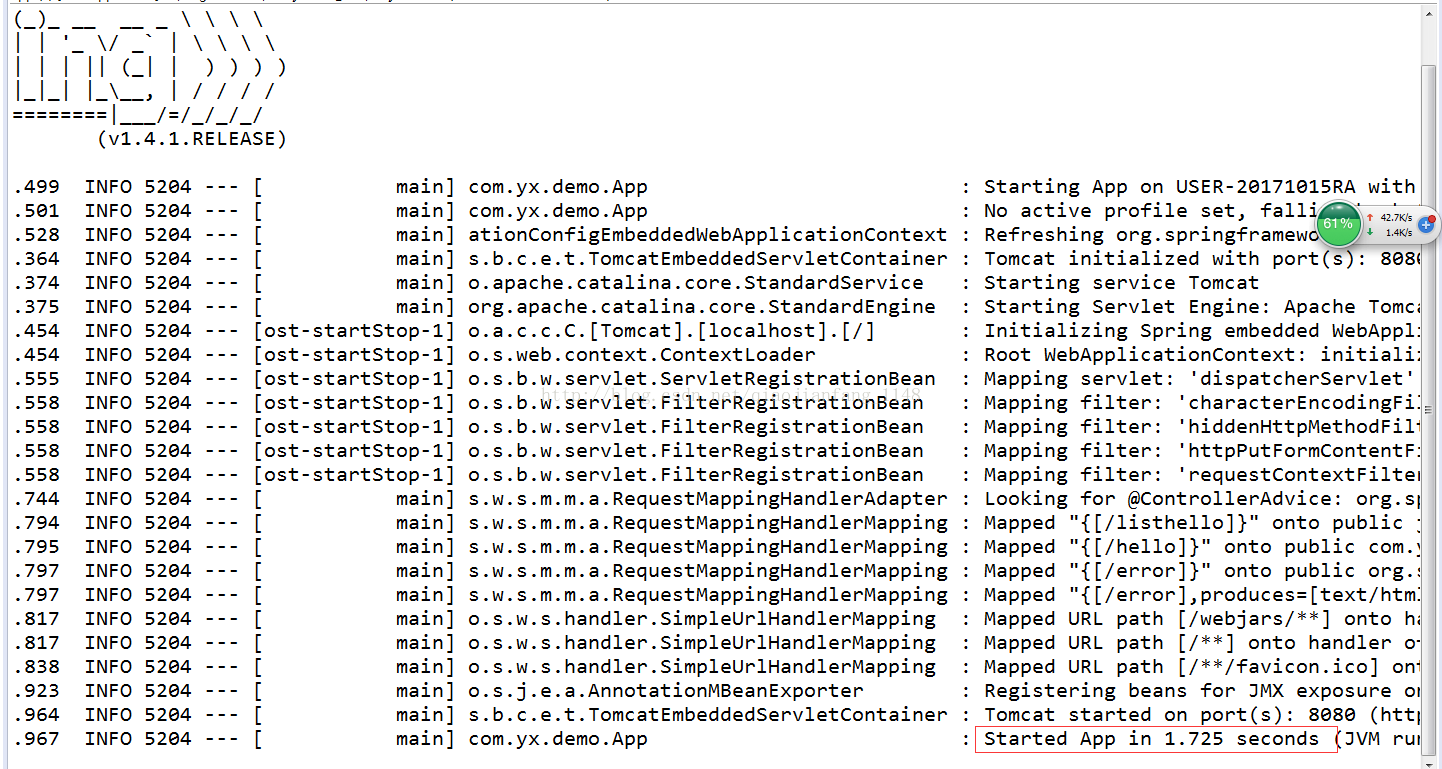
这样就表示spring boot自带的tomcat启动成功
可以在浏览器中输入 localhost:8080/hello ,输出结果如下:

spring boot 还有一个非常不友好的地方。如果接下来我修改了输出内容,要重新启动tomcat,就只能换端口号(刚刚在资源文件中配置过)或者在资源管理器中 ,在进程中找到javaw.exe,中断进程,才能重新启动APP,进行访问。