本文是一篇SprintBoot学习入门笔记
1、打开Eclipse,版本为Oxygen 4.7.0
2、新建项目
NewProject->MavenProject->Next->Next
GroupId填写com.learn,Artifactid 填写spring-boot-hello,完成
3、配置pom.xml
双击pom.xml,打开pom.xml选项卡,因为暂时不需要Test,删除Test有关的,另外删除项目Test目录。
修改后的pom.xml内容如下
<project xmlns="http://maven.apache.org/POM/4.0.0" xmlns:xsi="http://www.w3.org/2001/XMLSchema-instance"
  xsi:schemaLocation="http://maven.apache.org/POM/4.0.0 http://maven.apache.org/xsd/maven-4.0.0.xsd">
  <modelVersion>4.0.0</modelVersion>

  <groupId>com.kfit</groupId>
  <artifactId>spring-boot-hello</artifactId>
  <version>0.0.1-SNAPSHOT</version>
  <packaging>jar</packaging>

  <name>spring-boot-hello</name>
  <url>http://maven.apache.org</url>

<parent>
    <groupId>org.springframework.boot</groupId>
    <artifactId>spring-boot-starter-parent</artifactId>
    <version>1.4.1.RELEASE</version>
</parent>
  <properties>
    <project.build.sourceEncoding>UTF-8</project.build.sourceEncoding>
    <!-- 指定jdk1.8 -->
    <java.version>1.8</java.version>
  </properties>

  <dependencies>
    <dependency>
        <groupId>org.springframework.boot</groupId>
        <artifactId>spring-boot-starter-web</artifactId>
    </dependency>
  </dependencies>
</project>
4、新建Controller类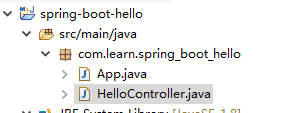
内容如下
package com.learn.spring_boot_hello;

import org.springframework.web.bind.annotation.RequestMapping;
import org.springframework.web.bind.annotation.RestController;
@RestController
public class HelloController {

    @RequestMapping("/hello")
    public String hello() {
        return "hello";
    }
}
5、App.Java中启动
package com.learn.spring_boot_hello;

import org.springframework.boot.SpringApplication;
import org.springframework.boot.autoconfigure.SpringBootApplication;

/**
 * 在这里使用@SpringBootApplication指定这是一个sprint boot的应用程序
 *
 */
@SpringBootApplication
public class App
{
    public static void main( String[] args )
    {
        SpringApplication.run(App.class, args);
    }
}
6、项目右键Run,选择App,Ok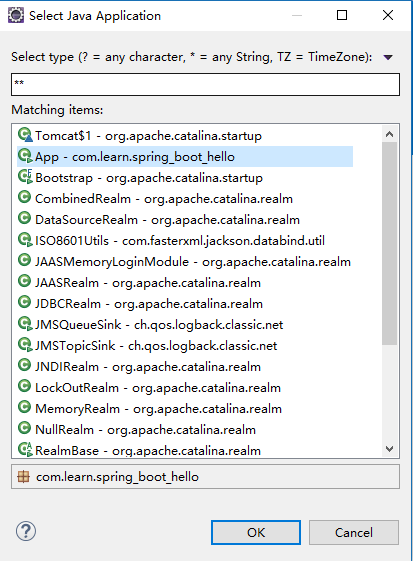
7、查看Console,如果输出以下内容表示运行正常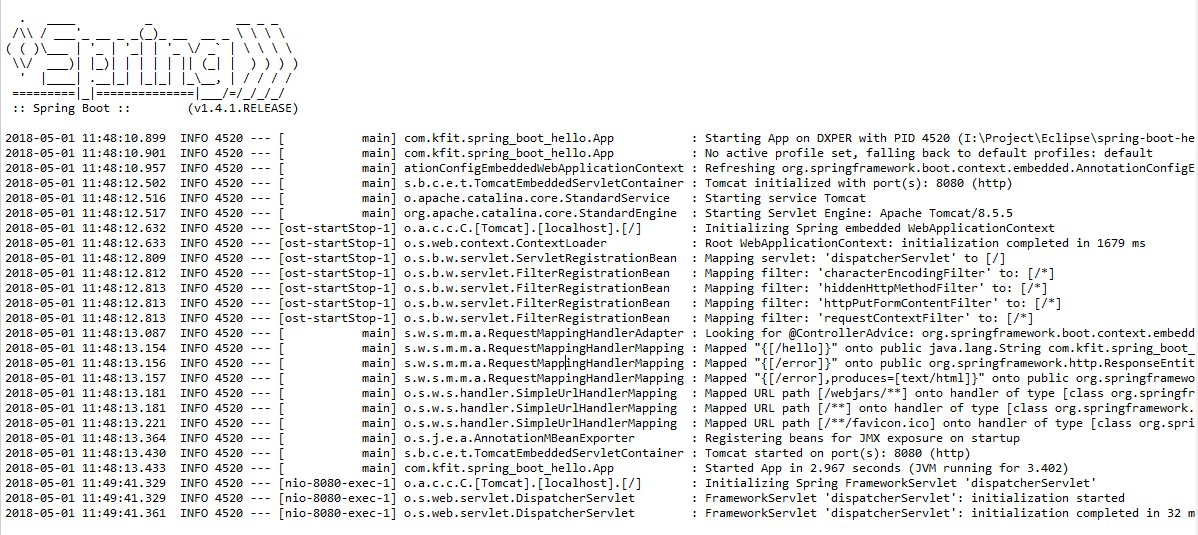
8、浏览器测试
http://127.0.0.1:8080/hello
输出
hello
(完毕)