自己最近上手springboot没有一步成功,遇到了问题,所以记录一下,做个总结。
参考大神的博客:https://www.cnblogs.com/ityouknow/p/5662753.html
SpringBoot基于约定优于配置的思想。
SpringBoot对于spring的差别:
1.必须配置为maven项目
2.部署为jar,而不是war
3.运行方式不一样了:直接运行Application.java,不用run as : run on server,因为内置了tomcat
等...
- - - - - - - - - - - - - - - - - - - -
所用IDE:eclipse
上手步骤:
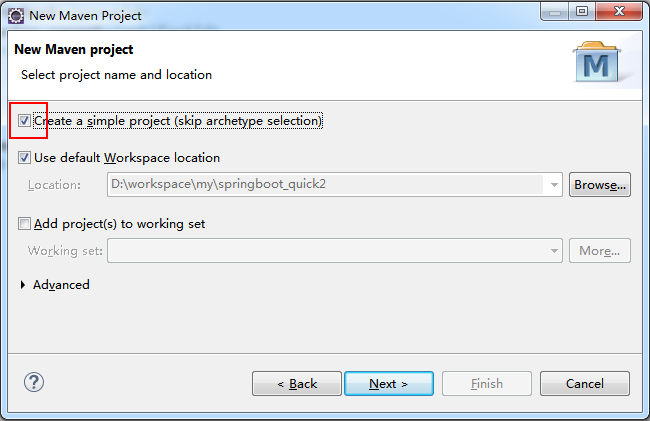
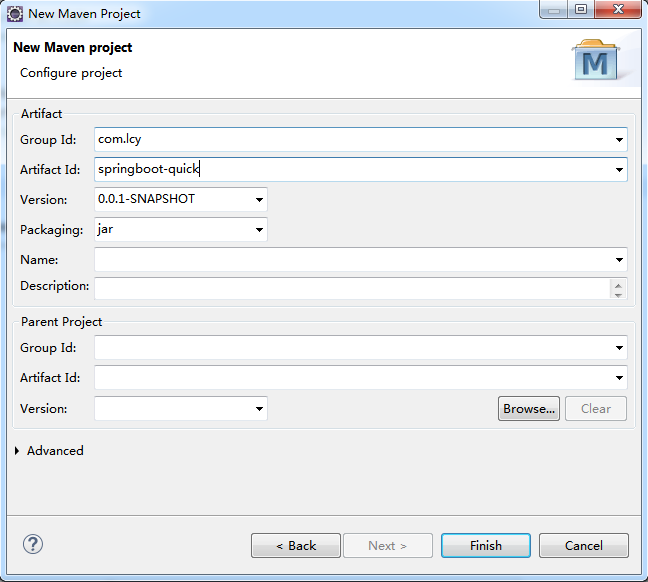
1.使用模版新建Maven工程
2.在pom.xml文件中添加如下代码
<parent>
    <groupId>org.springframework.boot</groupId>
    <artifactId>spring-boot-starter-parent</artifactId>
    <version>2.1.0.RELEASE</version>
</parent>

<dependencies>
    <dependency>
        <groupId>org.springframework.boot</groupId>
        <artifactId>spring-boot-starter-web</artifactId>
    </dependency>
</dependencies>
3.在 src\main\java 下新建类 Application 和 QuickStartController,
结构如下:

4.Application 中的代码
package com.lcy;

import org.springframework.boot.SpringApplication;
import org.springframework.boot.autoconfigure.SpringBootApplication;

@SpringBootApplication
public class Application {
    public static void main(String[] args) {
        SpringApplication.run(Application.class, args);
    }
}
5.QuickStartController 中的代码
package com.lcy.controller;

import org.springframework.stereotype.Controller;
import org.springframework.web.bind.annotation.RequestMapping;
import org.springframework.web.bind.annotation.ResponseBody;

@Controller
public class QuickStartController {

    @RequestMapping("/quick")
    @ResponseBody
    public String quick() {
        return "springboot start success!";
    }
}
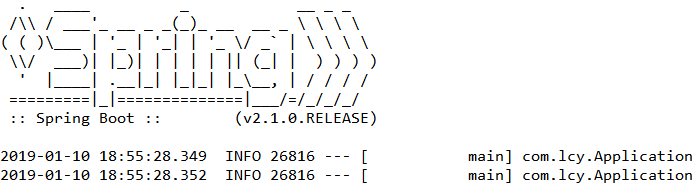
6.执行 Application 的main方法(不需要Run As -> Run on Server),如下表示springboot成功启动
7.在浏览器中访问: 127.0.0.1:8080/quick 可看到如下结果

8.可能出现的错误
我参照大神的博客,访问 https://start.spring.io/,下载 demo,编写代码,最后执行时报错如下

最后百度的原因是pom.xml文件中设置的版本号太新了,把版本号设置老一点就可以正常运行了。
2019年1月10日,经我测试,2.0.7、2.1.0版本都是OK的,但是2.1.1版本运行会报错。