版权声明:本文为博主原创文章,未经博主允许不得转载。 https://blog.csdn.net/kaikai136412162/article/details/82150850
celery 基本概念
Celery 是一个 基于python开发的分布式异步消息任务队列,通过它可以轻松的实现任务的异步处理, 如果你的业务场景中需要用到异步任务,就可以考虑使用celery
celery的优点
- 简单:一单熟悉了celery的工作流程后,配置和使用还是比较简单的
- 高可用:当任务执行失败或执行过程中发生连接中断,celery 会自动尝试重新执行任务
- 快速:一个单进程的celery每分钟可处理上百万个任务
- 灵活: 几乎celery的各个组件都可以被扩展及自定制
实现异步的请求,配置如下
1.在工程目录下创建一个celery.py
from __future__ import absolute_import, unicode_literals
import os
from celery import Celery

# set the default Django settings module for the 'celery' program.
os.environ.setdefault('DJANGO_SETTINGS_MODULE', 'proj.settings')
# proj 是项目的名称需要更改
app = Celery('proj')

# Using a string here means the worker don't have to serialize
# the configuration object to child processes.
# - namespace='CELERY' means all celery-related configuration keys
#   should have a `CELERY_` prefix.
app.config_from_object('django.conf:settings', namespace='CELERY')

# Load task modules from all registered Django app configs.
app.autodiscover_tasks()


@app.task(bind=True)
def debug_task(self):
    print('Request: {0!r}'.format(self.request))
2.在项目工程目录下的__init__.py中添加
from __future__ import absolute_import, unicode_literals

# This will make sure the app is always imported when
# Django starts so that shared_task will use this app.
from .celery import app as celery_app

__all__ = ['celery_app']
3.在自己的app项目下添加task.py文件
# Create your tasks here
from __future__ import absolute_import, unicode_literals
from celery import shared_task


@shared_task
def add(x, y):
    return x + y


@shared_task
def mul(x, y):
    return x * y


@shared_task
def xsum(numbers):
    return sum(numbers)
3.在setting.py中添加设置redis
CELERY_BROKER_URL = 'redis://:密码@ip'
CELERY_RESULT_BACKEND = 'redis://:密码@ip'
4.在videx.py中进行写任务
from celery.result import AsyncResult
from django.shortcuts import render,HttpResponse
import time
# Create your views here.
from myapp import tasks
def index(request):
    res = tasks.add.delay(5,98)
    print(res)
    return HttpResponse(res.task_id)

def task_res(request):
    result = AsyncResult(id='5fea266e-18ad-4659-aa8f-c5d16783defd')

    return HttpResponse(result.get())
5.路由的配置urls.py
   url(r'^index/$', index),
   url(r'^task_res/$', task_res),
这些配置好之后,讲代码上传到liunx环境下
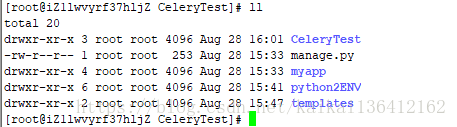
进入i项目路径使用命令启动异步任务
执行下面的命令
celery -A CeleryTest worker -l info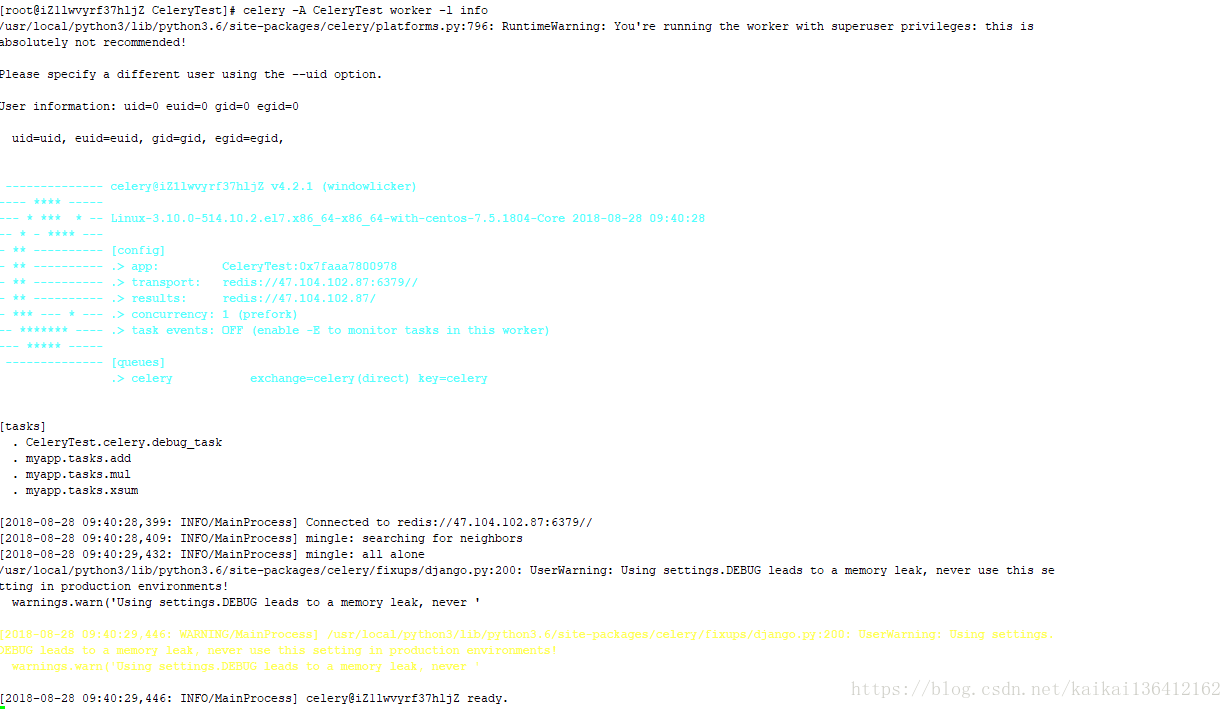
这样服务端的任务已经启动成功了
在此启动自己的django项目就可以使用了,在测试中返回结果的id用id可以获取异步任务的结果状态等信息